10 Strong Ways How to Sharpen a Broadfork
The scent of damp, disturbed earth signals a successful fracture of the soil profile. When the turgor pressure of a healthy plant is maintained through deep aeration, the structural integrity of the rhizosphere remains intact. A dull tool compromises this process by compressing rather than slicing through the soil matrix. Learning how to sharpen a broadfork ensures the tines penetrate the hardpan without excessive physical force. Maintaining a 25 degree bevel on each tine allows the tool to bypass stones and roots while preserving the soil's fungal networks.
Materials:
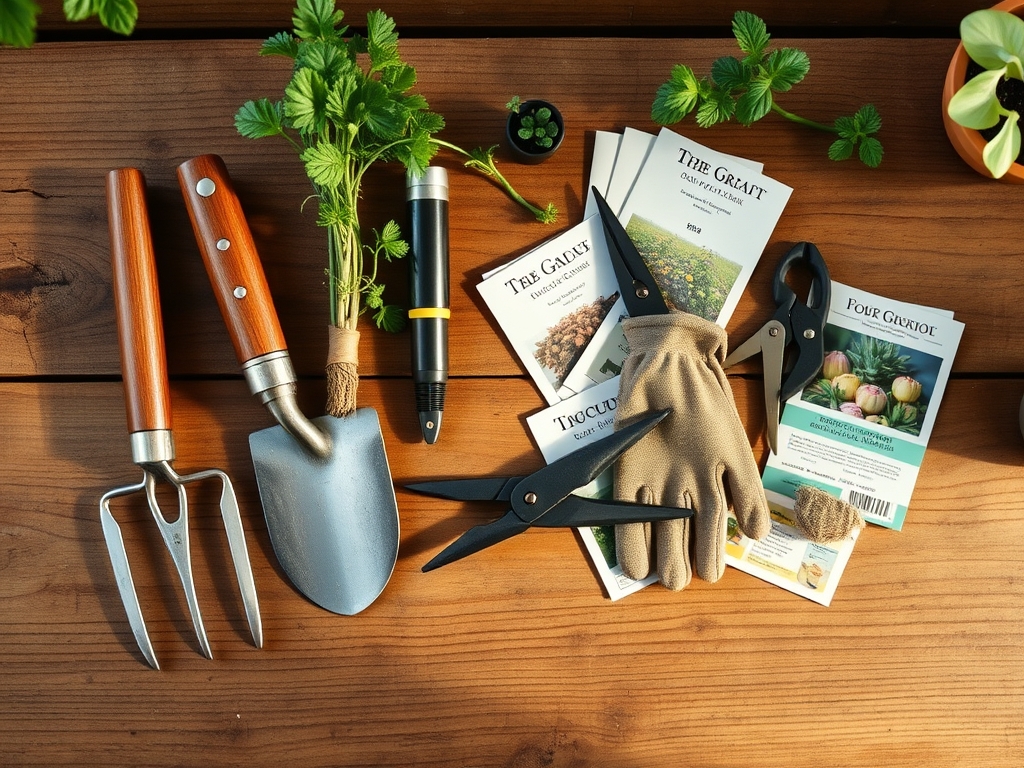
A broadfork is a precision instrument designed for friable loam with a **pH range of 6.2 to 6.8**. Before sharpening, assess the soil composition where the tool will be deployed. Ideal substrates contain a **3:2:1 ratio of sand, silt, and clay**, providing a high Cation Exchange Capacity (CEC) for nutrient retention. If your soil has been amended with high-nitrogen fertilizers (NPK 10-5-5), the increased microbial activity can accelerate oxidation on unsealed steel. You will need a **10-inch mill bastard file**, a **bench vice with rubber jaw protectors**, **80-grit sandpaper**, and **penetrating oil**. Avoid power grinders; the friction creates excessive heat that can draw the temper out of the high-carbon steel, reducing the Rockwell hardness of the tines.
Timing:
Sharpening should occur during the dormant season, specifically between the first hard frost and the spring thaw. In Hardiness Zones 5 through 7, this window typically falls between November and March. This timing aligns with the biological clock of the garden; as perennial crops enter senescence and annuals finish their reproductive cycle, the soil is least vulnerable to compaction. Sharpening your tools before the spring equinox ensures you are prepared for the "green-up" when soil temperatures reach a consistent 55 degrees Fahrenheit. At this temperature, microbial respiration increases, and the soil becomes workable without destroying its structure.
Phases:

Sowing
Prepare the workspace by securing the broadfork handles in a vice. The tines must face upward at a comfortable working height. Clean the metal surfaces using a wire brush to remove desiccated organic matter and mineral deposits. This prevents "clogging" of the file teeth and ensures an even stroke across the metal surface.
Pro-Tip: Removing organic debris prevents the transfer of soil-borne pathogens like Fusarium oxysporum. This is a critical step because microscopic lesions on plant roots caused by dull tools act as entry points for vascular wilt.
Transplanting
Angle the file at 20 to 30 degrees against the tip of the tine. Use long, single-direction strokes moving away from your body. Do not use a back-and-forth sawing motion; this creates a ragged edge that increases friction. Aim for a "chisel point" rather than a needle point. A chisel point is more durable when striking subsurface rocks and provides better leverage during the lift phase of aeration.
Pro-Tip: A sharp tine reduces the physical resistance during penetration, which minimizes the disruption of mycorrhizal symbiosis. Maintaining these fungal bridges is essential for phosphorus uptake in young transplants.
Establishing
After filing, use 80-grit sandpaper to remove any burrs from the backside of the tines. This "honing" process ensures the metal is smooth, allowing it to slide through the soil with minimal drag. Apply a thin layer of linseed oil or a specialized tool lubricant to prevent rust. High humidity in Zones 8 and 9 requires a thicker coat of oil to prevent atmospheric oxidation during the growing season.
Pro-Tip: Reducing drag on the tines prevents "soil smearing." Smearing creates a slick, anaerobic barrier on the walls of the tine hole, which can inhibit lateral root growth and suppress auxin production at the root tips.
The Clinic:
Symptom: Tine Deflection
If the broadfork bounces off the soil surface or veers to the side, the tines are either dull or have developed a rounded "duck-bill" shape.
Solution: Re-establish the primary bevel using a coarse file. Measure each tine to ensure they are of equal length within 0.25 inches to maintain even weight distribution.
Symptom: Metal Flaking (Delamination)
Small scales of metal peeling away from the tine indicate oxidation or poor steel quality.
Solution: Sand the area down to bright metal. If the damage is deeper than 1 millimeter, the structural integrity is compromised and the tool may require professional welding or replacement.
Fix-It: Nitrogen Chlorosis
While not a tool issue, if your broadforking reveals pale yellow leaves on crops, you have a nitrogen deficiency.
Solution: Incorporate a high-nitrogen amendment like blood meal (12-0-0) into the aeration holes. This places the nutrients directly into the root zone, bypassing the slower process of surface decomposition.
Maintenance:
A broadfork requires consistent upkeep to function as a precision aeration tool. After every use, spray the tines with a high-pressure hose to remove soil. Dry the metal immediately. Once a month, use a soil moisture meter to check the compaction levels in your beds; if the reading exceeds 300 psi, it is time to use the broadfork. Keep a hori-hori knife nearby to slice through thick surface mats of cover crops before inserting the fork. For wooden handles, apply boiled linseed oil annually to prevent splintering. Store the tool in a bucket of dry sand mixed with motor oil to keep the tines polished and rust-free.
The Yield:
When your broadfork is properly sharpened, the harvest becomes significantly more efficient. For root crops like carrots or parsnips, use the fork to loosen the soil 4 inches away from the crown. This allows you to lift the entire root without snapping the taproot. For flowers, harvesting should occur in the early morning when turgor pressure is at its peak. This ensures "day-one" freshness by preventing immediate wilting. Place harvested stems directly into a bucket of 40 degree Fahrenheit water to slow the rate of senescence and preserve the plant's metabolic sugars.
FAQ:
How often should I sharpen my broadfork?
Sharpen the tines once per year for standard garden use. If you work in heavy clay or rocky soil, inspect the tips every 50 hours of use. Re-establish the 25 degree bevel whenever penetration becomes difficult or requires excessive jumping.
Can I use a bench grinder to sharpen tines?
Avoid bench grinders. The high RPMs generate heat exceeding 400 degrees Fahrenheit, which ruins the steel's temper. This makes the metal brittle and prone to snapping. Use a mill bastard file for controlled, cool-temperature sharpening.
What is the best angle for sharpening?
Maintain an angle between 20 and 30 degrees. A shallower angle creates a sharp but weak edge that folds. A steeper angle creates a blunt edge that increases the physical force required to penetrate the soil's A-horizon.
Should I sharpen the sides of the tines?
No. Only sharpen the tips and the first 2 inches of the leading edge. Sharpening the entire length of the tine weakens the structural cross-section and provides no benefit for soil aeration or fracturing the hardpan.
How do I prevent rust after sharpening?
Wipe the tines with a rag soaked in linseed oil or mineral oil. For long-term storage, dip the tines in a bucket filled with sand and a small amount of used motor oil to create an airtight seal against moisture.