7 Basic Steps to Clean a Compost Tumbler
The smell of damp earth and the firm turgor of a healthy leaf represent the culmination of a successful biological cycle. However, when the anaerobic sludge of a neglected bin begins to outpace aerobic decomposition, the process stalls. Following the specific steps to clean a compost tumbler ensures the internal environment remains conducive to microbial activity. A clean vessel prevents the buildup of pathogens and maintains the structural integrity of the hardware. This maintenance routine is essential for producing high quality organic matter.
Materials:

Cleaning a tumbler requires specific tools to restore the internal environment to a neutral baseline. You will need a stiff-bristled brush, a pressure washer or high-pressure hose nozzle, and a solution of 10 percent white vinegar to act as a mild descaler. To restart the pile effectively after cleaning, prepare a substrate of friable loam with a Cation Exchange Capacity (CEC) above 15 meq/100g.
The biological restart requires a balanced nutrient profile. Aim for an initial NPK ratio of 3-1-2 in your starter mix to support early microbial colonization. Ensure the soil pH is calibrated between 6.0 and 7.0. A lower pH indicates acidic conditions that can inhibit the bacteria responsible for thermophilic decomposition. The physical texture must be granular to allow for maximum oxygen diffusion into the rhizosphere of the new compost pile.
Timing:
The ideal window for cleaning a compost tumbler aligns with the transition between the late autumn harvest and the first hard frost. In Hardiness Zones 5 through 7, this typically occurs between late October and mid November. Performing maintenance during this "Biological Clock" transition allows the tumbler to be sanitized before winter dormancy.
In warmer Hardiness Zones 8 through 10, cleaning should occur during the peak of summer when the high ambient temperatures facilitate rapid drying of the drum. Regardless of the zone, avoid cleaning when the internal temperature of the compost is in the thermophilic range of 135 to 160 degrees Fahrenheit. Wait for the pile to reach the senescence phase, where biological activity slows and the temperature drops to ambient levels.
Phases:

Sowing the Clean Slate
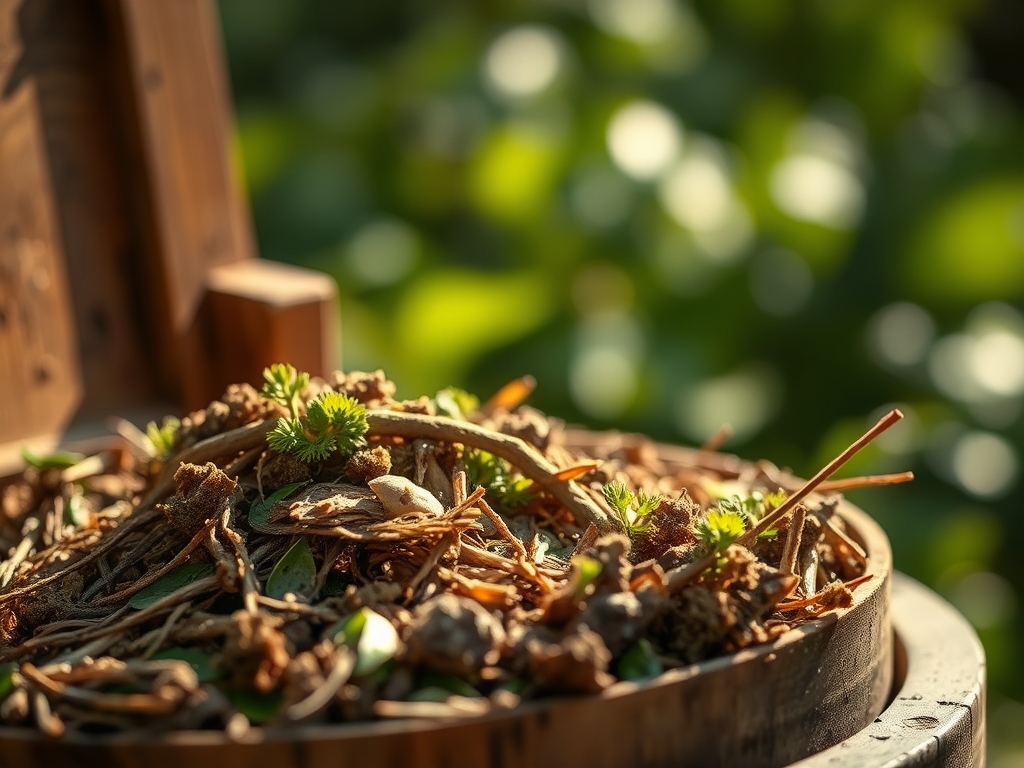
Begin by evacuating all residual organic matter. Use a hori-hori knife to scrape away hardened "leachate cakes" from the interior corners. These deposits often harbor anaerobic bacteria that produce hydrogen sulfide gas. Once the drum is empty, scrub the interior with the vinegar solution to break down mineral salts and biofilm.
Pro-Tip: Removing the biofilm is critical because it disrupts the "Quorum Sensing" of harmful bacteria. By physically scrubbing the surfaces, you prevent pathogenic colonies from communicating and establishing dominance over beneficial aerobic microbes.
Transplanting the Microbes
After the drum is sanitized and dried, introduce a "starter" layer. This layer should consist of two inches of finished compost or high quality forest floor duff. This acts as an inoculum, reintroducing a diverse population of actinomycetes and fungi into the sterile environment.
Pro-Tip: This phase utilizes the principle of Mycorrhizal Symbiosis. By introducing established fungal spores, you create a biological bridge that allows the new organic inputs to break down more efficiently through a network of hyphae.
Establishing the Balance
Load the tumbler with a 30:1 Carbon to Nitrogen (C:N) ratio. Use shredded corrugated cardboard for carbon and fresh nitrogenous green waste. Ensure the moisture content is maintained at 50 to 60 percent, similar to the feel of a wrung out sponge.
Pro-Tip: Maintaining the correct moisture level is vital for Turgor Pressure within the microbial cells. If the environment is too dry, microbes enter a state of desiccation and dormancy; if too wet, oxygen is displaced, leading to anaerobic rot.
The Clinic:
Physiological disorders in a compost tumbler often manifest through olfactory or visual cues.
- Symptom: Putrid Odor (Rotten Eggs). This indicates anaerobic conditions and a pH drop below 5.5.
Solution: Increase aeration by tumbling three times daily and add dry carbonaceous material to increase porosity.
- Symptom: Ammonia Smell. This suggests a C:N ratio that is too low, meaning there is excess nitrogen.
Solution: Add high carbon materials like sawdust or dried leaves to sequester the excess nitrogen.
- Symptom: Persistent Dampness without Heat. This is often a sign of Nitrogen Chlorosis in the microbial community.
Fix-It: Add a nitrogen booster with an NPK of 10-0-0, such as blood meal, to jumpstart the metabolic heat production.
- Symptom: Pest Infestation. Flies or larvae indicate exposed food waste.
Solution: Ensure all nitrogenous inputs are buried under a four inch "bio-filter" layer of carbon.
Maintenance:
Precision is required to keep the tumbler operational. Apply 0.5 ounces of food grade lubricant to the axle and hinges every six months to prevent oxidation. Monitor the internal moisture using a soil moisture meter; the reading should never dip below 40 percent.
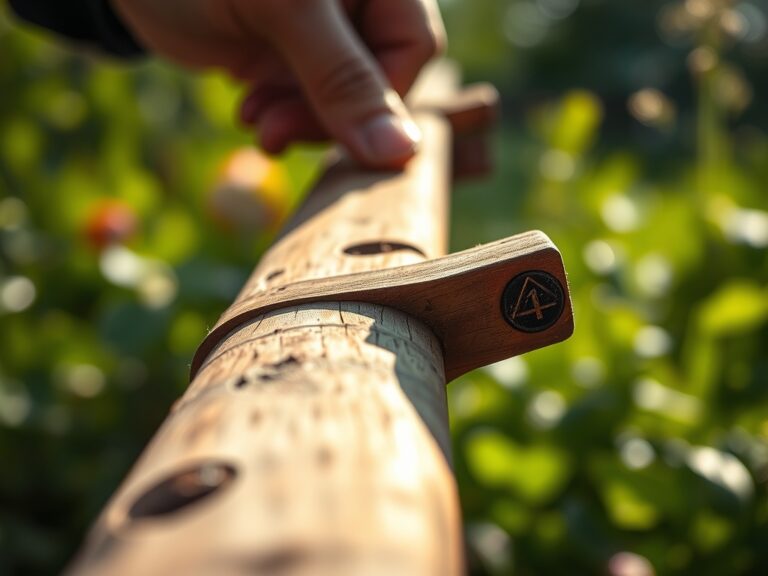
For physical maintenance, use bypass pruners to chop all green inputs into pieces smaller than 2 inches. Smaller particle sizes increase the surface area for microbial attachment, accelerating the decomposition rate. Use a hori-hori knife to clear the drainage holes every month to ensure leachate does not pool at the bottom, which would suffocate the aerobic bacteria.
The Yield:
Harvesting occurs when the material is dark, crumbly, and smells of geosmin. The final product should have a CEC of 20 to 30 meq/100g, indicating high nutrient holding capacity. Sift the compost through a 0.5 inch hardware cloth to remove unfinished "overs."
To maintain "day-one" freshness and microbial vitality, store the finished compost in a breathable container out of direct sunlight. The moisture level should be kept at 30 percent to prevent the beneficial microbes from dying off due to total desiccation. Use the finished product within six months to ensure the highest concentration of plant available nutrients.
FAQ:
How often should I clean my compost tumbler?
Deep clean the tumbler once per year or whenever a batch becomes severely anaerobic. Regular cleaning prevents the buildup of mineral salts and pathogens that can inhibit the cation exchange process in the resulting compost.
Can I use bleach to clean the drum?
Avoid bleach as it leaves toxic residues that kill beneficial soil microbes. Use a 10 percent vinegar solution or a citrus based biodegradable cleaner to maintain a safe environment for the rhizosphere organisms.
Why is my tumbler leaking dark liquid?
This liquid is leachate, caused by moisture levels exceeding 60 percent. Add dry carbon materials like shredded paper to absorb the excess fluid and restore the proper oxygen levels for aerobic decomposition.
What is the fastest way to heat up a cold tumbler?
Add a high nitrogen activator with an NPK ratio like 4-4-2. Ensure the particle size of all materials is under one inch to maximize surface area for rapid microbial thermogenesis and metabolic activity.