10 Vital Steps to Shingle a Gazebo roof
The smell of damp earth and the high turgor pressure of a healthy leaf signify a thriving garden, but your structures must be as resilient as your perennials. Protecting your garden sanctuary requires precision. Following the correct steps to shingle a gazebo roof ensures that the wood beneath remains dry, preventing the fungal rot and structural senescence that occur when moisture infiltrates the roof deck. A gazebo is more than a focal point; it is a structural canopy that must withstand high winds and heavy precipitation to protect the delicate rhizosphere of the plants below.
Materials:

Before ascending the roof, treat your workspace like a seedbed. The ideal substrate for any garden structure is a level, well-drained area. If you are planting around the base, ensure the soil is a **friable loam** with a **pH between 6.0 and 7.0**. For heavy feeders, incorporate a **10-10-10 NPK ratio** fertilizer to support structural root growth. You will need **architectural shingles**, **15-pound or 30-pound roofing felt**, **1-inch galvanized roofing nails**, and a **drip edge**. Just as a high **Cation Exchange Capacity (CEC)** allows soil to hold onto essential nutrients like calcium and magnesium, a high-quality underlayment holds the integrity of the wood against osmotic pressure from rain.
Timing:
Successful construction, like successful cultivation, depends on your USDA Hardiness Zone. In Zones 5 through 7, the window for roofing is narrow. You must avoid the first frost date to ensure the adhesive strips on the shingles reach their thermal activation point. Shingles require a consistent temperature of at least 50 degrees Fahrenheit (10 degrees Celsius) to seal properly. This timing aligns with the biological clock of many deciduous species entering dormancy. As the plant shifts from vegetative growth to the reproductive stage or senescence, the reduced humidity and stable temperatures provide the perfect environment for outdoor labor without the risk of heat stress or sudden frost heave.
Phases:

Sowing the Foundation
Begin by installing the drip edge along the eaves. This prevents capillary action from drawing water back into the fascia boards. Lay your roofing felt starting from the bottom, overlapping each layer by at least 2 inches. This creates a hydrophobic barrier similar to the waxy cuticle on a leaf, shedding water efficiently.
Pro-Tip: Ensure the underlayment is taut. If moisture is trapped beneath the felt, it can lead to anaerobic conditions and wood decay, much like how overwatered soil leads to root rot due to a lack of oxygen in the pore spaces.
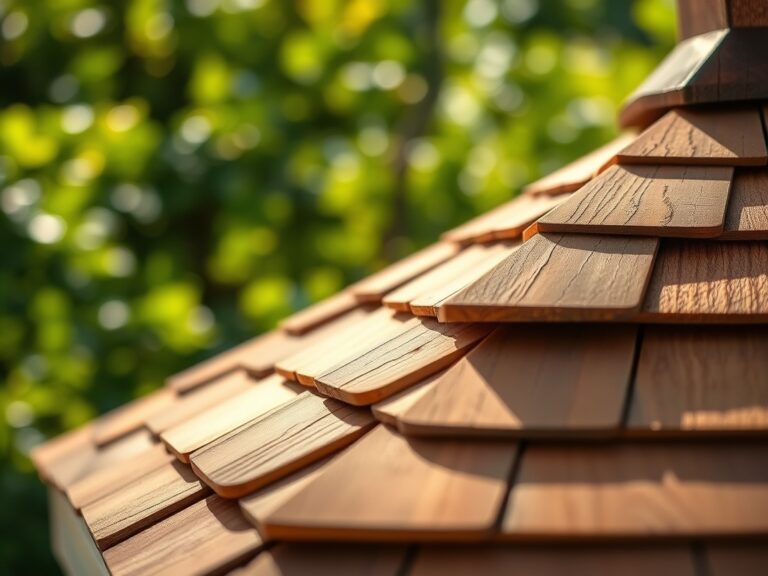
Transplanting the Shingles
Start with a starter course at the eave. This is a shingle with the tabs cut off, providing a double layer of protection at the most vulnerable point. Nail each shingle 0.5 inches above the tab cutouts. On a gazebo, which is often hexagonal or octagonal, you must trim shingles to fit the hip rafters where the roof planes meet.
Pro-Tip: Use a chalk line to maintain horizontal alignment. Proper spacing is vital for "structural phototropism"; while the roof does not grow toward the light, its orientation determines how UV radiation will degrade the asphalt granules over time.
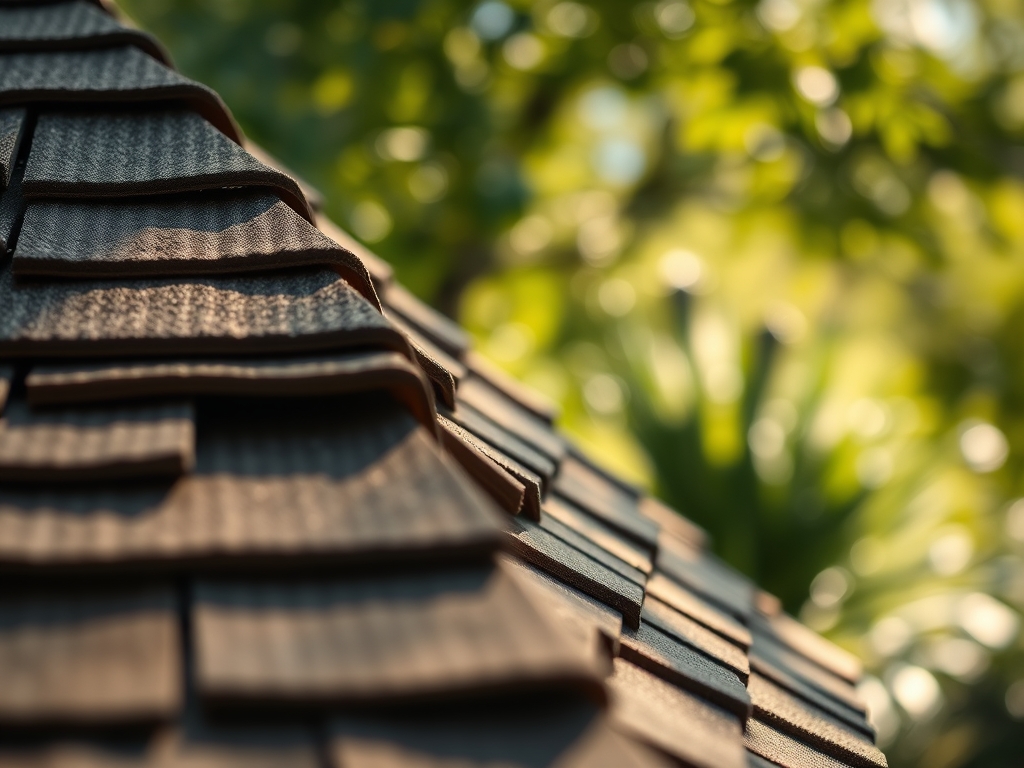
Establishing the Cap
The final step is the installation of hip and ridge caps. Cut individual shingles into thirds and fold them over the ridges where the roof sections converge. Start from the bottom of the hip and work toward the peak. Secure each cap with two nails, one on each side, ensuring the nail is covered by the succeeding shingle.
Pro-Tip: Apply a bead of roofing cement to the final cap shingle. This prevents wind uplift. In botanical terms, this is similar to auxin suppression in pruning; by securing the "apex" of the roof, you control the flow of environmental stressors across the entire surface area.
The Clinic:
Even with precise installation, physiological disorders can occur in your garden structures and the plants surrounding them.
- Symptom: Buckling shingles. Solution: This is often caused by poor ventilation or trapped moisture. Ensure the roof deck was dry before application.
- Symptom: Granule loss. Solution: Excessive foot traffic or hail damage. Replace individual shingles to maintain the UV barrier.
- Symptom: Iron Chlorosis in nearby shrubs. Solution: If your shingles have high zinc or copper content to prevent moss, the runoff might alter soil chemistry. Apply chelated iron to the soil to restore green pigment.
- Fix-It for Nitrogen Deficiency: If plants near the gazebo show yellowing on older leaves, apply a high-nitrogen fertilizer (e.g., 21-0-0) to boost chlorophyll production and vegetative vigor.
Maintenance:
A gazebo roof requires annual inspections, just like your irrigation system. Use a soil moisture meter to check the ground around the foundation; if the soil is consistently saturated, your gutter system or drip edge may be failing. Clear debris from the valleys using a soft brush to prevent the buildup of organic matter, which can host moss and lichen. For the surrounding flora, provide 1.5 inches of water per week at the drip line to maintain turgor. Use a hori-hori knife to remove deep-rooted weeds near the gazebo base and bypass pruners to keep branches at least 2 feet away from the shingles to prevent physical abrasion.
The Yield:
The yield of a well-shingled gazebo is a dry, protected space that extends your gardening season. If you use the gazebo for drying herbs or curing alliums, the interior humidity should remain below 60 percent. For harvesting lavender or rosemary to hang within the rafters, cut the stems in the early morning after the dew has evaporated but before the sun triggers the volatilization of essential oils. This ensures "day-one" freshness and maximum aromatic potency. Handle all harvested material by the stems to avoid bruising the delicate cell walls.
FAQ:
What is the best temperature for shingling?
Install shingles when temperatures are between 50 and 80 degrees Fahrenheit. This ensures the asphalt adhesive strips bond correctly without the shingles becoming too brittle or too soft, maintaining structural integrity during the installation process.
How many nails per shingle are required?
Use four to six galvanized nails per shingle, depending on the slope and local wind conditions. Proper nail placement is essential to prevent shingles from lifting, which mimics the way strong root systems anchor a plant against wind.
Can I shingle over old shingles?
It is not recommended. Adding a second layer increases the dead load on the gazebo frame and can trap heat. Removing the old layer allows you to inspect the wood for rot and ensures a flatter, more professional finish.
How do I prevent moss on shingles?
Install zinc or copper strips near the roof peak. When it rains, metallic ions are released and wash down the roof. These ions act as a natural biocide, inhibiting the growth of moss and algae without harming the roof.