10 Pro Ways How to Build a Garden Workshop
Crushing a handful of damp, friable loam reveals the structural integrity of your land. The scent of geosmin signifies active microbial life while the turgor of a healthy leaf proves your irrigation reaches the cellular level. To master how to build a garden workshop, you must move beyond hobbyist aesthetics and adopt the mindset of a biological engineer. This space serves as the nerve center for propagation, soil mixing, and tool maintenance. Success requires a foundation built on thermal mass, proper drainage, and an understanding of the rhizosphere. You are not merely building a shed; you are constructing a controlled environment where the transition from seed to transplant is managed with surgical precision. Every square foot must facilitate the biological needs of the plant, from the Cation Exchange Capacity of your potting mixes to the photoperiod requirements of your seedlings.
Materials:
The substrate is the most critical material in any workshop. For seed starting and propagation, you require a friable loam with a pH between 6.0 and 6.8. This range ensures that essential micronutrients remain bioavailable. Your workshop should be stocked with specific NPK (Nitrogen-Phosphorus-Potassium) components to blend custom fertilizers based on plant life cycles.
Maintain a supply of 4-12-4 for root development and a 10-10-10 balanced granular for general vegetative growth. High-nitrogen sources like blood meal (12-0-0) are necessary for leafy greens, while bone meal (3-15-0) provides the phosphorus required for floral initiation. The physical texture of your potting medium should include perlite or vermiculite to ensure a high Cation Exchange Capacity (CEC). This allows the soil to hold onto positively charged ions like Calcium (Ca2+) and Magnesium (Mg2+), preventing nutrient leaching during heavy irrigation cycles.
Timing:
Timing your workshop activities depends entirely on your USDA Hardiness Zone and the local frost-date window. In Zones 5 through 7, the workshop becomes a high-activity hub in late February, approximately 8 to 10 weeks before the last predicted frost. This is when the biological clock of most annuals must be triggered.
The transition from the vegetative stage to the reproductive stage is governed by the photoperiod. For short-day plants, you must manage light exposure to fewer than 12 hours to induce flowering. Conversely, long-day crops require more than 14 hours of light to prevent premature bolting. Understanding the thermal requirements of your seeds is vital; most Solanaceae species require a consistent soil temperature of 70 to 80 degrees Fahrenheit for optimal germination rates. Use heat mats with digital thermostats to maintain these precise parameters within your workshop environment.
Phases:
Sowing
Begin by sterilizing all trays and tools to prevent damping-off, a fungal condition caused by Pythium or Rhizoctonia. Place seeds at a depth approximately twice their diameter. Use a fine-mist sprayer to maintain high humidity without displacing the substrate.
Pro-Tip: Monitor for phototropism. If seedlings lean toward a light source, they are experiencing auxin accumulation on the shaded side of the stem, causing cell elongation. Rotate trays 180 degrees daily or increase light intensity to ensure thick, sturdy stems.
Transplanting
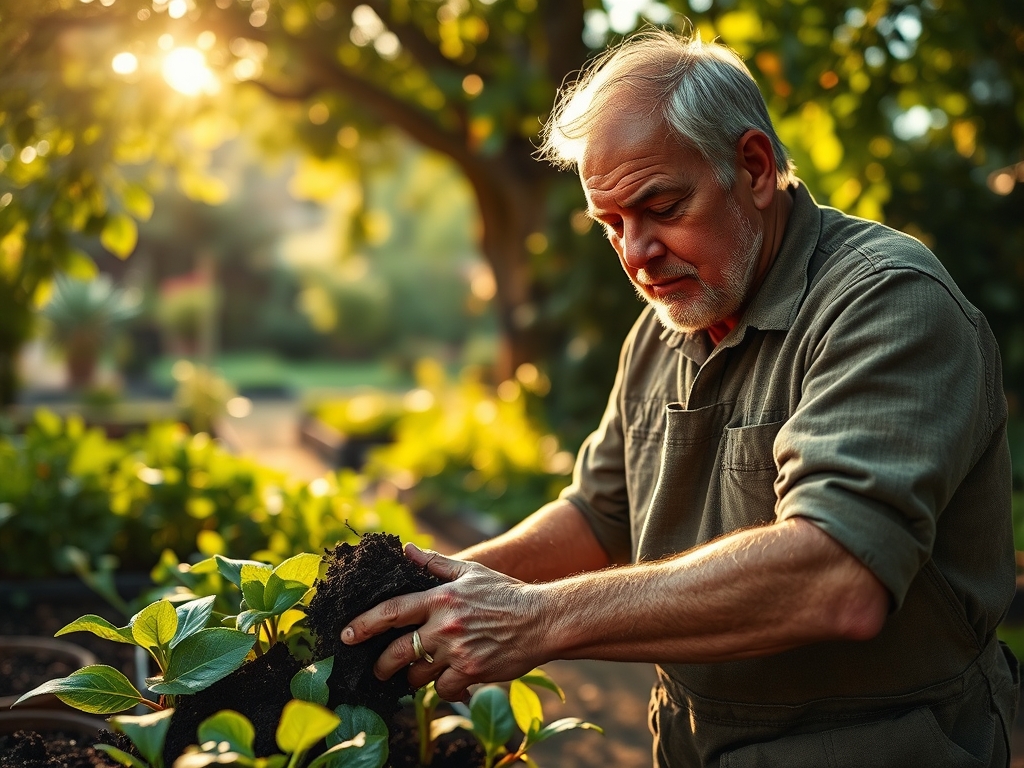
Once the first set of true leaves appears, the plant has transitioned from relying on endosperm energy to active photosynthesis. Move seedlings into larger containers to prevent them from becoming root-bound, which stunts the apical meristem.
Pro-Tip: Inoculate the root zone with mycorrhizal fungi during this phase. This symbiotic relationship extends the root system's reach, allowing for increased uptake of phosphorus and water through a network of hyphae.
Establishing
Before moving plants to the field, they must undergo "hardening off." This involves gradual exposure to UV radiation and fluctuating temperatures. This process thickens the waxy cuticle on the leaf surface, reducing transpirational water loss.
Pro-Tip: Practice auxin suppression by pinching off the terminal bud on certain species. This halts apical dominance and redirects growth hormones to lateral buds, resulting in a bushier, more productive plant architecture.
The Clinic:
Physiological disorders often mimic infectious diseases but are rooted in environmental stress or nutrient imbalances.
- Nitrogen Chlorosis: Observe the older, lower leaves. If they turn a uniform pale yellow while the rest of the plant remains green, the plant is scavenging nitrogen to support new growth. Fix-It: Apply a water-soluble 5-1-1 fish emulsion for immediate uptake.
- Blossom End Rot: This appears as a sunken, leathery black spot on the base of the fruit. It is caused by a localized Calcium deficiency, often triggered by inconsistent soil moisture rather than a lack of Calcium in the soil. Fix-It: Maintain consistent soil moisture levels and ensure the pH is above 6.0.
- Interveinal Chlorosis: If the veins remain dark green but the tissue between them turns yellow, you likely have a Magnesium or Iron deficiency. This is common in high pH soils where these elements become "locked." Fix-It: Apply chelated iron or Epsom salts (Magnesium Sulfate) as a foliar spray.
Maintenance:
A professional workshop requires a rigorous maintenance schedule for both the environment and the tools. Irrigation should be calculated precisely; most vegetable crops require 1.5 inches of water per week delivered at the drip line to avoid wetting the foliage and inviting fungal pathogens. Use a soil moisture meter to verify that the root zone is reaching field capacity without becoming anaerobic.
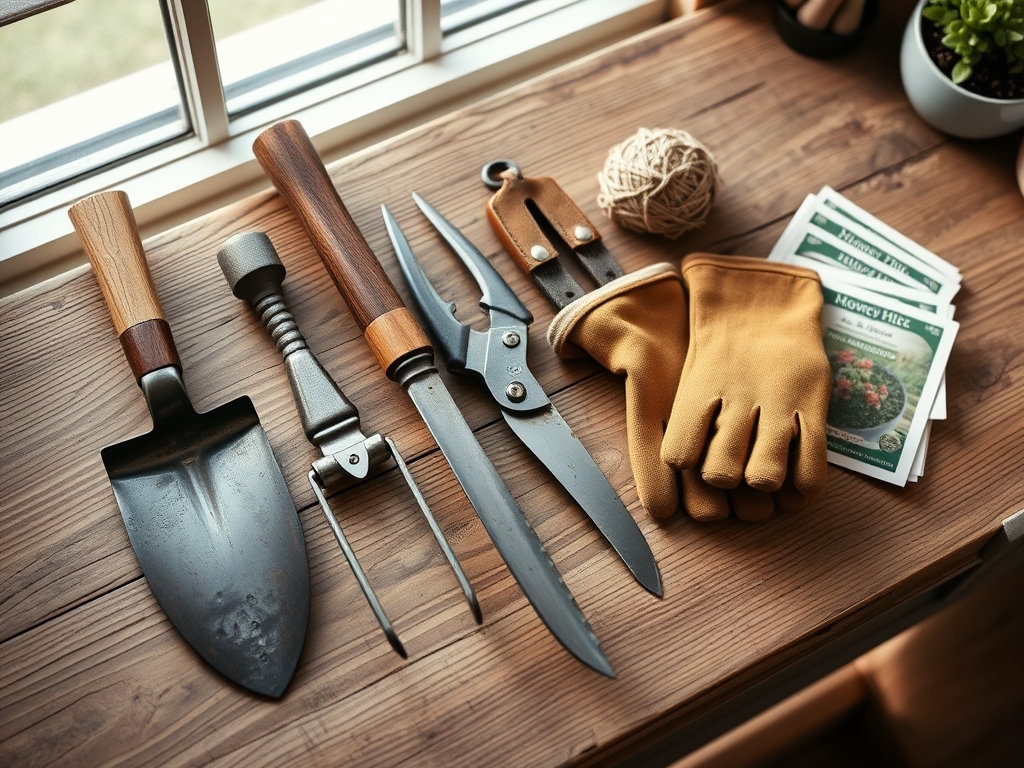
Keep your bypass pruners sharp and disinfected with a 70 percent isopropyl alcohol solution between every plant to prevent the spread of viral pathogens. Use a hori-hori knife for deep weeding and measuring planting depths accurately. Every autumn, oil your wooden handles and sharpen the blades of your shovels to a 45-degree angle to ensure clean cuts through soil and root mass.
The Yield:
Harvesting is the culmination of the biological process and requires precise timing to maximize nutrient density and shelf life. For most fruiting crops, harvest in the early morning when turgor pressure is at its peak. This ensures the cells are fully hydrated, preventing wilting.
Use a sharp blade to make clean cuts; tearing the stem creates a larger surface area for pathogens to enter the mother plant and increases the rate of senescence in the harvested crop. For leafy greens, submerge the harvest in a cold-water bath (approximately 40 degrees Fahrenheit) immediately to remove field heat. This process, known as hydro-cooling, slows down the plant's respiration rate and preserves "day-one" freshness for an extended period.
FAQ:
What is the best floor material for a garden workshop?
Use sealed concrete or crushed gravel. These materials allow for easy drainage and can be sanitized to prevent the buildup of soil-borne pathogens. Concrete also provides thermal mass to help regulate interior temperatures during shoulder seasons.
How do I prevent my seeds from rotting?
Ensure your starting mix is sterile and well-draining. Maintain a soil temperature of 70 degrees Fahrenheit and avoid overwatering. Use a fan to provide airflow, which reduces humidity at the soil surface and strengthens seedling stems.
Why are my seedling leaves turning purple?
Purple coloration, especially on the undersides of leaves, typically indicates a Phosphorus deficiency. This is often caused by cold soil temperatures (below 55 degrees Fahrenheit) which inhibit the plant's ability to uptake Phosphorus, even if it is present.
How often should I calibrate my pH meter?
Calibrate your digital pH meter at least once a month using a two-point buffer solution (pH 4.0 and 7.0). Accurate readings are essential because a deviation of just 1.0 can result in complete nutrient lockout.