9 Best Mortar for Stone Arches
The smell of damp earth and the cooling of the evening air signal the ideal window for masonry work in the garden. When building permanent structures, the turgor of the surrounding vegetation must be protected from caustic runoff. Selecting the best mortar for stone arches requires an understanding of compressive strength and permeability to ensure the stone does not spall under environmental stress. A rigid structure depends on the chemical bond between the calcium hydroxide in the mortar and the mineral surface of the stone.
Architectural stability in a garden setting is not merely about aesthetics; it is a matter of geological and botanical engineering. The mortar must allow for the natural expansion and contraction of the earth without fracturing the stone. If the mortar is harder than the stone itself, the stone will fail during freeze-thaw cycles. This guide examines the technical specifications of mortar mixes and how they interact with the soil chemistry and plant life surrounding your stone arch.
Materials:
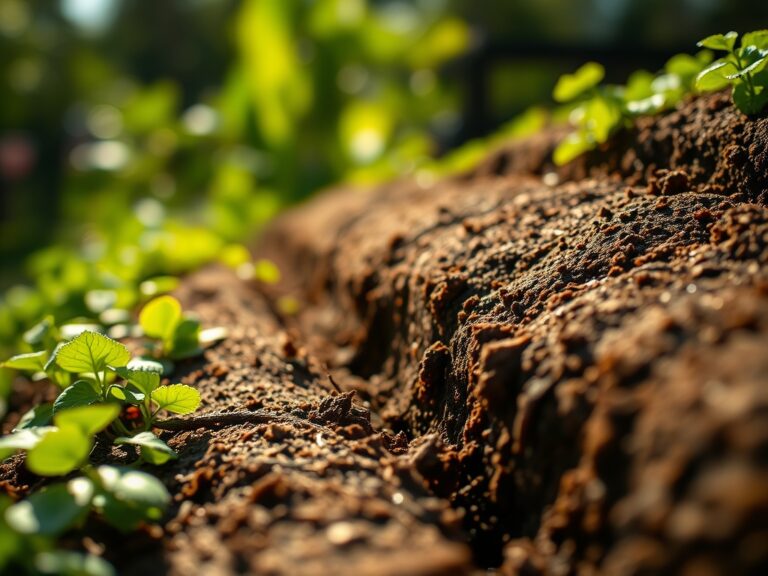
The soil surrounding your stone arch dictates the long-term health of the structure and the adjacent flora. A friable loam with a pH between 6.0 and 7.0 is the standard for most garden installations. This acidity level prevents the leaching of alkaline salts from the mortar into the rhizosphere, which could otherwise lock out essential micronutrients like iron and manganese.
When integrating plantings around the base of the arch, the soil must have a high Cation Exchange Capacity (CEC), typically ranging from 15 to 25 meq/100g. This allows the soil to retain nutrients like potassium (K) and magnesium (Mg) despite the presence of lime-based mortars. Use a fertilizer with an NPK ratio of 5-10-10 for establishing root systems near masonry; lower nitrogen levels prevent excessive vegetative growth that could exert physical pressure on the new mortar joints.
The best mortar for stone arches usually falls into three categories:
- Type N Mortar: A medium-strength mix (750 psi) composed of 1 part Portland cement, 1 part lime, and 6 parts sand. It is the gold standard for soft stone and garden walls.
- Type O Mortar: A low-strength mix (350 psi) with a high lime content. It is used for historic restorations and very soft sandstones.
- Hydraulic Lime Mortar (NHL 3.5): A breathable, flexible option that allows for moisture vapor transmission, preventing salt buildup in the stone pores.
Timing:
Masonry and the biological clock of the garden must be synchronized. Stone arches should be constructed when the ambient temperature remains between 50 and 80 degrees Fahrenheit for at least 72 hours. In Hardiness Zones 5 through 7, this window typically opens after the last spring frost and closes four weeks before the first autumn freeze.
The "Biological Clock" of the surrounding plants is critical. Construction should ideally occur during the senescence of nearby perennials or before the spring "flush" of growth. This prevents physical damage to plants during their peak reproductive stages. If you are planting climbers like Clematis or Wisteria to scale the arch, wait until the mortar has cured for at least 28 days to ensure the pH of the runoff has stabilized.
Phases:

Sowing and Soil Preparation
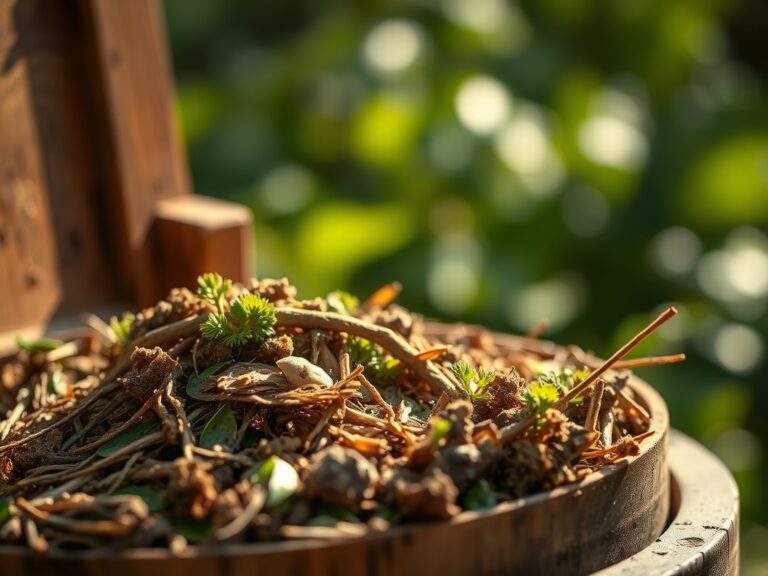
Before the first stone is laid, the soil must be excavated to the frost line. Replace heavy clay with a mixture of 70% native soil and 30% coarse organic matter. This ensures that the foundation of the arch does not shift due to hydrostatic pressure.
Pro-Tip: Maintain a high mycorrhizal symbiosis in the soil by avoiding over-tilling. These fungi extend the root system of plants, allowing them to better tolerate the localized alkaline shift caused by the mortar's lime content.
Transplanting Near the Arch
When the arch is structural, plants should be placed at least 12 inches from the base to allow for root expansion. Use a hori-hori knife to cut through any circling roots before placing the plant in the hole. Ensure the root flare is level with the soil surface to prevent stem rot.
Pro-Tip: Direct the roots away from the stone foundation to prevent auxin suppression. When roots hit a hard barrier, auxin levels can fluctuate, potentially slowing the growth on one side of the plant and causing asymmetrical development.
Establishing the Structure
Curing the mortar is a slow process. Mist the joints with water twice daily for the first 7 days. This prevents the mortar from drying too quickly, which leads to shrinkage cracks and structural instability.
Pro-Tip: Rapid drying disrupts the hydration of the cement clinker. Slow curing ensures a dense crystalline structure within the mortar, maximizing its resistance to water penetration and frost wedging.
The Clinic:
Physiological disorders in plants near masonry are often caused by chemical imbalances. Observe the following symptoms and apply the necessary fixes.
-
Symptom: Interveinal Chlorosis. The leaves turn yellow while the veins remain green.
Solution: This is often iron deficiency caused by high pH from mortar runoff.
Fix-It: Apply chelated iron to the soil and use a sulfur-based acidifier to lower the pH to 6.5. -
Symptom: Leaf Scorch. The edges of the leaves appear burnt or brown.
Solution: This indicates salt toxicity or lack of water. Mortar can wick moisture away from the soil.
Fix-It: Increase irrigation to 2 inches of water per week and flush the soil with deep watering to leach excess salts. -
Symptom: Stunted Growth. New leaves are small and the plant fails to reach the arch.
Solution: Phosphorus lockout. High calcium levels from the lime can bind with phosphorus.
Fix-It: Use a high-phosphorus "starter" fertilizer with an NPK of 10-52-10 to bypass the lockout during the establishment phase.
Maintenance:
A stone arch requires consistent monitoring of both the masonry and the biological environment. Use a soil moisture meter twice a week to ensure the area under the arch is not becoming a "rain shadow" where the stone blocks natural precipitation. Most garden plants require 1.5 inches of water per week delivered at the drip line.
Pruning is essential for maintaining the integrity of the stone. Use bypass pruners to remove any woody stems that attempt to grow into the mortar joints. Vines with "holdfasts" or aerial roots can physically degrade the mortar over time. Prune these back to encourage the plant to utilize a secondary trellis or wire system rather than the stone itself. Inspect the mortar joints annually for efflorescence, a white powdery salt deposit. Clean this with a stiff brush and water; do not use acid cleaners near sensitive root zones.
The Yield:
For those growing fruiting vines like grapes or hardy kiwi on their stone arches, harvest timing is determined by Brix levels (sugar content). Use a refractometer to check for peak ripeness. Grapes should be harvested when they reach a Brix level of 18 to 22.
Handle the fruit with care to preserve the "bloom," the waxy coating that protects the fruit from dehydration. Use sharp snips to cut the clusters, leaving a small portion of the stem attached. To maintain "day-one" freshness, move the harvest immediately to a cool, dark environment with 90% humidity to maintain turgor pressure in the fruit.
FAQ:
What is the best mortar for stone arches made of limestone?
Use Type N mortar or a Hydraulic Lime Mortar (NHL 3.5). These mixes provide the necessary flexibility and breathability to prevent the limestone from cracking or spalling during seasonal temperature fluctuations.
Can I use Type S mortar for a garden arch?
Type S is generally too hard for most decorative garden stones. Its high compressive strength (1800 psi) can cause softer stones to shatter when the ground shifts or during freeze-thaw cycles. Stick to Type N.
How does mortar affect soil pH?
Mortar contains lime, which is highly alkaline. Over time, rain can wash calcium hydroxide into the soil, raising the pH. Monitor the rhizosphere and apply elemental sulfur if the pH rises above 7.5.
How long should mortar cure before I plant vines?
Wait at least 28 days. This allows the mortar to reach its full design strength and ensures the initial chemical leaching phase has passed, protecting young root systems from high alkalinity and chemical burns.