6 Basic Steps to Pilea Peperomioides Care
Crushing a dry leaf of Pilea peperomioides between your fingers reveals a brittle, papery failure of cellular turgor. Conversely, a healthy specimen exhibits thick, succulent petioles and peltate leaves that feel like cool, taut leather. Achieving this state requires a rigorous adherence to the steps to pilea peperomioides care. This species, often called the Chinese Money Plant, is a perennial succulent native to the Yunnan Province of China. It thrives in specific microclimates where humidity remains moderate and light is filtered. Success depends on managing the rhizosphere and ensuring the plant maintains a consistent internal water potential. Neglecting the substrate composition or the light intensity leads to rapid leaf senescence and spindly growth. To produce a robust, aesthetically balanced specimen, a grower must act as both a chemist and a physicist, balancing nutrient availability with environmental stressors.
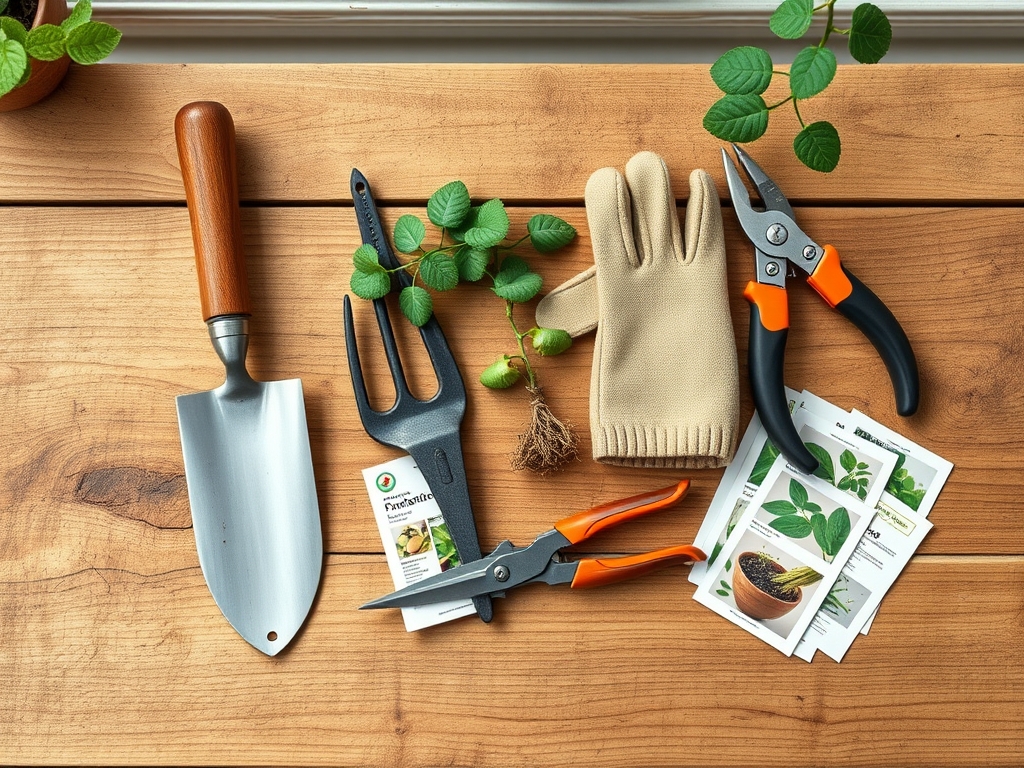
Materials:
The foundation of Pilea health is a substrate with high porosity and a **Cation Exchange Capacity (CEC)** that allows for efficient nutrient uptake. Use a friable loam mixed with perlite and coco coir in a **2:1:1 ratio**. The target **soil pH must be between 6.0 and 7.0**. A slightly acidic environment ensures that micronutrients like iron and manganese remain bioavailable.
For fertilization, utilize a water-soluble formula with an NPK ratio of 10-10-10 or 20-20-20 during the active growing season. If you observe slowed growth, a higher nitrogen ratio (e.g., 3-1-2) can stimulate vegetative expansion. Ensure your containers have large drainage holes; terracotta is preferred for its gas exchange properties, which prevent anaerobic conditions in the root zone.
Timing:
Pilea peperomioides is typically grown indoors in temperate climates, but it is hardy in USDA Zones 10 through 12. If kept outdoors, the plant must be moved inside when ambient temperatures drop below 50 degrees Fahrenheit (10 degrees Celsius). Exposure to frost will cause immediate cellular rupture and plant death.
The biological clock of the Pilea is driven by the photoperiod. During the spring and summer, the plant enters its primary vegetative phase, producing "pups" or offsets from the underground rhizome system. As daylight hours decrease in autumn, the metabolic rate slows. This is the period of semi-dormancy where water requirements drop by nearly 50 percent. Avoid repotting or heavy pruning during this winter lull to prevent unnecessary stress on the vascular system.
Phases:
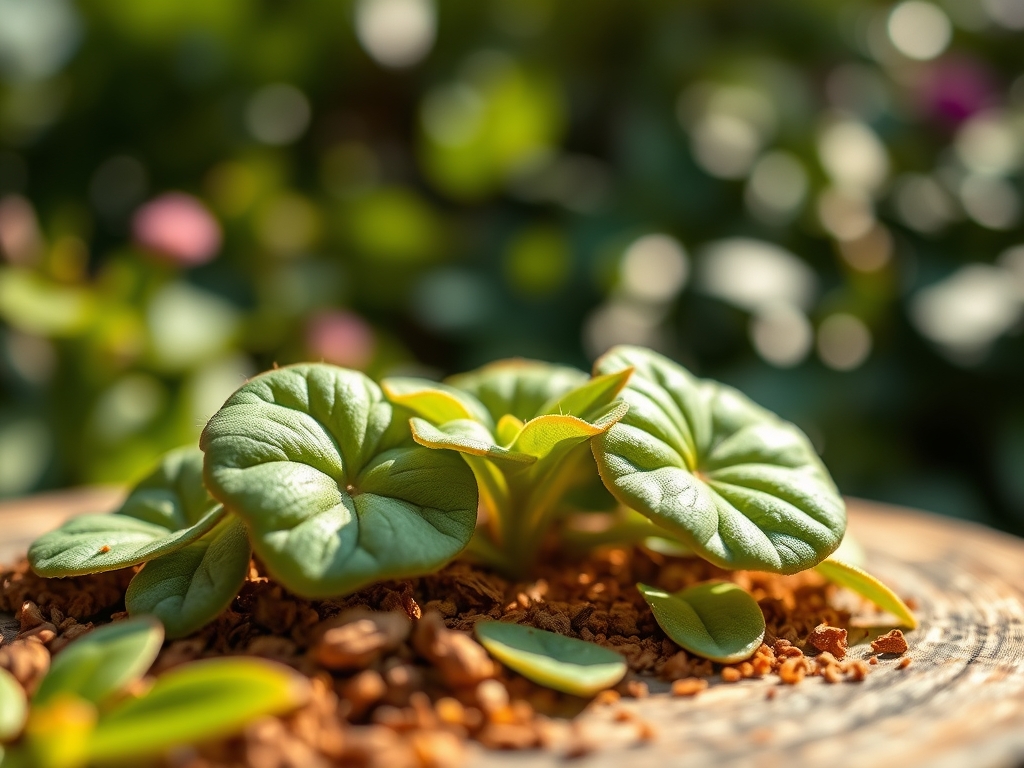
Sowing and Propagation
While Pilea can be grown from seed, it is most efficiently propagated via offsets. Use a sterilized hori-hori knife to sever a pup from the mother plant once it reaches 3 inches in height. Ensure the offset has its own established root system before detachment.
Pro-Tip: When taking cuttings, ensure you include a portion of the rhizome. This utilizes auxin suppression; by removing the pup, you signal the mother plant to redirect growth hormones to other dormant nodes, increasing the overall density of the colony.
Transplanting
Move the Pilea into a container only 1 to 2 inches larger than its current root ball. Excessive soil volume leads to "perched water tables," where the bottom of the pot remains saturated while the top dries out. This imbalance causes root rot. Gently tease the roots to break any circular growth patterns.
Pro-Tip: Incorporate a handful of worm castings into the new mix. This introduces beneficial microbes that foster mycorrhizal symbiosis, enhancing the plant's ability to absorb phosphorus and resist soil-borne pathogens.
Establishing
Place the newly potted plant in a location receiving 200 to 400 foot-candles of light. Direct midday sun will cause solarization, where the chlorophyll is destroyed and the leaves turn white or yellow. Rotate the pot 90 degrees every week to ensure even growth.
Pro-Tip: Pilea leaves exhibit strong phototropism. Regular rotation prevents the plant from leaning, which can cause structural instability and eventual snapping of the main woody stem as it matures.
The Clinic:
Monitoring physiological disorders is essential for long-term survival. Use the following data to diagnose and treat common issues.
Symptom: Lower leaves turning yellow and falling off (Chlorosis).
Solution: This is often a Nitrogen deficiency. Apply a balanced liquid fertilizer at half-strength. If the stem is also mushy, it is a sign of overwatering and root hypoxia.
Symptom: Brown, crispy leaf edges.
Solution: Low humidity or high salt accumulation in the substrate. Flush the soil with distilled water to leach out excess minerals and increase ambient humidity to at least 50 percent.
Symptom: Small, curled leaves with stunted growth.
Solution: Insufficient light or Calcium deficiency. Increase light exposure and check the soil pH. If pH is below 6.0, add a small amount of dolomitic lime to improve calcium availability.
Fix-It for Nitrogen Chlorosis: If the plant appears pale overall, apply a 5-1-1 fish emulsion. The organic nitrogen is readily available and will restore deep green pigmentation within 14 days of application.
Maintenance:
Precision in maintenance prevents the "boom and bust" cycle of plant health. Use a soil moisture meter to check the substrate daily. Do not water until the top 2 inches of soil are completely dry. For a 6-inch pot, this typically equates to 0.5 to 0.75 cups of water every 7 to 10 days, depending on evaporation rates.
Pruning is necessary to maintain the plant's structural integrity. Use bypass pruners to remove any dead or decaying leaves at the base of the petiole. If the plant becomes "leggy" (internodal stretching), you can decapitate the top of the main stem. This forces lateral branching and results in a fuller, more compact habit. Always sterilize your tools with 70 percent isopropyl alcohol between cuts to prevent the spread of fungal spores.
The Yield:
While Pilea peperomioides is not an edible crop, its "yield" consists of the offsets used for further propagation. To harvest these pups, wait until the daughter plant has developed at least four true leaves. Use a sharp blade to cut the connecting root about 1 inch below the soil line.
Post-harvest, place the pup in a small vessel of filtered water for 2 to 3 weeks until secondary roots are at least 1 inch long. This water-to-soil transition requires high humidity; placing a clear plastic dome over the pot for the first week can prevent desiccation and ensure "day-one" freshness in the new environment.
FAQ:
How often should I water my Pilea?
Water when the top 2 inches of substrate feel dry. This usually occurs every 7 to 10 days. Use a moisture meter to ensure the root zone is not sitting in stagnant water, which causes root decay.
Why are my Pilea leaves curling inward?
Inward curling is a defense mechanism against excessive light or heat. The plant reduces its surface area to minimize transpiration. Move the plant further from the light source or provide sheer filtration to lower the temperature.
What is the best light for Pilea peperomioides?
Pilea thrives in bright, indirect light. Aim for a north or east-facing window. Avoid direct southern exposure, which can exceed 1,000 foot-candles and cause irreversible leaf scorch or solarization of the foliage.
Does Pilea need high humidity?
Pilea prefers humidity levels between 40 and 60 percent. While it can tolerate average household air, extremely dry conditions (below 30 percent) lead to leaf tip necrosis. Use a humidifier or a pebble tray to maintain levels.
Why does my Pilea have white spots on the leaves?
Small white dots on the underside of the leaves are usually mineral deposits from hard water. These are called hydathodes. They are harmless but indicate you should switch to filtered or distilled water to reduce salt buildup.