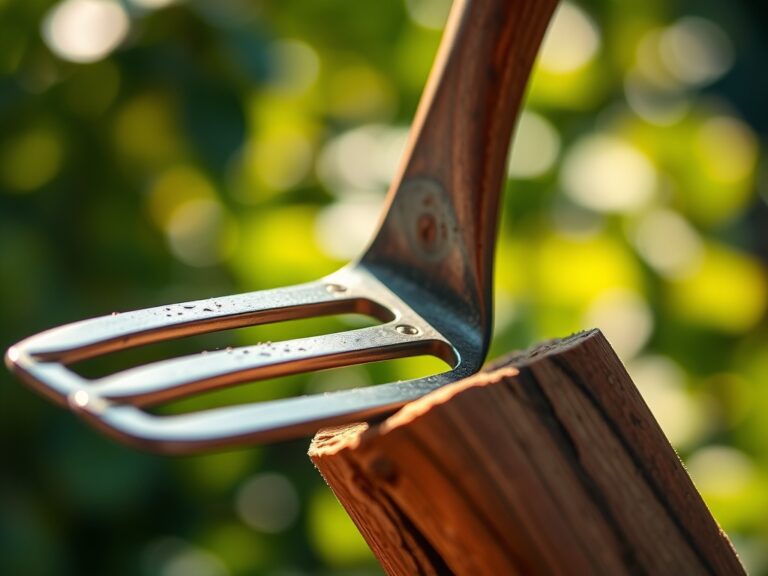
8 Best Lubricants for Tumbler Gears
The smell of damp earth after a heavy rain indicates the release of geosmin; this organic compound signals a healthy microbial community within the rhizosphere. Maintaining a productive garden requires more than just biological oversight; it demands the mechanical reliability of your infrastructure. Compost tumblers are the engines of the organic garden, and their efficiency depends on the mechanical integrity of their rotational components. Selecting the best lubricants for tumbler gears ensures that the heavy physical load of decomposing biomass does not lead to shear failure or gear stripping. Friction in these systems generates heat that can warp plastic housings or degrade metal teeth. A high-viscosity lubricant provides a protective barrier against the corrosive effects of leachate and moisture. Without proper lubrication, the physical exertion required to aerate 50 gallons of saturated organic matter increases exponentially. Precision in mechanical maintenance mirrors the precision required in soil chemistry. Just as a plant relies on turgor pressure to maintain its structural uprightness, a tumbler relies on a thin film of synthetic or food-grade grease to maintain its rotational momentum throughout the long decomposition cycle.
Materials:
The success of any botanical endeavor begins with the substrate. For high-yield vegetable production, aim for a **friable loam** with a **Cation Exchange Capacity (CEC) above 15**. The ideal soil pH for most garden cultivars sits between **6.2 and 6.8**, ensuring maximum bioavailability of macro and micronutrients. If the pH drops below **5.5**, aluminum toxicity becomes a risk; if it rises above **7.5**, iron and phosphorus become chemically locked.
When prepping your beds, integrate organic matter to achieve an NPK ratio of 5-10-5 for root development or 10-10-10 for general vegetative growth. Heavy feeders like brassicas require a higher nitrogen concentration, often necessitating a 4-1-2 ratio during the early vegetative stage. The physical texture should be granular enough to allow for 20 percent macropore space, facilitating oxygen diffusion to the root zone. Avoid compaction, as it reduces the hydraulic conductivity of the soil and leads to anaerobic conditions that invite root rot pathogens like Phytophthora.
Timing:
Successful cultivation is governed by the Hardiness Zone and the local frost-free window. In Zones 5 through 7, the primary growing season begins when soil temperatures consistently reach 55 degrees Fahrenheit. The biological clock of the plant is triggered by the photoperiod, the duration of light exposure in a 24 hour cycle.
Plants transition from the vegetative stage to the reproductive stage based on these light cues and thermal units, known as Growing Degree Days (GDD). For cool-season crops, the window opens 4 to 6 weeks before the last predicted frost. Warm-season crops must wait until the risk of frost is zero, as a single event below 32 degrees Fahrenheit will cause ice crystals to form within the cellular structure, leading to immediate cell wall rupture and necrosis. Monitoring the vernalization requirements for specific perennials is also critical; many fruit-bearing species require between 200 and 1,000 chill hours below 45 degrees Fahrenheit to break dormancy and initiate flowering in the spring.
Phases:

Sowing
Direct sow seeds at a depth exactly three times the diameter of the seed. This ensures sufficient moisture contact while allowing the hypocotyl to reach the surface before endosperm energy reserves are exhausted. Maintain a consistent soil moisture level of 70 percent field capacity during the germination phase.
Pro-Tip: Proper seed depth management utilizes geotropism, the plant's internal gravity-sensing mechanism. Starch-heavy plastids called statoliths settle at the bottom of root cells, directing the radicle downward to establish the primary root system immediately.
Transplanting
When moving seedlings from flats to the field, minimize transplant shock by maintaining the integrity of the root ball. Dig a hole twice the width of the container. Ensure the soil temperature of the transplant site is within 5 degrees of the greenhouse environment to prevent metabolic stalling.
Pro-Tip: Use a mycorrhizal inoculant during this phase. This creates a mycorrhizal symbiosis where fungal hyphae extend the root system's reach by up to 100 times, significantly increasing the uptake of immobile nutrients like phosphorus.
Establishing
During the first 14 to 21 days after planting, focus on root establishment rather than top growth. Avoid high-nitrogen fertilizers that encourage rapid leaf expansion at the expense of the root-to-shoot ratio. Monitor the apical meristem for signs of vigorous new growth.
Pro-Tip: Practice auxin suppression through strategic pinching of terminal buds if bushy growth is desired. Removing the lead bud stops the downward flow of auxins, which naturally inhibit the growth of lateral buds, resulting in a fuller, more structurally sound plant.
The Clinic:
Physiological disorders often mimic infectious diseases but result from environmental or nutritional stress.
- Symptom: Blossom End Rot. Sunken, leathery black spots on the base of fruit.
- Solution: This is a calcium deficiency caused by inconsistent transpiration. Maintain steady soil moisture to ensure calcium ions move through the xylem.
- Symptom: Interveinal Chlorosis. Yellowing between leaf veins while veins remain green.
- Solution: This indicates magnesium or iron deficiency. Apply a chelated iron spray or magnesium sulfate (Epsom salts) to the soil if pH is above 7.0.
- Symptom: Leaf Curl. Upward curling of older leaves without discoloration.
- Solution: Usually a response to high heat and low humidity; the plant is reducing surface area to prevent evapotranspiration loss. Increase irrigation frequency.
Fix-It for Nitrogen Chlorosis: If lower leaves turn uniformly pale yellow, the plant is scavenging nitrogen from old tissue to support new growth. Apply a quick-release high-nitrogen fertilizer (20-0-0) to restore protein synthesis and chlorophyll production.
Maintenance:
Precision maintenance prevents systemic failure. Deliver exactly 1.5 inches of water per week at the drip line; avoid overhead irrigation which increases leaf wetness duration and fungal pressure. Use a soil moisture meter to verify that water is penetrating at least 6 inches deep.
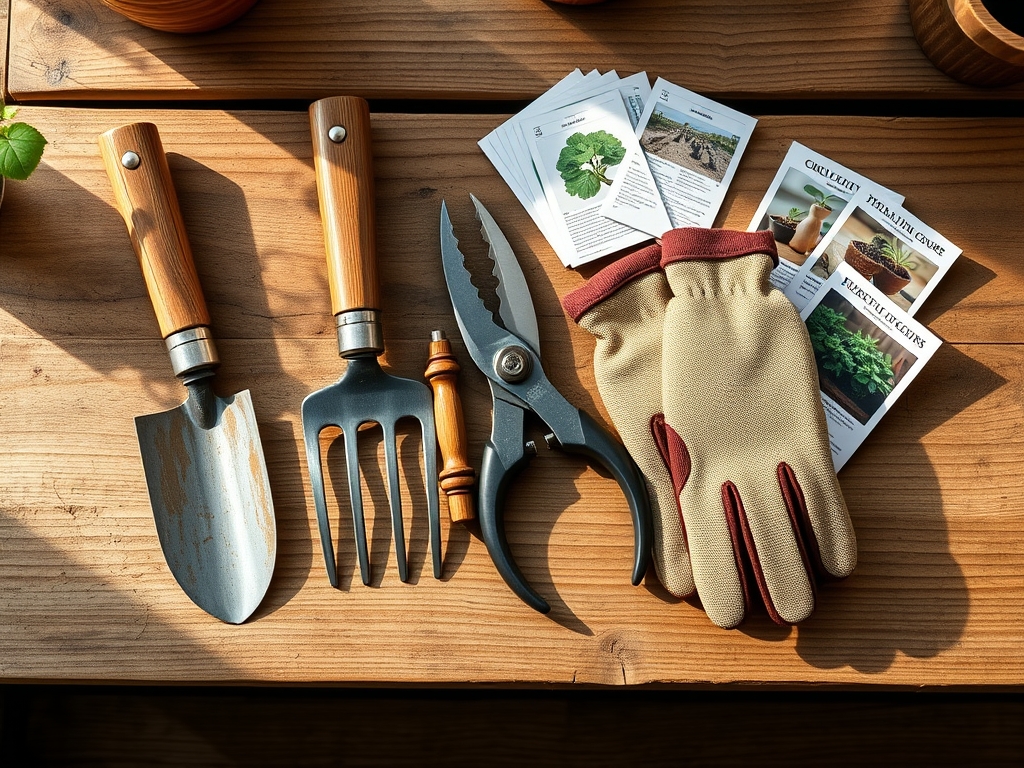
Keep a hori-hori knife sharpened for weeding and measuring planting depths. For woody perennials, use bypass pruners to make clean, slanted cuts 0.25 inches above a lateral bud; this promotes rapid callousing and prevents water from pooling on the wound. Sanitize all tools with 70 percent isopropyl alcohol between plants to prevent the mechanical transmission of pathogens. Monitor the bulk density of the soil annually; if the soil becomes too packed, use a broadfork to aerate without inverting the soil horizons, preserving the delicate microbial stratification.
The Yield:
Harvesting is the culmination of the plant's senescence or peak sugar accumulation. For fruiting crops, harvest when the "ground spot" turns from white to cream or when the fruit detaches with a slight twist, indicating the formation of the abscission layer.
For leafy greens, harvest in the early morning when turgor pressure is at its maximum. This prevents wilting and preserves the crispness of the cell walls. Use a sharp blade to ensure a clean cut that minimizes tissue trauma. Post-harvest, immediately move produce to a shaded, cool environment to remove "field heat." Rapid cooling slows the metabolic rate and respiration of the harvested tissue, extending shelf life and maintaining "day-one" nutrient density.
FAQ:
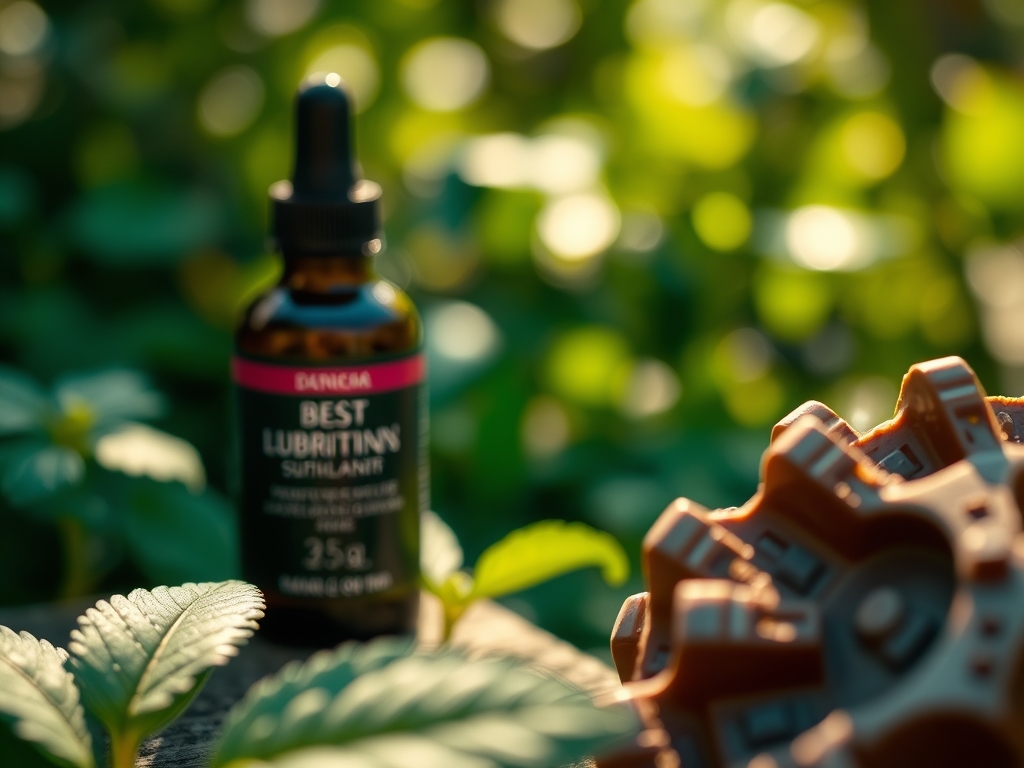
What are the best lubricants for tumbler gears?
Use lithium-based grease or marine-grade lubricants for metal gears to resist water washout. For plastic gears, silicone-based lubricants are superior because they do not degrade the polymer structure or attract excessive grit and garden debris.
How do I fix yellow leaves?
Identify the pattern. Interveinal yellowing suggests micronutrient issues like iron. Uniform yellowing of lower leaves indicates nitrogen deficiency. Check soil pH first, as incorrect acidity levels often lock out these nutrients regardless of their presence in the soil.
How often should I water my garden?
Aim for one to two deep waterings per week rather than daily shallow mists. This encourages deep root penetration. Use a soil moisture meter to ensure the root zone at 4-6 inches remains moist but not saturated.
When is the best time to apply fertilizer?
Apply during the active vegetative growth phase in early spring or after transplanting. Avoid fertilizing during extreme heat or drought, as high salt concentrations in fertilizers can cause osmotic stress and burn the root tissues when water is scarce.