10 Functional Ways How to Build a Dry Creek Bed
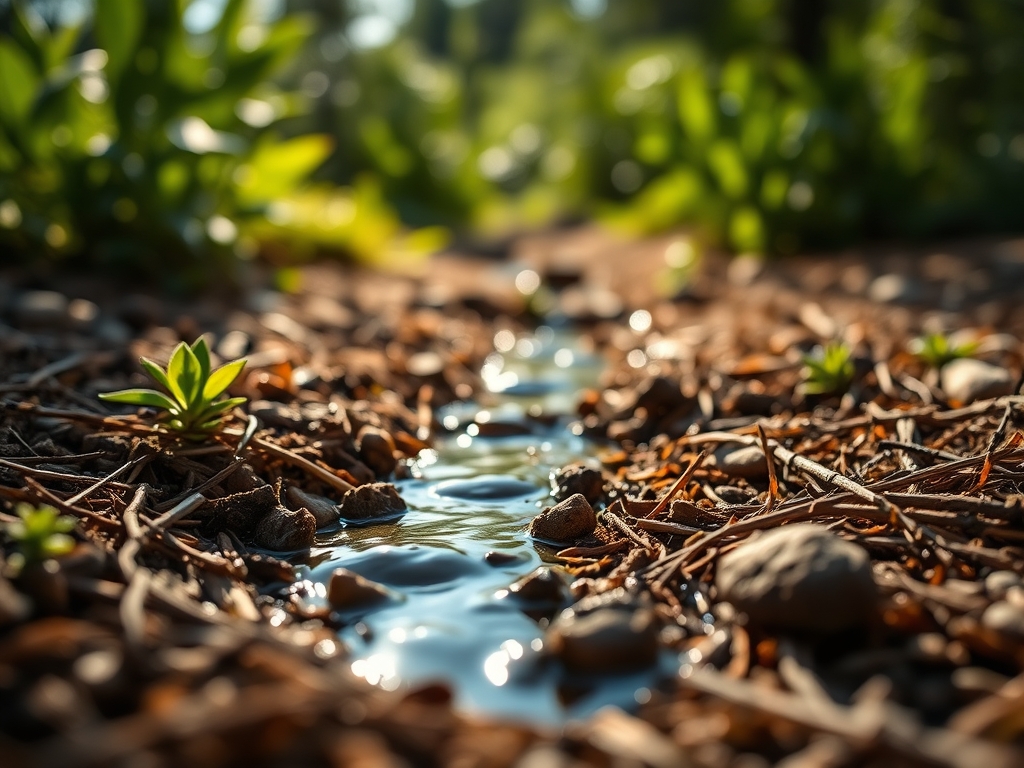
The smell of damp earth after a saturation event signals a critical failure in landscape drainage. When soil pores reach maximum water-holding capacity, the resulting surface runoff erodes the rhizosphere and triggers anaerobic conditions that lead to root rot. Learning how to build a dry creek bed is the primary mechanical solution for directing this kinetic energy. By utilizing gravity and specific geological aggregates, you can manage high-volume hydraulic loads while maintaining the structural integrity of the surrounding terrain.
Materials:

The foundation of a functional swale begins with the substrate. You must analyze the soil Cation Exchange Capacity (CEC) before excavation. High-clay soils with a **CEC above 25** require more aggressive drainage layers than sandy loams with a **CEC below 10**. If you intend to plant the margins, ensure the surrounding soil is a friable loam with a **pH between 6.0 and 7.0**.
For the creek bed itself, you require three distinct layers of aggregate. The base layer should consist of 2 to 3 inches of crushed angular stone (3/4-inch diameter) to provide friction and prevent shifting. The mid-layer requires river rocks ranging from 2 to 6 inches to mimic natural alluvial deposits. Finally, structural "anchor" boulders exceeding 12 inches must be placed at bends to break the water velocity. Avoid high-nitrogen fertilizers during construction; a balanced 10-10-10 NPK ratio is only necessary if you are establishing groundcovers in the riparian zone.
Timing:
The optimal window for construction aligns with the dormant season or early spring before the first flush of vegetative growth. In Hardiness Zones 4 through 7, this typically falls between late February and early April, once the frost line has receded but before the "Biological Clock" triggers the transition from dormancy to the vegetative stage.
Performing excavation during the period of peak turgor pressure in surrounding plants can lead to unnecessary transplant shock for existing specimens. Aim for a soil temperature of at least 45 degrees Fahrenheit to ensure the earth is workable. Avoid periods of heavy precipitation, as working saturated soil destroys soil structure by collapsing the macropores essential for oxygen exchange.
Phases:

Sowing the Perimeter
Once the trench is excavated to a depth of 12 to 18 inches, focus on the margins. If using seed for erosion control, select species with deep taproots or aggressive rhizomatous growth. Broadcast seeds at a rate of 5 pounds per 1,000 square feet.
Pro-Tip: Ensure seed-to-soil contact to facilitate imbibition. This process is the first stage of germination where the seed coat absorbs water, activating the metabolic enzymes required for the embryo to break dormancy.
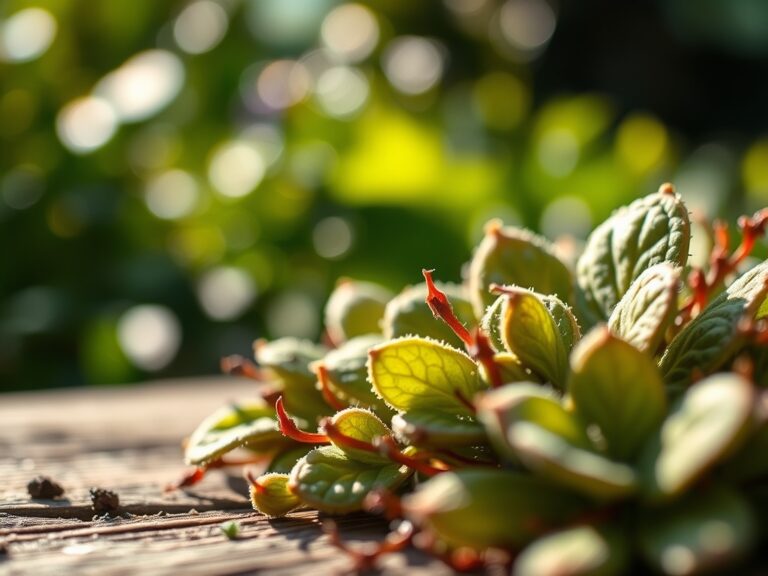
Transplanting Riparian Species
Position moisture-tolerant species along the upper banks. Use a hori-hori knife to slice through any circling roots in container-grown plants. This mechanical disruption encourages the development of lateral roots into the native soil.
Pro-Tip: Apply a mycorrhizal inoculant to the root ball. This creates a symbiotic relationship where fungal hyphae extend the root system's reach, increasing the uptake of phosphorus and water through an expanded surface area.
Establishing the Stone Matrix
Lay down a non-woven geotextile fabric before placing stones. This prevents the migration of fines (small soil particles) into the rock layer, which would otherwise clog the system and lead to failure.
Pro-Tip: Place the largest stones at the outside of curves. This counteracts the centrifugal force of flowing water, preventing bank undercut through a process of energy dissipation.
The Clinic:
Physiological disorders in the dry creek bed often manifest in the plants selected for the margins.
Symptom: Interveinal chlorosis on new growth (yellow leaves with green veins).
Solution: This typically indicates an iron deficiency, often caused by a pH above 7.5. Apply chelated iron or lower the pH using elemental sulfur.
Symptom: Leaf scorch or marginal necrosis.
Solution: Excessive salt accumulation from runoff. Flush the area with 2 inches of fresh water to leach salts below the root zone.
Symptom: Stunted growth and purplish foliage.
Solution: Phosphorus deficiency, often exacerbated by cold soil temperatures. Apply a high-phosphorus starter fertilizer with an NPK of 5-20-10.
Fix-It for Nitrogen Chlorosis: If older leaves turn uniformly pale yellow, the plant is scavenging nitrogen for new growth. Top-dress the margins with 1 pound of actual nitrogen per 1,000 square feet using a slow-release urea source.
Maintenance:
A dry creek bed is not a zero-maintenance system. You must monitor the accumulation of organic debris which can decompose and create a "muck" layer, reducing hydraulic efficiency. Use a soil moisture meter at the margins to ensure the water table remains consistent for your plantings.
During the first growing season, supplemental irrigation is mandatory. Provide 1.5 inches of water per week at the drip line of all new transplants. Use bypass pruners to remove any dead or senescing tissue from marginal plants to prevent fungal pathogens from overwintering in the debris. Check the structural integrity after any rain event exceeding 2 inches in 24 hours. If stones have shifted, reposition them and consider adding larger "deadman" anchors to stabilize the slope.
The Yield:
While a dry creek bed is primarily a functional drainage tool, it can yield high-quality cut flowers or medicinal herbs if the margins are planted correctly. Harvest these during the early morning hours when turgor pressure is at its peak. This ensures the cells are fully hydrated, extending the post-harvest shelf life.
For woody stems, use a sharp hori-hori knife to make a clean 45-degree cut, maximizing the surface area of the xylem for water uptake. Immediately submerge the stems in 110-degree Fahrenheit water to remove air embolisms from the vascular system, ensuring day-one freshness for the duration of the display.
FAQ:
How deep should I dig for a dry creek bed?
Excavate the center to a depth of 12 to 18 inches. This allows for a 3-inch base of gravel and a 6-inch layer of river rock while still leaving a depression to channel water.
What is the best liner for a creek bed?
Use a heavy-duty non-woven geotextile fabric. Unlike plastic, this material allows for gas exchange and water infiltration while preventing soil from mixing with your decorative stone and clogging the drainage path.
How do I prevent weeds in the rocks?
Maintain a depth of at least 4 inches of stone. This prevents sunlight from reaching the soil surface, inhibiting the germination of weed seeds. Use a flame weeder for any wind-blown seeds that take root in the organic debris.
Can I build a creek bed on a steep slope?
Yes, but you must incorporate "check dams" or large boulders every 5 to 10 feet. These structures slow the velocity of the water, preventing the stones from being washed downstream during high-flow events.
What plants work best for the edges?
Select species based on your Hardiness Zone. Generally, plants that tolerate "wet feet" but can survive dry spells, such as Carex species or Cornus sericea, are ideal for the fluctuating moisture levels of a swale.