8 Best Aluminum Plant Pilea Tips
Crush a handful of moist potting media and you should feel the gritty resistance of perlite against the soft give of decomposed peat. This tactile feedback indicates a substrate capable of maintaining the high turgor pressure required for Pilea cadierei to display its characteristic metallic sheen. Success with this species depends on managing the delicate balance between cellular hydration and root respiration. Mastering the best aluminum plant pilea tips involves understanding that this plant is not merely a decorative object; it is a biological engine requiring specific atmospheric and edaphic inputs to prevent lower leaf senescence.
A healthy specimen exhibits stiff, upright stems and leaves that feel cool and firm to the touch. When the rhizosphere remains within the optimal temperature range of 65 to 75 degrees Fahrenheit, the plant efficiently transports water from the roots to the leaf margins. Failure to maintain this thermal stability results in a loss of cellular rigidity. The following guide provides the technical framework necessary to sustain this tropical perennial in a controlled environment; focusing on the chemical and physical parameters that drive its growth.
Materials:
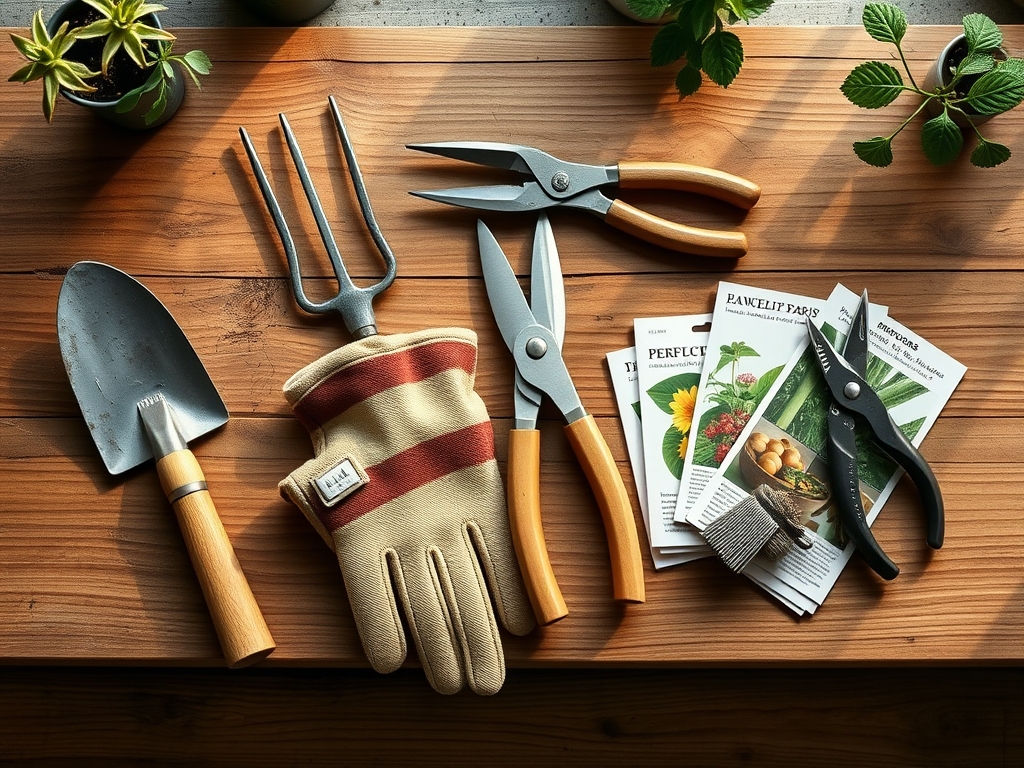
The aluminum plant requires a substrate with a high Cation Exchange Capacity (CEC) to ensure nutrient availability. Aim for a soil pH between 6.0 and 7.0. The physical texture must be a friable loam; a mixture of two parts peat moss, one part leaf mold, and one part coarse perlite or sharp sand. This composition prevents compaction and ensures the roots have access to oxygen.
Nutrient requirements are specific. During the active growing season, apply a water soluble fertilizer with an NPK ratio of 10-10-10 or 20-20-20 diluted to half strength every four weeks. Avoid high nitrogen formulas that exceed a 3-1-2 ratio, as excessive nitrogen can lead to elongated, weak internodes and a reduction in the silver variegation that defines the species. Ensure the potting vessel has multiple drainage holes to prevent the accumulation of mineral salts.
Timing:
Pilea cadierei is physiologically suited for USDA Hardiness Zones 11 through 12. In temperate regions, it must be treated as an indoor specimen or a seasonal annual. The biological clock of the plant is dictated by the photoperiod. It enters a period of active vegetative growth as daylight hours increase in the spring.
The transition from vegetative to reproductive stages is rarely the goal for indoor cultivators, as the flowers are inconspicuous and consume energy that would otherwise support foliage density. To maintain the vegetative phase, keep the plant in a stable environment where temperatures do not drop below 60 degrees Fahrenheit. Exposure to temperatures below 50 degrees Fahrenheit will trigger cellular collapse and blackening of the foliage.
Phases:
Sowing and Propagation
While seeds are an option, terminal stem cuttings are the standard for rapid establishment. Take a 3 to 4 inch cutting from a healthy mother plant, ensuring at least two nodes are present. Remove the lower leaves to reduce transpiration stress. Place the cutting in a sterile medium or water.
Pro-Tip: Cuttings benefit from the application of Indole-3-butyric acid (rooting hormone) because it stimulates auxin-driven root initiation. This chemical signal overrides the plant's apical dominance and redirects energy to the formation of adventitious roots within the rhizosphere.
Transplanting
Transplant when roots begin to circle the interior of the current container. This usually occurs every 12 to 24 months. Select a new pot that is only 1 to 2 inches wider in diameter than the previous one. Centering the root ball and backfilling with fresh, friable loam ensures immediate contact between the root hairs and the new nutrient supply.
Pro-Tip: When transplanting, avoid burying the stem deeper than its original level to prevent hypocotyl rot. Maintaining the original soil line preserves the gas exchange balance at the base of the plant.
Establishing
The establishment phase requires high humidity, ideally between 50% and 60%. Use a soil moisture meter to ensure the top 0.5 inches of soil remains moist but not saturated. During the first three weeks post-transplant, keep the plant in bright, indirect light to avoid photo-inhibition while the root system recovers.
Pro-Tip: Maintaining high humidity reduces the vapor pressure deficit (VPD) between the leaf interior and the atmosphere. This prevents excessive transpiration, allowing the plant to maintain turgor pressure while the root system is still limited.
The Clinic:
Symptom: Leaf Tip Burn
Solution: This is often caused by low humidity or the accumulation of fluoride and chlorine from tap water. Switch to distilled water or rainwater. Ensure the plant is not in the direct path of forced-air heating vents.
Symptom: Interveinal Chlorosis
Solution: Yellowing between the veins of new leaves indicates a Magnesium or Iron deficiency. Check the soil pH; if it is above 7.0, the plant cannot uptake these micronutrients. Adjust the pH to 6.5 using a sulfur-based acidifier.
Symptom: Leggy Growth
Solution: This is a physiological response to low light levels. The plant undergoes etiolation, stretching its internodes to reach a light source. Increase light intensity or use a bypass pruner to pinch back the top two inches of growth to stimulate lateral branching.
Fix-It: Nitrogen Chlorosis
If older leaves turn uniformly pale yellow, the plant is likely experiencing Nitrogen deficiency. Apply a balanced 10-10-10 fertilizer at half strength. You should observe a return to deep green coloration within 10 to 14 days as chlorophyll production resumes.
Maintenance:
Precision is required for long term health. Provide 1 inch of water per week, delivered directly to the soil surface to keep the foliage dry. Use a soil moisture meter to verify that the substrate is dry to a depth of 1 inch before re-watering.
Pruning is essential for a compact habit. Use sharp bypass pruners to remove the growing tips every spring. This removes the apical meristem, which suppresses the hormone auxin and allows lateral buds to develop, resulting in a bushier plant. Use a hori-hori knife to occasionally loosen the top layer of soil, preventing surface crusting and improving oxygen penetration to the roots. Clean the leaves monthly with a damp cloth to remove dust, which can block stomata and reduce photosynthetic efficiency.
The Yield:
While the aluminum plant is not an edible crop, its "yield" is measured in healthy vegetative biomass for propagation. When harvesting cuttings for new plants, use a sterilized blade to make a clean cut at a 45-degree angle. This maximizes the surface area for water uptake. To maintain "day-one" freshness for cuttings being transported, wrap the cut ends in a damp paper towel and place them in a sealed plastic bag to maintain 100% local humidity until they can be placed in a rooting medium.
FAQ:
How much light does an aluminum plant need?
The plant thrives in bright, indirect light. Direct sunlight will scorch the leaves, while insufficient light leads to etiolation and a loss of the distinct silver variegation. Aim for 200 to 400 foot-candles.
Why are the leaves on my Pilea falling off?
Sudden leaf drop is usually caused by cold shocks or overwatering. Ensure ambient temperatures remain above 60 degrees Fahrenheit and the soil is not waterlogged, which leads to root hypoxia and subsequent leaf abscission.
Is the aluminum plant toxic to pets?
According to the ASPCA, Pilea cadierei is considered non-toxic to dogs and cats. However, ingestion of any non-food plant material can cause mild gastrointestinal upset in animals.
How fast does the aluminum plant grow?
Under optimal conditions with a consistent 10-10-10 NPK fertilization schedule, the plant is a moderate to fast grower. It can reach its maximum height of 12 inches within a single growing season.
Can I grow Pilea cadierei outdoors?
Only if you reside in USDA Zones 11 or 12. In all other zones, the plant must be kept indoors or moved inside once night temperatures drop below 60 degrees Fahrenheit to avoid cellular damage.