7 Basic Steps to Hill Garden Rows
The smell of damp, oxygenated earth signifies a healthy rhizosphere ready for cultivation. When you squeeze a handful of soil and it holds its shape before shattering under slight pressure, the turgor of your future crop is already being determined. Executing the correct steps to hill garden rows ensures that heavy-feeders like cucurbits and solanaceous crops have the drainage and thermal gain required for rapid root expansion. This method raises the root zone above the base grade; it creates a localized microclimate where soil temperatures can be 5 to 10 degrees Fahrenheit higher than flat ground. By concentrating organic matter into elevated mounds, you increase the Cation Exchange Capacity (CEC) within the immediate vicinity of the primary taproots. This structural advantage prevents waterlogging during heavy precipitation events while facilitating deep nutrient penetration. Mastering these steps to hill garden rows is the difference between a stunted, yellowing crop and a high-yielding, resilient stand.
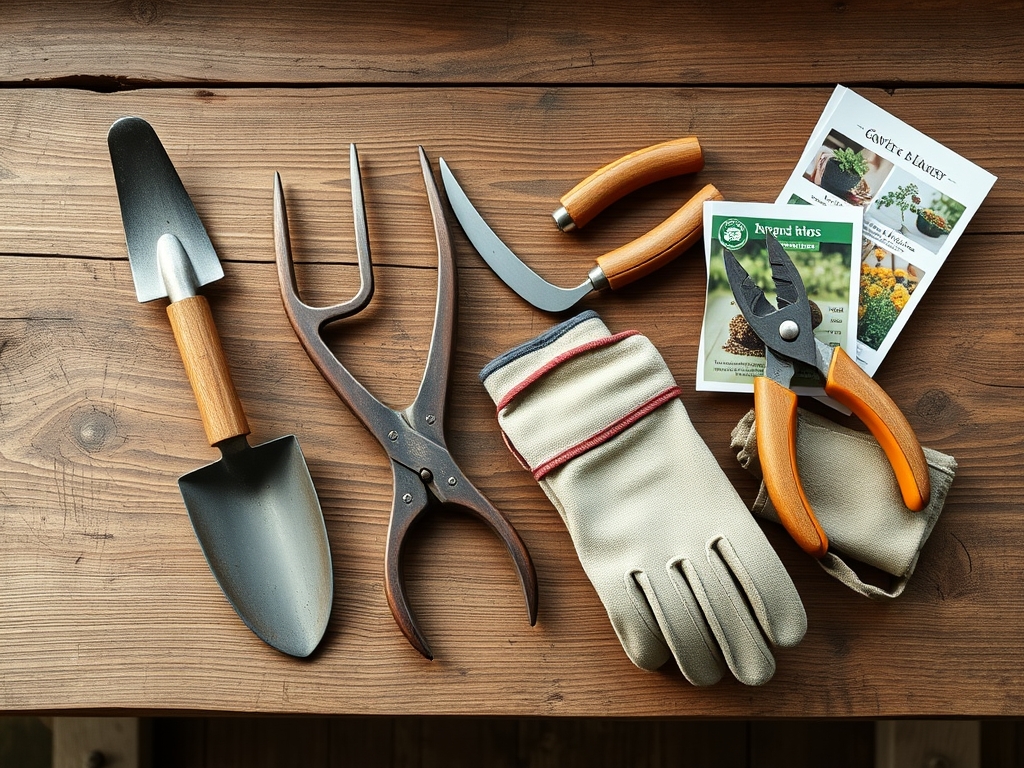
Materials:
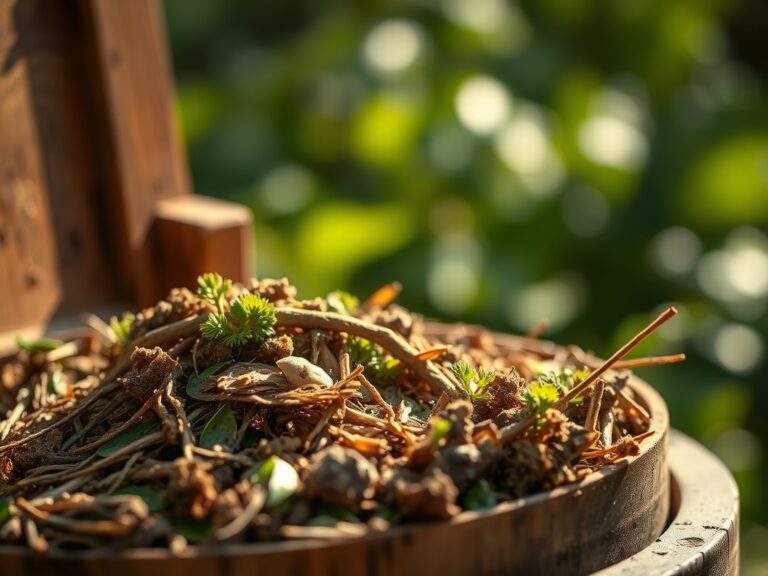
The success of hilling depends entirely on the physical and chemical properties of your substrate. You require a friable loam with a composition of approximately 40% sand, 40% silt, and 20% clay. This balance ensures adequate pore space for oxygen diffusion.
- Soil pH: Target a range of 6.2 to 6.8. Use elemental sulfur to lower pH or calcitic lime to raise it.
- NPK Ratios: For initial hill construction, incorporate a balanced 10-10-10 slow-release fertilizer. If planting nitrogen-heavy crops like corn, shift to a 20-10-10 ratio.
- Organic Matter: Well-aged compost with a C:N ratio of 30:1 is essential for maintaining soil structure.
- Tools: A high-quality steel garden rake, a pointed shovel, and a soil moisture meter calibrated for the specific density of your mounds.
Timing:
Hardiness Zones 4 through 7 typically see the ideal window for hilling between late April and early June. You must wait until the soil temperature at a 4-inch depth consistently reaches 60 degrees Fahrenheit. Planting in cold, anaerobic mud leads to seed rot and damping-off.
The biological clock of the plant dictates the hilling schedule. You are timing the vegetative surge to coincide with increasing day length. For photoperiod-sensitive species, the transition from vegetative growth to reproductive stages (flowering) is triggered by the number of dark hours. Hilling must be completed before the plant allocates energy away from root development and toward fruit production. In Zone 8 and above, a secondary hilling window occurs in late summer for fall harvests, provided you can maintain soil moisture during the high-evapotranspiration period of August.
Phases:

Sowing
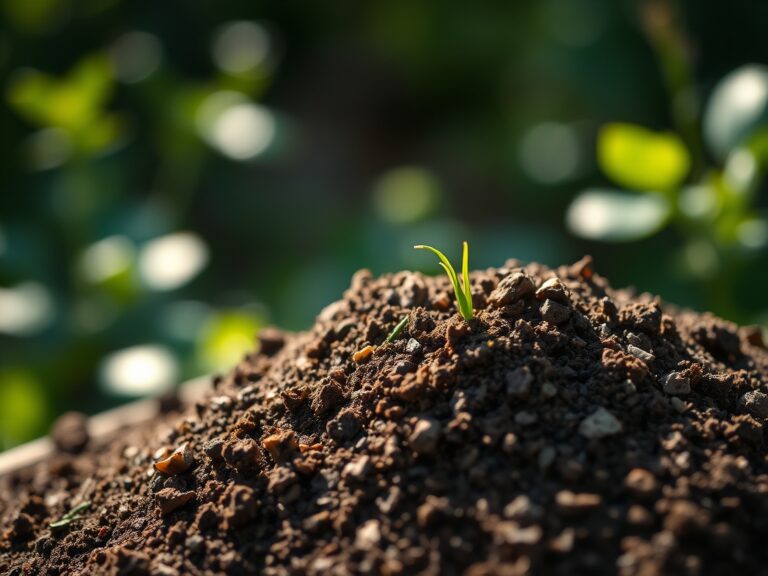
Direct sow seeds at a depth of three times their diameter. For hilled rows, space mounds 3 to 4 feet apart on center. This spacing accounts for the lateral spread of the root system and prevents foliar overlap, which can limit airflow.
Pro-Tip: Proper seed depth is critical because of skotomorphogenesis, the growth pattern of a seedling in the dark. If buried too deep, the seedling exhausts its endosperm energy reserves before the hypocotyl reaches the surface to begin photosynthesis.
Transplanting
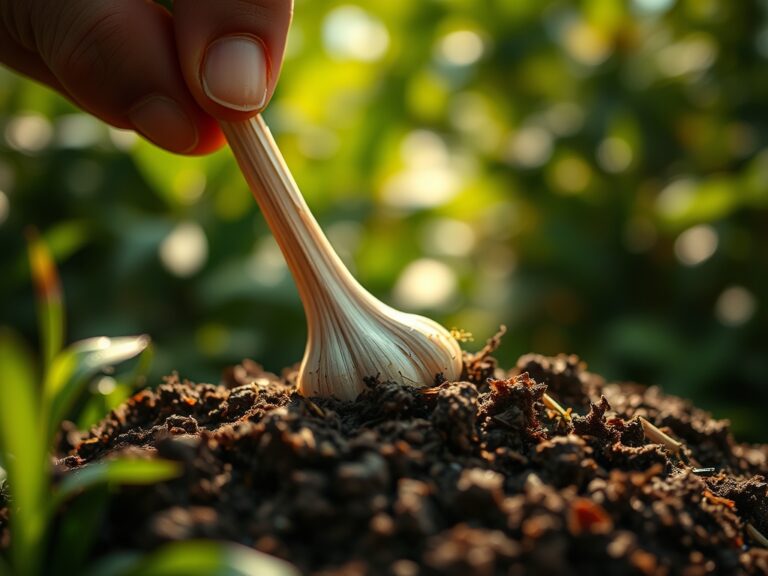
When moving greenhouse-started plugs to the hills, ensure the root ball is saturated. Dig a hole twice the width of the plug. Position the plant so the crown is level with the soil surface to prevent stem rot. Firm the soil gently to remove large air pockets that could desiccate fine root hairs.
Pro-Tip: Apply a mycorrhizal inoculant during transplanting. This establishes a mycorrhizal symbiosis, where fungal hyphae extend the reach of the root system, significantly increasing the uptake of immobile nutrients like phosphorus.
Establishing
As the plants reach 6 inches in height, pull additional soil from the furrows up toward the base of the stems. This secondary hilling provides physical stability against wind and encourages adventitious root growth from the buried portion of the stem.
Pro-Tip: This process utilizes auxin suppression. By burying the lower stem, you alter the hormonal balance, signaling the plant to produce roots rather than lateral branches at those specific nodes, strengthening the overall foundation.
The Clinic:
Physiological disorders often mimic infectious diseases. Accurate diagnosis requires looking at the site of the symptom and the environmental conditions.
- Symptom: Interveinal chlorosis (yellowing between leaf veins) on new growth.
Solution: This indicates an Iron deficiency, often caused by high pH. Apply chelated iron to the root zone. - Symptom: Blossom End Rot (dark, leathery spots on the base of fruit).
Solution: This is a Calcium transport issue. It is rarely a lack of calcium in the soil but rather inconsistent moisture. Maintain 1.5 inches of water per week to ensure steady calcium uptake. - Symptom: Leaf epinasty (downward curling or twisting of leaves).
Solution: Check for soil compaction or waterlogging. If the hills have slumped and lost their porosity, use a hori-hori knife to gently aerate the perimeter of the mound.
Fix-It for Nitrogen Chlorosis: If older leaves turn uniform pale yellow, the plant is scavenging nitrogen for new growth. Apply a liquid fish emulsion with a 5-1-1 NPK for immediate bioavailability.
Maintenance:
Precision is the hallmark of professional maintenance. Use a soil moisture meter daily; hills dry out faster than flat ground due to increased surface area. Deliver 1.5 inches of water per week directly at the drip line. Avoid overhead irrigation to minimize the duration of leaf wetness, which reduces the risk of fungal pathogens.
Keep a pair of bypass pruners sharp and disinfected with 70% isopropyl alcohol. Remove any foliage showing signs of senescence (natural aging and yellowing) at the base of the plant to improve vertical airflow. Use a hori-hori knife to extract deep-taproot weeds like dandelion without disrupting the hill's structural integrity. Weed competition for nitrogen and phosphorus is most fierce during the first 45 days of the plant's life cycle.
The Yield:
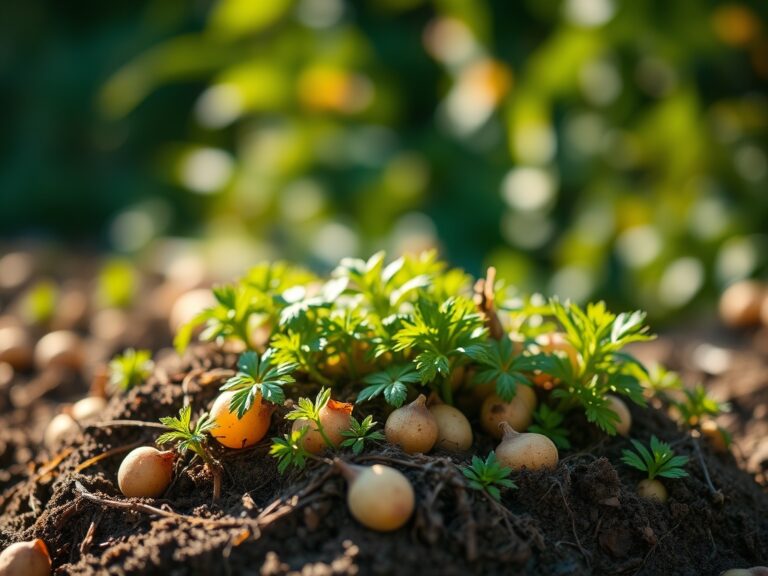
Harvesting is the final stage of the horticultural process. For most hilled crops, timing is determined by the accumulation of Growing Degree Days (GDD). Harvest squash and cucumbers when they reach the desired size but before the skin hardens and seeds mature. For tubers, wait until the above-ground haulm has completely died back, signaling that the plant has translocated all sugars to the storage organs.
Use a garden fork to lift the soil from the side of the hill rather than pulling the plant from the top; this prevents mechanical damage to the harvest. To maintain "day-one" freshness, field-cool the produce immediately. Move it to a shaded, ventilated area to remove field heat, which slows the rate of respiration and prevents the rapid breakdown of cellular sugars.
FAQ:
Why do my hills wash away after rain?
This indicates low organic matter or excessive slope. Incorporate more compost to improve soil aggregation. Use mulch, such as straw or wood chips, to break the impact of raindrops and maintain the structural integrity of the mound.
Can I hill in heavy clay soil?
Yes, hilling is actually preferred for clay. It improves drainage and aeration in the root zone. However, you must incorporate coarse organic matter or expanded shale to prevent the hill from baking into a hard, impenetrable crust.
How high should my garden hills be?
Aim for a height of 6 to 8 inches after settling. This height provides sufficient volume for root expansion and thermal gain while remaining stable enough to resist erosion during standard irrigation or moderate rainfall events.
When should I stop hilling my plants?
Cease hilling once the plant enters its reproductive phase (flowering). Continued soil disturbance at this stage can damage shallow feeder roots and cause the plant to drop its blossoms due to environmental stress and hormonal shifts.