5 Precision Steps to Backlap a Reel Mower
The scent of crushed cellulose and the sharp, metallic tang of oxidized steel define the morning air on a managed turfgrass site. When a mower blade loses its edge, it no longer cuts; it tears. This mechanical failure compromises the turgor pressure of the grass blade, leaving jagged wounds that invite fungal pathogens and increase evapotranspiration rates. To maintain a surgical cut that preserves plant health, you must master the steps to backlap a reel mower. This process involves spinning the reel in reverse while applying an abrasive compound to hone the interface between the reel blades and the bedknife. A precision edge ensures the vascular system of the turf remains intact, preventing the unsightly brown "halo" caused by desiccated leaf tips. Proper maintenance occurs when the steel is cool and the workspace is clear of debris.
Materials:

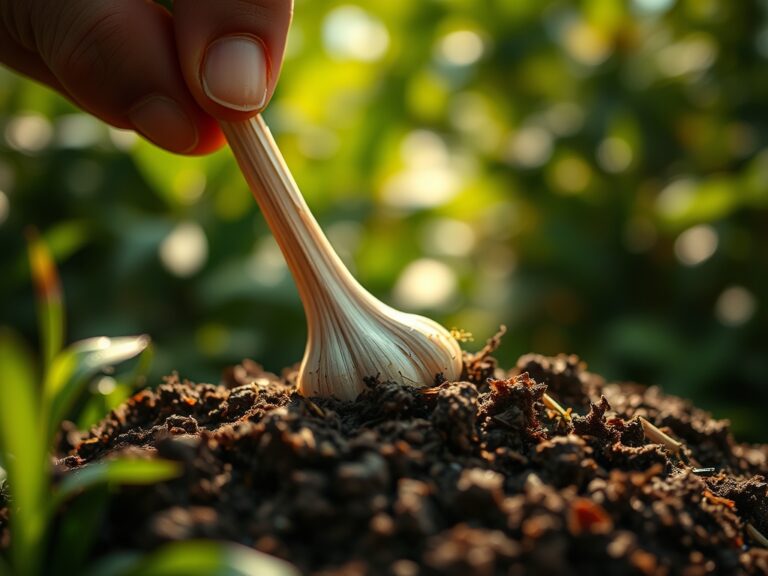
Precision turf management begins with the soil substrate. For high-performance greens, aim for a **friable loam** with a Cation Exchange Capacity (CEC) between **10 and 15 meq/100g**. The soil pH should be maintained between **6.2 and 6.8** to optimize nutrient availability. When preparing the area around your machinery, ensure the ground is stable and level. You will require a backlapping kit, which includes a hand crank or a specialized motor, a brush, and valve grinding compound. Use an **80-grit compound** for heavy restoration and a **120-grit compound** for fine finishing. Have a **soil moisture meter** nearby to check the turf hydration levels before testing your newly sharpened blades; dehydrated grass with low turgor will not provide an accurate cut test. Maintain a balanced NPK ratio of **4-1-2** during the growing season to ensure the grass blades have enough structural lignin to withstand the shearing force of the reel.
Timing:
Hardiness Zones 4 through 9 dictate the primary maintenance windows for reel mowers. Perform backlapping during the transition from the vegetative stage to the peak reproductive stage of the turfgrass. For cool-season grasses like Kentucky Bluegrass or Creeping Bentgrass, this window opens when soil temperatures consistently hit 55 degrees Fahrenheit. For warm-season varieties like Bermudagrass, wait until the post-dormancy surge when night temperatures stay above 60 degrees Fahrenheit. This timing aligns with the "Biological Clock" of the plant, ensuring that the mower is at peak sharpness when the grass is most resilient and capable of rapid cell division to heal from the seasonal mowing schedule. Avoid sharpening during periods of extreme heat or drought, as the mechanical stress on the mower and the subsequent trial cuts can damage turf that is already under physiological stress.
Phases:

Sowing the Strategy
The first phase involves stabilizing the mower and adjusting the bedknife-to-reel clearance. Use a feeler gauge to set a gap of 0.002 inches across the entire length of the bedknife. This ensures that the abrasive compound can work the metal without causing excessive heat friction.
Pro-Tip: Proper clearance prevents metal-to-metal contact that causes thermal expansion. In a biological context, excessive heat from dull blades causes localized senescence, where the leaf tissue dies prematurely due to cellular rupture rather than natural aging.
Transplanting the Compound
Apply the grinding compound evenly across the reel blades using a long-handled brush. Start the backlapping motor or begin turning the hand crank in reverse. The reverse motion is critical; it pulls the abrasive between the reel and the bedknife, grinding away the rounded edges to create a new, sharp "land."
Pro-Tip: Consistency in application prevents uneven blade wear. This mirrors the principle of mycorrhizal symbiosis, where even distribution of resources across the root zone ensures uniform growth across the entire plant population.
Establishing the Edge
Continue the reverse rotation until the grinding noise becomes smooth and consistent. Periodically stop to check the "face" of the bedknife and the reel blades. Once a shiny, uniform edge appears, wash away all residual compound with a low-pressure hose. Perform a paper-cut test to verify that the mower can shear a single sheet of paper cleanly across the entire width of the reel.
Pro-Tip: A clean cut minimizes the surface area of the wound. This reduces the plant's reliance on auxin suppression to redirect energy from growth to wound healing, allowing the turf to maintain its vertical upward reach.
The Clinic:
Physiological disorders in turf often stem from poor equipment maintenance rather than biological pathogens.
- Symptom: White or tan "shredded" tips on grass blades.
- Solution: Immediate backlapping. The dull blade is shattering the cell walls rather than slicing them.
- Symptom: Patchy, uneven growth heights across a level surface.
- Solution: Check the bedknife leveling. An uneven bedknife creates varying heights of cut, leading to uneven light interception.
- Symptom: Yellowing of the leaf (Chlorosis) starting at the tip.
- Solution: This is often Nitrogen chlorosis. Apply a quick-release nitrogen fertilizer with a 21-0-0 ratio to restore chlorophyll production, but ensure the mower is sharp to avoid bruising the weakened tissue.
Fix-It: If you observe "washboarding" on the lawn, the reel speed or frequency of clip is mismatched with the forward travel speed. Adjust the mower's throttle or ground speed to ensure a smooth finish.
Maintenance:
Post-backlapping maintenance is as vital as the sharpening itself. After every third mow, check the reel-to-bedknife clearance. Clean the blades with a stiff brush to remove sap and debris that can cause oxidation. Regarding the turf, provide 1.5 inches of water per week delivered in two deep sessions to encourage deep root penetration into the rhizosphere. Use a hori-hori knife to remove invasive tap-rooted weeds that can nick the reel blades. Employ bypass pruners for edging near hardscapes to prevent the reel from striking concrete or stone. Always use a soil moisture meter to ensure the ground is firm enough to support the weight of the mower without compaction, which reduces the oxygen available for root respiration.
The Yield:
While turf is not "harvested" in the traditional sense, the "yield" is a dense, high-quality canopy. To achieve a professional finish, mow when the grass is dry to ensure the blades stand upright. This maximizes the efficiency of the reel's scissor-like action. For "day-one" freshness in the appearance of the lawn, never remove more than one-third of the grass blade height in a single cutting. This practice preserves the plant's photosynthetic capacity and prevents the "scalping" that exposes the crown to solar radiation and desiccation.
FAQ:
How often should I backlap my reel mower?
Backlap every 20 to 30 hours of use or whenever the grass tips appear shredded. High-silica grass varieties or sandy soil conditions may require more frequent honing to maintain the necessary shearing edge for clean tissue separation.
Can I use grease instead of lapping compound?
No. Grease lacks the abrasive grit required to remove metal. Use a dedicated silicon carbide lapping compound. Grease will only lubricate the dull surfaces, failing to create the sharp "land" required for a precision horticultural cut.
What happens if I backlap in the forward direction?
Backlapping in forward will dull the blades instantly. The reverse motion is essential to draw the abrasive compound between the cutting surfaces. Forward rotation would push the compound away, potentially rounding the cutting edge and damaging the bedknife.
Do I need to remove the reel to backlap?
Most modern reel mowers allow for backlapping while the reel is installed. You only need a backlapping handle or a small motor to spin the reel in reverse. This allows for a more accurate sharpening relative to the bedknife's position.