9 Simple Ways How to Prep Soil for Garlic
The scent of damp, cooling earth in late autumn signals the precise window for Allium sativum cultivation. Success begins months before the first clove enters the ground; it starts with the structural integrity and chemical balance of the rhizosphere. Knowing how to prep soil for garlic requires understanding that this crop is a heavy feeder with a shallow root system. It demands a substrate that balances high nutrient availability with rapid drainage to prevent bulb rot during winter dormancy. A failure to address soil compaction or mineral deficiencies now will result in stunted cloves and poor turgor pressure when the spring thaw arrives.
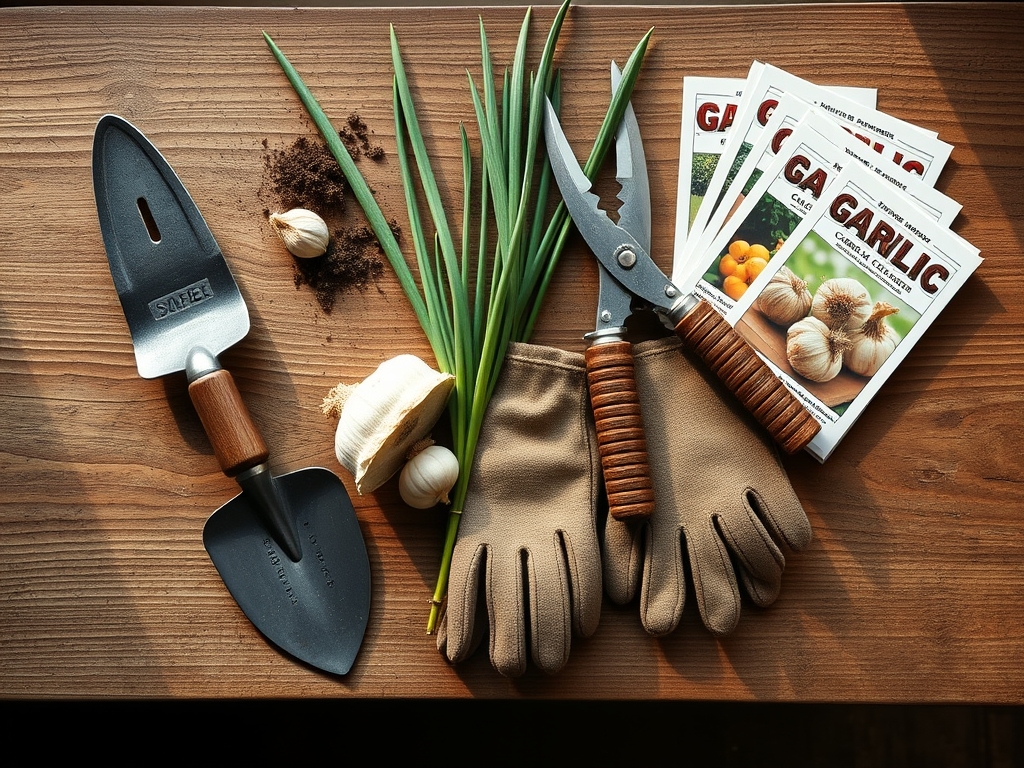
Materials:
The ideal substrate for garlic is a **friable loam** with a high percentage of organic matter. You must target a **soil pH between 6.0 and 7.0**. If your pH falls below 5.8, the availability of phosphorus and magnesium drops significantly; if it rises above 7.5, micronutrients like iron and manganese become chemically locked.
For the initial amendment, focus on an NPK ratio of 5-10-10. Garlic requires moderate nitrogen for early leaf development but thrives on high phosphorus and potassium for root establishment and bulb expansion. Incorporate well-rotted compost or aged manure at a rate of 2 cubic feet per 10 square feet. This increases the Cation Exchange Capacity (CEC), allowing the soil to hold onto essential ions like calcium and potassium. Ensure you have a calibrated soil moisture meter and high-quality organic amendments ready before breaking ground.
Timing:
Garlic follows a strict biological clock governed by the photoperiod and vernalization. In Hardiness Zones 3 through 8, planting typically occurs between late September and November. The goal is to plant 4 to 6 weeks before the first hard freeze. This window allows the cloves to establish a robust root system without initiating significant above-ground vegetative growth.
The cloves require a period of cold treatment known as vernalization; specifically, they need at least 40 days at temperatures below 40 degrees Fahrenheit to trigger bulb differentiation. Without this cold exposure, the plant may produce only a single large clove, known as a "round," rather than a divided bulb. In warmer climates like Zones 9 or 10, gardeners often pre-chill cloves in refrigeration for 8 weeks to simulate this winter cycle.
Phases:

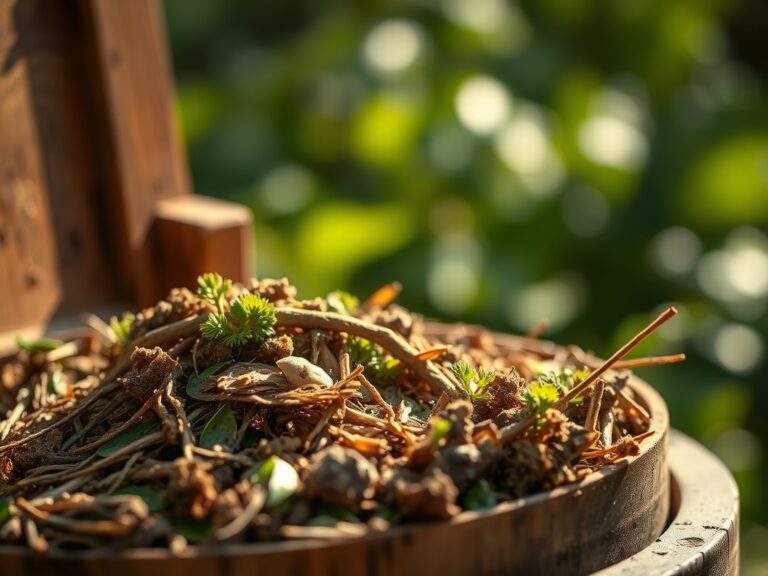
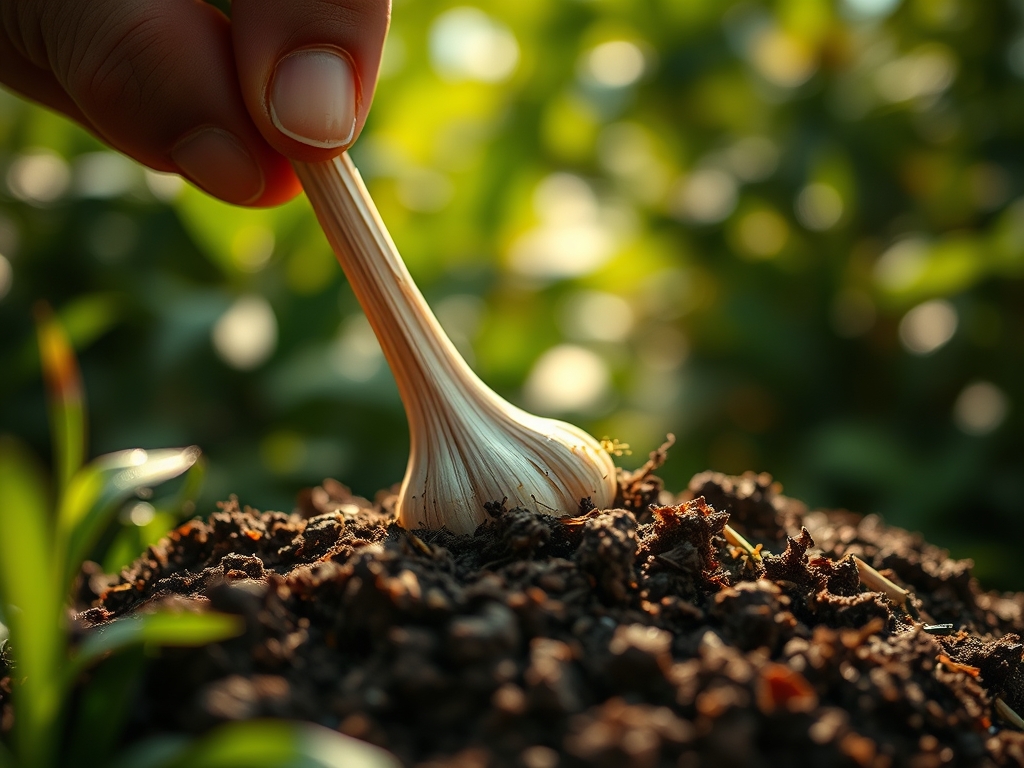
Sowing and Soil Integration
Begin by loosening the soil to a depth of 12 inches using a broadfork or spade. This prevents physical resistance against the expanding bulb. Incorporate your 5-10-10 fertilizer into the top 6 inches of the bed. Space rows 12 inches apart and individual cloves 6 inches apart.
Pro-Tip: Plant cloves with the basal plate (the flat bottom) facing down to optimize gravitropism. The roots will immediately grow downward into the nutrient-rich zone, while the shoot utilizes minimal energy to reach the surface.
Establishing the Winter Barrier
Once cloves are set 2 to 3 inches deep, cover the bed with a 4-inch layer of clean straw or shredded leaves. This mulch layer acts as an insulator, preventing the "heaving" of cloves caused by the freeze-thaw cycle of the soil.
Pro-Tip: Mulching encourages mycorrhizal symbiosis. These beneficial fungi colonize the garlic roots, extending the reach of the root system to scavenge for phosphorus and water that would otherwise be inaccessible.
Spring Emergence and Growth
As temperatures rise and the photoperiod lengthens, the first green shoots will pierce the mulch. This is the vegetative stage where the plant builds the "solar panels" (leaves) necessary for bulb production. Apply a high-nitrogen side-dressing, such as blood meal, at a rate of 1 pound per 100 square feet when shoots are 6 inches tall.
Pro-Tip: Maintaining high nitrogen during this phase prevents premature senescence. Each leaf represents a layer of skin on the final bulb; more leaves during the vegetative stage result in larger, better-protected cloves.
The Clinic:
Physiological disorders in garlic often stem from soil imbalances or improper preparation.
- Symptom: Yellowing of lower leaves in early spring (Nitrogen Chlorosis).
- Solution: Apply a water-soluble nitrogen fertilizer immediately. Ensure the soil temperature has reached 50 degrees Fahrenheit, as nitrogen uptake is sluggish in cold soils.
- Symptom: Stunted growth and purple tinting on leaf tips (Phosphorus Deficiency).
- Solution: This often occurs in overly acidic soils. Incorporate bone meal or rock phosphate during the "how to prep soil for garlic" phase to ensure availability.
- Symptom: Soft, rotting bulbs at harvest (White Rot/Fungal Pathogens).
- Solution: Improve drainage by adding coarse sand or perlite to the loam. Practice a 4-year crop rotation to prevent the buildup of soil-borne pathogens.
- Fix-It for Compaction: If the soil feels "tight," the bulbs cannot expand. Use a hori-hori knife to gently aerate the soil between rows in early spring, being careful not to disturb the shallow root zone.
Maintenance:
Precision water management is the difference between a mediocre harvest and a professional yield. Garlic requires 1.5 inches of water per week during the active growing season. Use a soil moisture meter to ensure the water reaches a depth of 6 inches. Avoid overhead watering to minimize the risk of foliar diseases like rust; instead, use drip irrigation or a soaker hose at the base of the plants.
Stop all irrigation approximately 2 weeks before harvest. This allows the soil to dry, which triggers the plant to begin curing its outer skins. Use bypass pruners to remove the flower stalks, known as scapes, on hardneck varieties as soon as they curl. This redirects the plant's energy from seed production back into the bulb, increasing the final harvest size by up to 25 percent.
The Yield:
Harvesting occurs when the lower three leaves have turned brown but the top five remain green. Each green leaf represents a live wrapper around the bulb. Use a garden fork to lift the bulbs gently; never pull them by the stem, as this can damage the neck and lead to decay.
Immediately move the garlic to a shaded, well-ventilated area. Do not wash the bulbs with water. Cure them for 3 to 4 weeks until the outer skins are papery and the roots are brittle. Trim the roots to 1/4 inch and the stems to 1 inch for long-term storage. Properly cured garlic can maintain "day-one" freshness for 6 to 10 months when kept at 55 degrees Fahrenheit with 60 percent humidity.
FAQ:
Can I use grocery store garlic for planting?
It is not recommended. Most grocery garlic is treated with growth inhibitors to prevent sprouting and may carry soil-borne pathogens. Use certified disease-free cloves from a reputable nursery to ensure a successful harvest.
How deep should I dig when prepping the soil?
You should loosen the soil to a depth of at least 12 inches. While garlic roots are relatively shallow, the soil beneath the bulb must be loose enough to allow for efficient drainage and unhindered root penetration.
What is the best fertilizer for garlic?
Use a balanced organic fertilizer with an NPK ratio of 5-10-10 during the soil preparation phase. Follow up with a high-nitrogen side-dressing, such as a 12-0-0 blood meal, in early spring to support leaf production.
When do I stop watering my garlic?
Cease irrigation when the bottom leaves begin to yellow and die back, typically 2 to 3 weeks before harvest. Drying the soil at this stage is critical for the development of protective bulb tunics and successful curing.
Why are my garlic bulbs so small?
Small bulbs are usually the result of late planting, poor nitrogen availability in spring, or soil compaction. Ensure the soil is friable and heavily amended with organic matter to allow for maximum bulb expansion during the spring growth surge.