5 Effective Steps to Solarize Garden Soil
Crushing a handful of damp earth reveals the olfactory signature of geosmin; this earthy scent indicates a thriving microbial community, yet it often masks the presence of dormant pathogens and weed seeds. When turgor pressure in your crops begins to fail despite adequate irrigation, the culprit is often a compromised rhizosphere. Implementing the steps to solarize garden soil provides a non-chemical method to pasteurize the top six to twelve inches of the substrate. This process utilizes radiant energy to elevate internal temperatures to levels that are lethal to nematodes and thermolabile fungi. By trapping thermal energy under a transparent polyethylene barrier, you reset the biological baseline of your plot. This is not a passive task; it requires precise timing and specific environmental conditions to ensure the heat penetrates deep enough to terminate resistant structures like sclerotia. Successful solarization results in a sanitized seedbed where subsequent plantings can establish without competition from aggressive annual weeds or soil-borne wilts. The goal is to reach a sustained temperature of at least 114 degrees Fahrenheit to effectively disrupt the cellular integrity of target pests.
Materials:
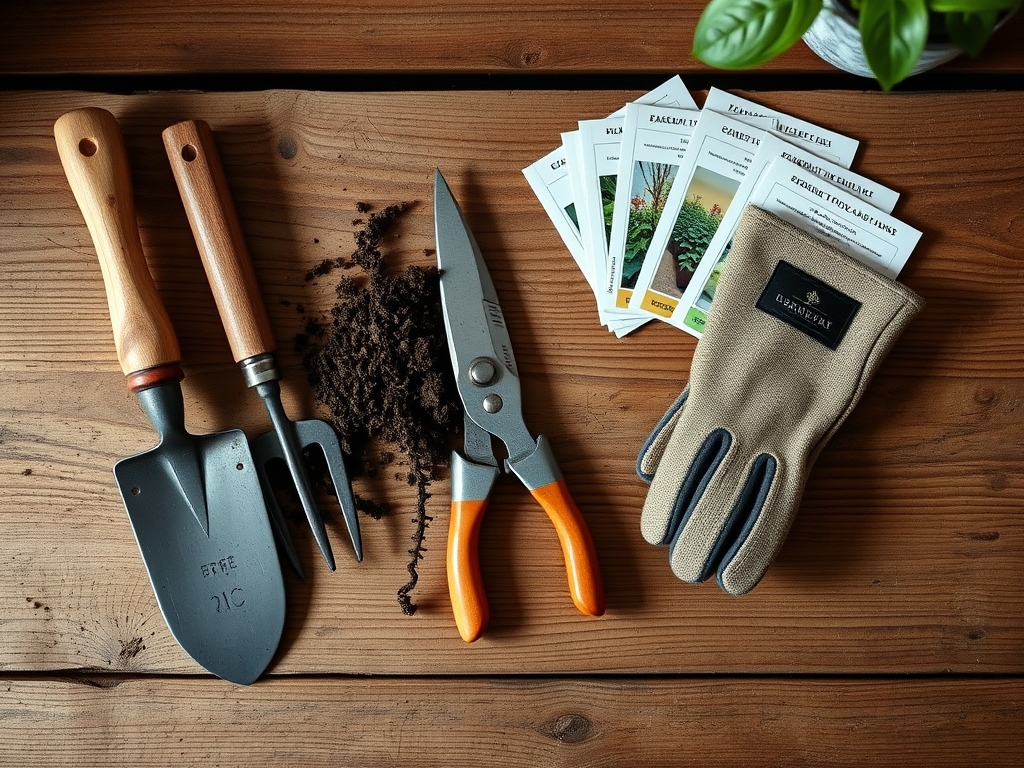
The ideal substrate for solarization is a **friable loam** with a balanced Cation Exchange Capacity (CEC) between **15 and 25 meq/100g**. High clay content requires more moisture to conduct heat, while sandy soils lose thermal energy rapidly. Before sealing the area, ensure your soil pH sits between **6.2 and 6.8** to maximize nutrient availability post-treatment. You will need **1.5 to 4 mil clear, UV-stabilized polyethylene plastic**. Black plastic is inefficient because it absorbs heat rather than transmitting it to the soil. For nutrient management, integrate a slow-release organic fertilizer with an **NPK ratio of 5-10-5** prior to covering. This lower nitrogen profile prevents excessive vegetative flushing once the plastic is removed. You will also require a **soil thermometer with a 6-inch probe** to monitor internal thermal benchmarks.
Timing:
Solarization is most effective in Hardiness Zones 7 through 11 during the peak solar radiation window of June, July, and August. In these regions, the "Biological Clock" of the garden transitions from the heavy vegetative growth of spring to the high-stress reproductive stages of mid-summer. You must initiate the process when the forecast predicts at least four to six weeks of consistent sunlight and daytime temperatures exceeding 85 degrees Fahrenheit. In northern zones (Zones 4-6), the window is narrower; you must install the plastic immediately after the summer solstice to capture maximum ultraviolet intensity. Attempting solarization during the shorter photoperiods of autumn will fail to reach the thermal death point for most pathogens, merely incubating them instead of eradicating them.
Phases:
Sowing and Preparation
Clear the area of all plant debris and till the soil to a depth of 12 inches. Break up large clods to ensure the plastic sits flush against the surface. This eliminates air pockets that act as insulators and prevent heat transfer.
Pro-Tip: Proper hydration is essential because moist soil conducts heat more efficiently than dry soil. Saturating the soil to a depth of 18 inches triggers the germination of weed seeds, making them more vulnerable to thermal shock through a process called "priming."
Transplanting and Sealing
Once the soil is prepared and moist, lay the plastic sheeting tightly over the area. Dig a trench 6 inches deep around the perimeter of the bed. Lay the edges of the plastic into the trench and backfill with soil to create an airtight seal.
Pro-Tip: Maintaining an airtight seal prevents convective heat loss. This maximizes the greenhouse effect within the top layers of the soil, ensuring that the heat reaches the 140 degree Fahrenheit threshold required to kill stubborn seeds.
Establishing and Monitoring
Leave the plastic in place for a minimum of 42 days. Use your soil thermometer to check temperatures weekly. If the plastic tears, repair it immediately with clear weather-resistant tape to maintain the internal microclimate.
Pro-Tip: During this phase, the heat induces a "burst" of soluble nutrients. This occurs because the high temperatures accelerate the mineralization of organic matter, increasing the concentration of ammonium and nitrates available for the next planting cycle.
The Clinic:
Physiological disorders often arise if the solarization process is incomplete or if the soil chemistry shifts during the heating phase.
-
Symptom: Leaf margins turning necrotic on new transplants.
-
Solution: This indicates Ammonium Toxicity. High heat can kill nitrifying bacteria while leaving ammonifying bacteria intact. Flush the soil with 2 inches of water before planting to leach excess salts.
-
Symptom: Interveinal chlorosis (yellowing) in young leaves.
-
Solution: This is often Iron or Manganese deficiency caused by a temporary pH spike. Apply a chelated micronutrient drench to restore foliar color.
-
Symptom: Stunted growth and "clubbed" roots.
-
Solution: This suggests Nematode survival in deeper soil strata. Ensure future solarization reaches a deeper moisture profile to conduct heat further down.
Fix-It: For Nitrogen chlorosis (general paling of older leaves), apply a side-dressing of blood meal or a 10-0-0 liquid fertilizer at a rate of 1 pound per 100 square feet to jumpstart vegetative recovery.
Maintenance:
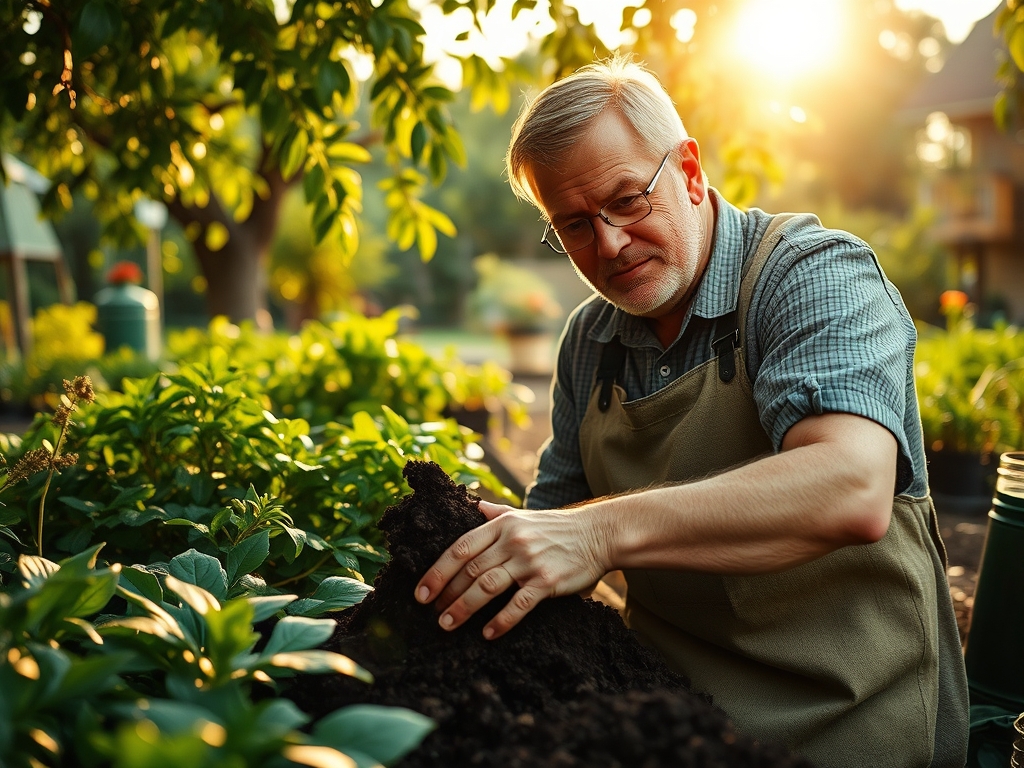
Post-solarization maintenance requires a disciplined approach to prevent re-contamination. Avoid deep tilling after removing the plastic; tilling deeper than 3 inches can bring viable weed seeds from the untreated subsoil to the surface. Use a soil moisture meter to maintain a consistent moisture level of 1.5 inches of water per week at the drip line. When planting, use a hori-hori knife to create precise incisions in the soil, minimizing disturbance to the sterilized layer. Clean your bypass pruners with a 10 percent bleach solution between plants to ensure you do not introduce pathogens into the newly cleaned environment.
The Yield:
Harvesting from solarized soil typically results in higher yields due to the lack of root competition. For fruiting crops like tomatoes or peppers, harvest when the fruit reaches "breaker stage" or full color maturity. Use sharp shears to cut the pedicel; do not pull the fruit, as this can damage the vascular tissue. To maintain "day-one" freshness, move harvested produce into a shaded, cool environment immediately to reduce field heat and slow the rate of respiration and senescence.
FAQ:
Can I use black plastic for solarization?
No. Black plastic absorbs solar energy and heats up itself, but it does not transmit that heat effectively into the soil. Clear polyethylene allows solar radiation to pass through and trap heat via the greenhouse effect.
How deep does the heat penetrate?
Effective solarization typically reaches depths of 12 to 18 inches. The highest temperatures, lethal to most pathogens and weed seeds, occur within the top 6 inches of the soil profile where most root activity happens.
Will solarization kill beneficial earthworms?
Earthworms and other mobile beneficial organisms generally move deeper into the cooler subsoil layers during the heating process. They return to the rhizosphere once the plastic is removed and soil temperatures stabilize to normal levels.
Does solarization work in cloudy weather?
Solarization relies on direct ultraviolet radiation. Frequent cloud cover reduces the maximum temperature reached. In cloudy regions, you must extend the duration of the treatment to 8 or 10 weeks to achieve the same results.