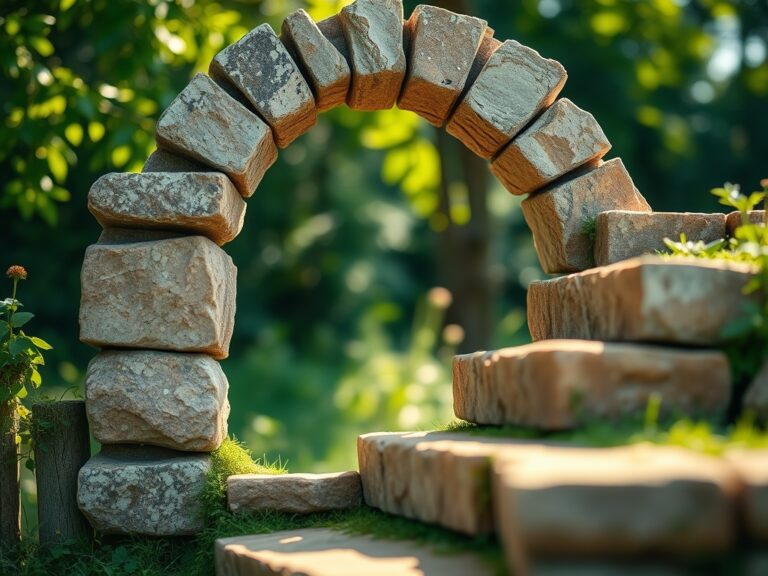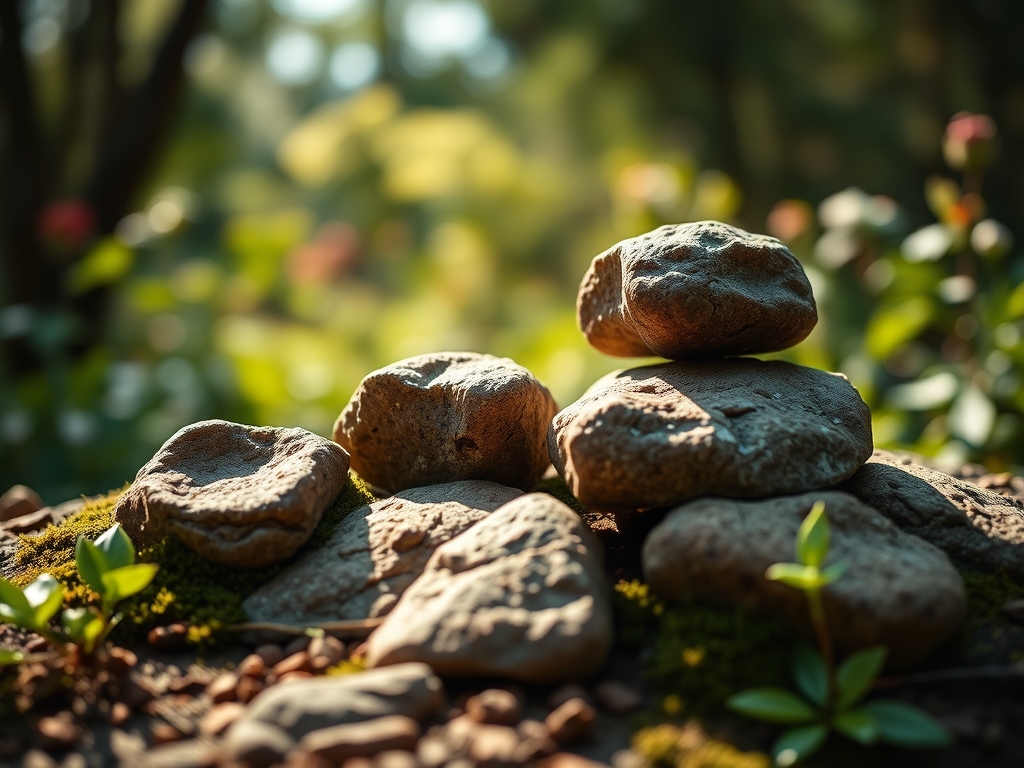
7 Artistic Steps to Place Boulders Correctly
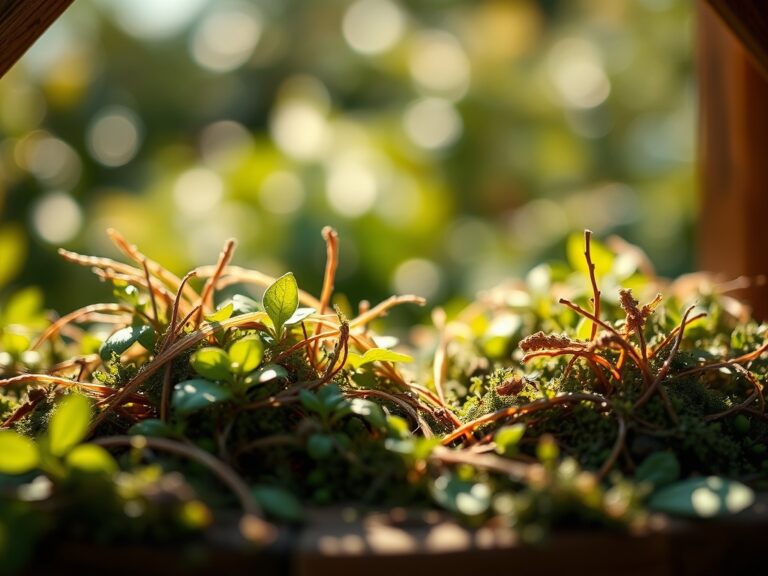
The smell of damp, anaerobic mud mixed with the sharp scent of crushed pine needles signals the start of any serious installation. Successful landscaping requires more than aesthetic intuition; it demands an understanding of geological weight and soil structural integrity. To master the steps to place boulders correctly, you must treat the stone as an extension of the bedrock rather than a surface ornament. Proper placement ensures the boulder resists frost heave and maintains its position within the rhizosphere without compacting the delicate root systems of surrounding flora. A boulder should appear as if the earth has eroded around it over millennia. This requires burying at least one third of the stone's mass below the grade. This depth provides the necessary friction against the soil to prevent lateral shifting during heavy saturation events. When the stone is seated properly, it anchors the visual landscape while providing a thermal mass that stabilizes the localized soil temperature. This microclimate benefit supports the metabolic functions of nearby perennials by reducing the severity of diurnal temperature fluctuations.
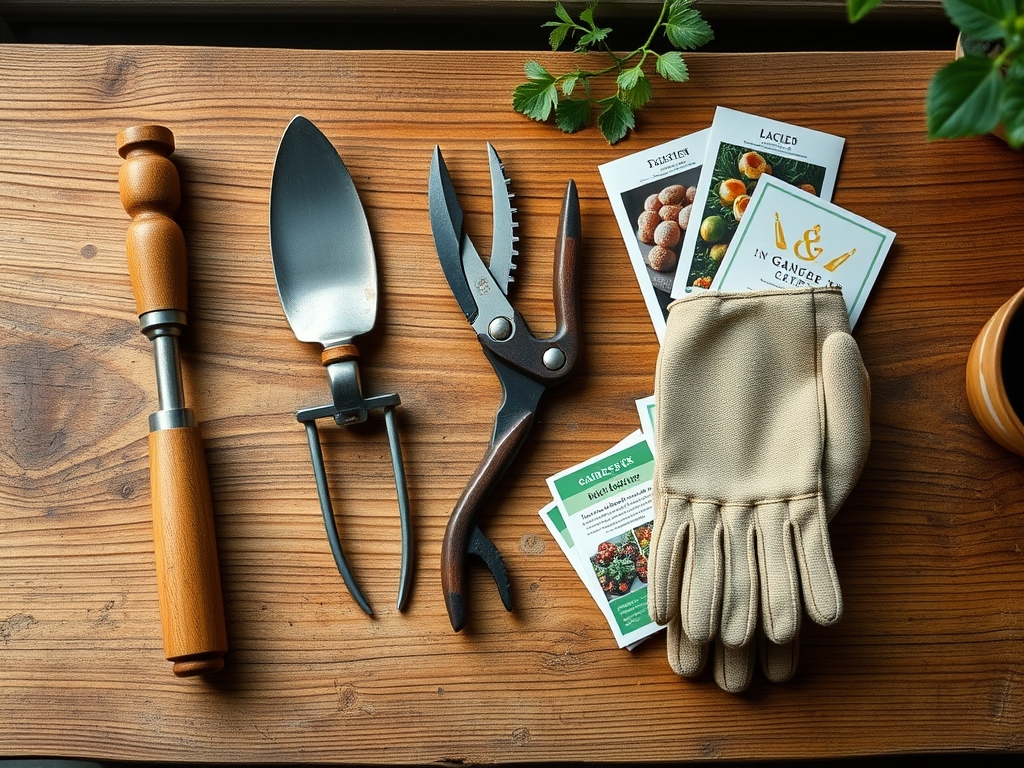
Materials:
The success of a boulder installation depends on the substrate’s Cation Exchange Capacity (CEC) and physical structure. You require a **friable loam** with a **pH between 6.0 and 7.0** to support the mosses and ferns typically planted in the stone’s rain shadow. The soil must have a high sand content to ensure drainage, preventing water from pooling at the base of the rock, which leads to anaerobic conditions. For supplemental planting around the base, utilize a slow-release organic fertilizer with an **NPK ratio of 5-10-5**. High phosphorus levels encourage robust root development, which is essential for plants competing with the stone’s mass for moisture. If the soil is heavy clay, incorporate expanded shale to increase macropore space. This adjustment allows for gas exchange within the soil, ensuring that oxygen reaches the aerobic bacteria necessary for nutrient cycling.
Timing:
Installation should occur during the dormant season, specifically in Hardiness Zones 4 through 7, between late autumn and early spring. This window avoids the peak vegetative growth phase when heavy machinery or stone movement could cause terminal damage to the turgor pressure of existing root systems. By placing boulders before the spring thaw, you allow the soil to settle naturally around the stone during the freeze-thaw cycles. This process, known as "bedding in," mimics natural geological deposition. Understanding the biological clock of your garden is vital; installing large masses during the reproductive stage (flowering) of nearby plants can trigger premature senescence due to root stress and ethylene gas production. Aim for a soil temperature between 40 and 50 degrees Fahrenheit to ensure the earth is workable but not prone to excessive compaction.
Phases:
Sowing the Foundation
Excavate a hole 25 percent wider than the boulder's footprint. Line the base with three to five inches of crushed angular limestone. This layer acts as a drainage chimney, pulling moisture away from the stone's contact point to prevent ice lensing.
Pro-Tip: Proper drainage prevents "heaving." This occurs because water expands by 9 percent when it freezes. By removing excess moisture from the base, you protect the soil structure from mechanical disruption caused by ice expansion.
Transplanting the Stone
Lower the boulder into the pit using a heavy-duty nylon sling. Rotate the stone until its "face" (the side with the most weathering or lichen growth) is visible. Ensure the grain of the rock runs parallel to the horizon to mimic natural sedimentary layers.
Pro-Tip: Always bury the "fat" end of the boulder. This utilizes gravity to increase the stone's stability and mimics the natural process of subsidence. This depth also encourages mycorrhizal symbiosis by creating a consistent, cool moisture reservoir for fungal hyphae to thrive against the stone's surface.
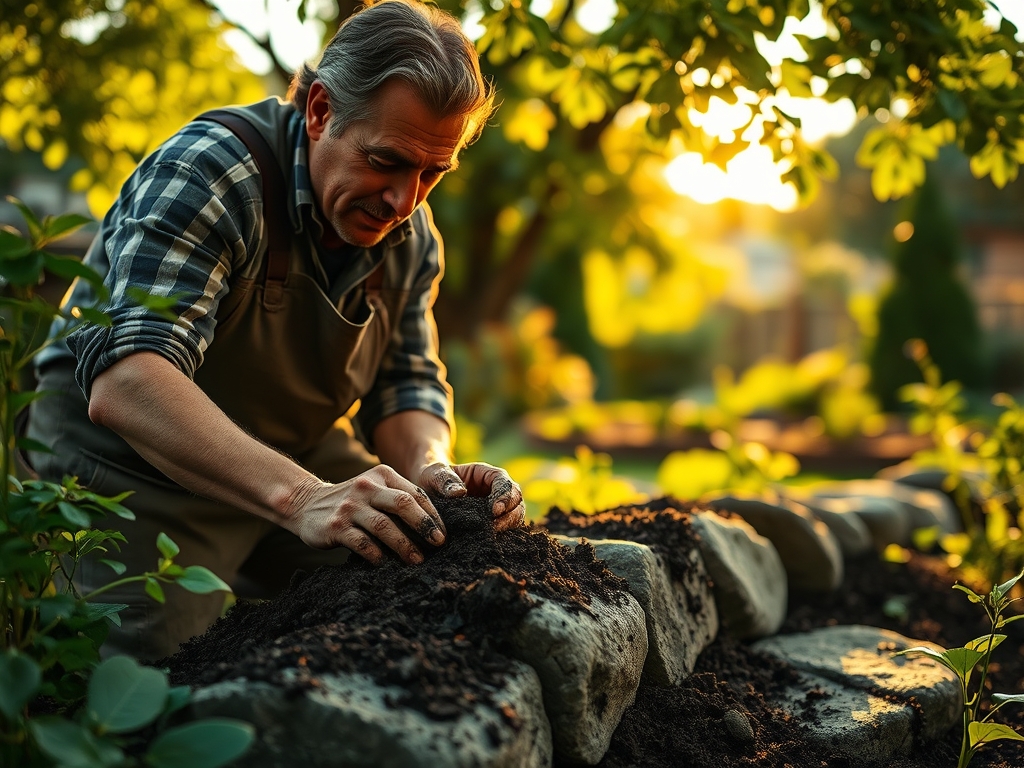
Establishing the Grade
Backfill the perimeter with the specified friable loam, tamping in six-inch lifts to remove large air pockets. Water the soil thoroughly to settle the particles around the stone's irregularities. Finish by applying a two-inch layer of organic mulch up to the stone's edge.
Pro-Tip: Avoid over-compaction during backfilling. Soil needs at least 25 percent air space for root respiration. Excessive tamping suppresses auxin production in nearby plants, leading to stunted growth and poor lateral root expansion.
The Clinic:
Physiological disorders often manifest in plants situated too close to newly placed boulders. Observe the foliage for specific indicators of environmental stress.
- Symptom: Interveinal Chlorosis. The leaves turn yellow while the veins remain green.
- Solution: This is often a sign of iron deficiency caused by high alkalinity leaching from certain limestone boulders. Apply chelated iron to the soil to lower the local pH and restore nutrient availability.
- Symptom: Marginal Leaf Burn. The edges of the leaves appear scorched and brown.
- Solution: This indicates moisture stress or "heat loading" from the stone's thermal mass. Increase irrigation frequency and ensure the soil moisture meter reads in the "moist" range (5-7) during the first growing season.
- Symptom: Sudden Wilting. Plant loses turgor despite wet soil.
- Solution: This is likely root rot (Phytophthora) caused by poor drainage at the boulder's base. Re-evaluate the drainage chimney and ensure the soil is not oversaturated.
Fix-It: For Nitrogen chlorosis (overall paling of the plant), apply a liquid seaweed extract. This provides immediate nitrogen while stimulating the plant's immune response through trace mineral supplementation.
Maintenance:
Precision maintenance is the difference between a landscape and a collection of rocks. Deliver 1.5 inches of water per week at the drip line of the plants surrounding the boulder. Use a soil moisture meter to verify that the moisture is penetrating at least eight inches deep. During the spring, use a hori-hori knife to prune back any aggressive rhizomes that attempt to grow into the crevices of the stone, as these can eventually cause the rock to split through mechanical weathering. If lichen growth is desired, mist the stone with a mixture of buttermilk and blended moss during periods of high humidity. Use bypass pruners to maintain a clear "reveal" at the base of the stone, ensuring that the transition from rock to soil remains sharp and intentional.
The Yield:
While boulders do not produce a harvest, the microclimate they create can accelerate the ripening of nearby fruit-bearing plants. The thermal mass of the stone absorbs solar radiation during the day and releases it at night. This can extend the growing season by 10 to 14 days in cooler climates. For plants like alpine strawberries or herbs planted in the stone's lee, harvest in the early morning when turgor pressure is at its peak. This ensures the cell walls are fully hydrated, providing the best texture and shelf life. Place harvested greens immediately into a cool, shaded container to prevent rapid transpiration and wilting.
FAQ:
How deep should I bury a boulder?
Bury at least one third of the boulder's height below the finished grade. This ensures the stone looks natural and provides the necessary physical stability to prevent shifting or heaving during seasonal temperature changes.
Can I place boulders over utility lines?
Never place large stones over gas, water, or electrical lines. The concentrated weight of a 500-pound boulder can crush conduits or cause soil subsidence that stresses underground infrastructure. Always call for a utility locate before excavating.
What is the best soil for surrounding boulders?
Use a friable loam with a high sand content and a pH of 6.0 to 7.0. This ensures adequate drainage and prevents the base of the stone from becoming a site for anaerobic pathogen growth.
How do I prevent boulders from sinking?
Install a four-inch base of compacted angular gravel or crushed limestone beneath the stone. This layer distributes the weight across a larger surface area and prevents the stone from migrating downward into soft subsoil.