6 Simple Steps to Lay Textured Pavers
The smell of damp, disturbed earth signals the start of a structural intervention in the landscape. When the turgor of a healthy leaf is maintained through proper drainage, the surrounding hardscape must function as a permeable, stable extension of the ecosystem. Mastering the steps to lay textured pavers requires an understanding of soil compaction and hydraulic conductivity. You are not merely placing stones; you are managing the interface between the rhizosphere and the built environment to prevent anaerobic soil conditions.
Materials:
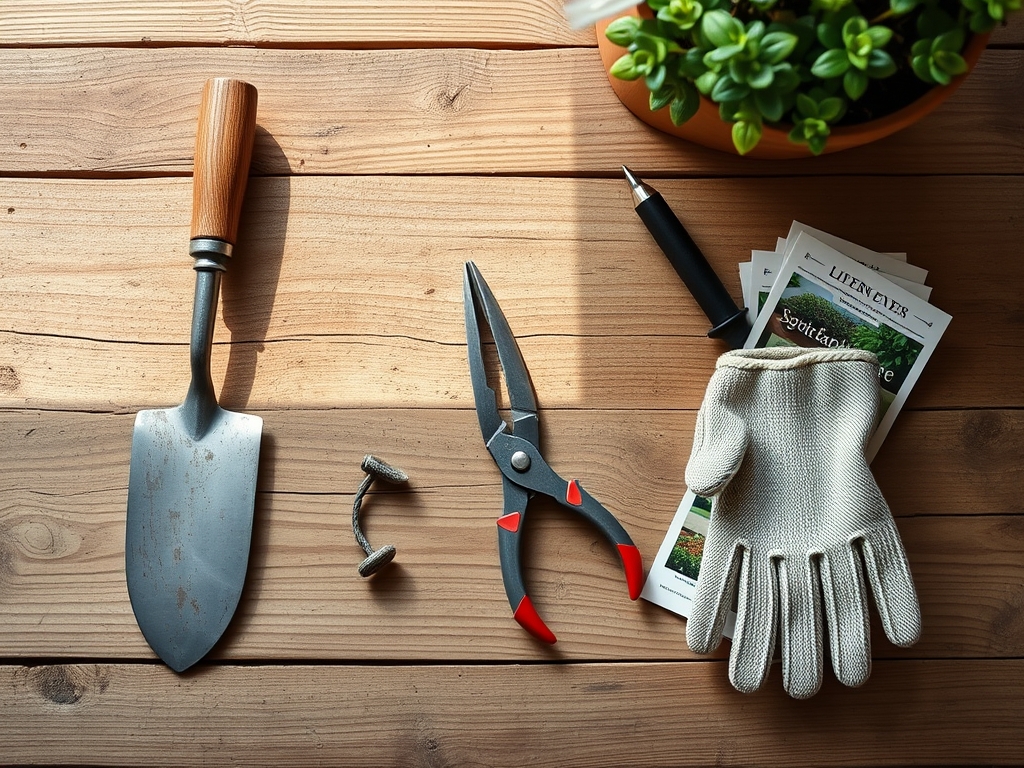
The success of any paver installation depends on the substrate. The ideal soil profile for the surrounding area is a friable loam with a pH between 6.0 and 7.0. This acidity range ensures high nutrient availability for nearby plantings. Before excavation, analyze the Cation Exchange Capacity (CEC) of your soil; higher clay content requires a thicker aggregate base to prevent frost heave.
For the bedding layer, use washed concrete sand with sharp, angular grains. For the surrounding vegetation, maintain an NPK ratio of 10-10-10 for general establishment or a 5-10-10 ratio if you are working near phosphorus-sensitive species. The base layer must consist of 0.75-inch crushed limestone or granite, compacted to a minimum density of 95 percent Proctor. This provides the structural integrity necessary to support the textured pavers without compromising the lateral movement of water through the soil profile.
Timing:
Timing is governed by the frost-date windows of your specific Hardiness Zone. In Zones 5 through 7, the ideal window opens after the final spring frost when soil moisture has decreased enough to allow for compaction without glazing the soil particles. Avoid installation during the "Biological Clock" transition from vegetative to reproductive stages of nearby perennials; the heavy machinery and foot traffic can cause mechanical stress that triggers premature senescence.
Monitor the soil temperature with a probe. Installation should occur when the ground is at least 55 degrees Fahrenheit at a depth of six inches. This ensures that any biological activity in the soil, such as the expansion of mycorrhizal networks, is not permanently halted by the sudden pressure of the paver base.
Phases:
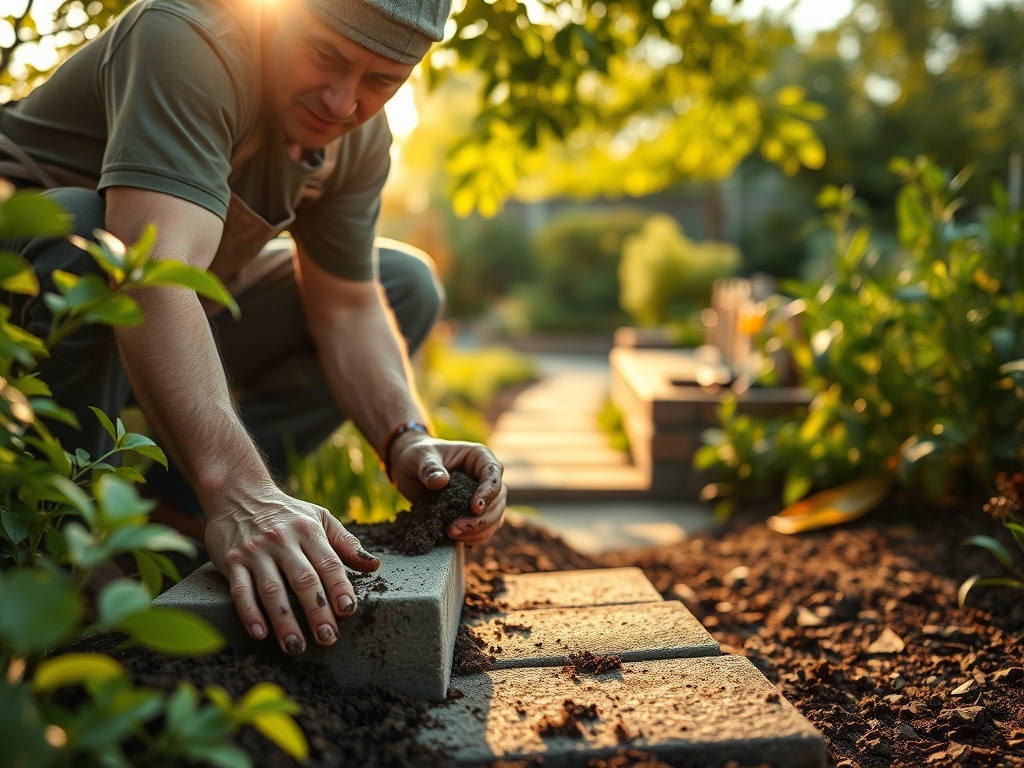
Sowing the Base
Excavate the area to a depth of 8 inches. This allows for 4 inches of sub-base, 1 inch of bedding sand, and the thickness of the paver. Ensure a 2 percent slope away from structures to manage runoff and protect the root crowns of nearby plants from waterlogging.
Pro-Tip: Compact the sub-grade in 2-inch lifts. This prevents the "pumping" of fine soil particles into the aggregate, which maintains soil porosity and prevents the collapse of the macro-pores necessary for gas exchange in the rhizosphere.
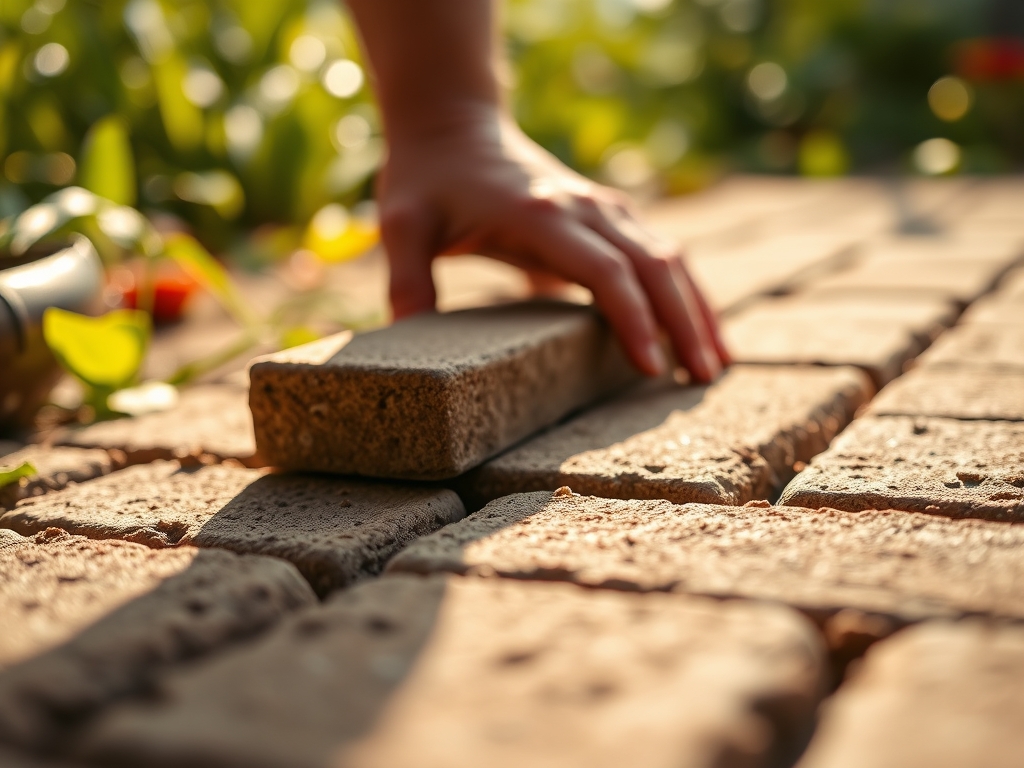
Transplanting the Texture
Place the pavers in the desired pattern, ensuring the textured surface is facing upward for maximum friction. Use a rubber mallet to set each unit into the bedding sand. Maintain a joint width of 0.125 inches to allow for the application of polymeric sand.
Pro-Tip: Use a string line to maintain a consistent grade. This prevents "birdbaths" or low spots where water collects. Standing water can lead to localized hypoxia in the soil adjacent to the pavers, killing beneficial aerobic bacteria.
Establishing the Joints
Sweep polymeric sand into the joints until they are filled to 0.125 inches below the chamfer edge. Mist the surface with water to activate the binding polymers. This creates a semi-permeable barrier that resists weed germination while allowing for thermal expansion.
Pro-Tip: Avoid over-saturating the joints during activation. Excessive water can wash the binders into the soil, potentially altering the osmotic potential of the soil solution and causing salt stress in sensitive nearby ornamental species.
The Clinic:
Symptom: Paver Settling
Solution: This usually indicates poor sub-grade compaction or a failure to use a geotextile fabric over high-clay soils. Excavate the affected area and reinforce the base with additional crushed stone.
Symptom: Efflorescence (White Chalky Film)
Solution: This is a natural occurrence of calcium hydroxide migrating to the surface. It typically resolves through weathering, but a pH-balanced cleaner can accelerate the process. Do not use hydrochloric acid near acid-sensitive plants.
Symptom: Joint Moss or Algae
Solution: This indicates chronic moisture retention and low light. Increase solar exposure or improve the drainage gradient. Ensure the surrounding turf is not over-irrigated, maintaining 1.5 inches of water per week.
Fix-It: Nitrogen Chlorosis in Adjacent Plants
If nearby plants show yellowing of older leaves, the construction process may have caused nitrogen tie-up. Apply a liquid 20-0-0 fertilizer at the drip line using a soil injector to bypass the compacted zone and deliver nutrients directly to the root system.
Maintenance:
Long-term stability requires precise moisture management. Use a soil moisture meter to monitor the interface between the pavers and the garden beds; levels should remain between 20 and 40 percent. Use a hori-hori knife to remove any deep-seated weeds that bypass the polymeric sand before they can develop a taproot that displaces the pavers.
Prune encroaching vegetation with bypass pruners to maintain a 12-inch clearance between foliage and the paver surface. This improves airflow and reduces the humidity that leads to fungal growth on the stone texture. Every three years, inspect the joints and replenish the sand to maintain the structural "lock" of the system.
The Yield:
While pavers do not produce a biological harvest, the "yield" of a correctly installed hardscape is measured in its drainage efficiency and thermal mass. A well-laid path acts as a heat sink, radiating warmth back to nearby plants during cool nights. This can extend the growing season for thermophilic species by up to two weeks in the autumn. To maintain the "day-one" aesthetic, pressure wash the surface at a maximum of 1,500 PSI to avoid eroding the textured finish.
FAQ:
How deep should I dig for textured pavers?
Excavate to a total depth of 7 to 9 inches. This accounts for a 4-inch compacted aggregate base, 1 inch of bedding sand, and the standard 2.375-inch thickness of the paver units.
What sand is best for the bedding layer?
Use ASTM C33 washed concrete sand. This material has angular edges that interlock under pressure, providing superior shear strength compared to rounded play sand or masonry sand.
Can I lay pavers directly on soil?
No. Placing pavers on raw soil leads to rapid failure due to frost heave and soil expansion. A compacted aggregate base is required to distribute loads and provide necessary drainage.
How do I prevent weeds between pavers?
Use polymeric sand in the joints. This material hardens when stabilized with water, creating a physical barrier that prevents wind-blown seeds from reaching the soil and germinating in the gaps.