10 Pro Tips How to Grow Pinstripe Calatheas
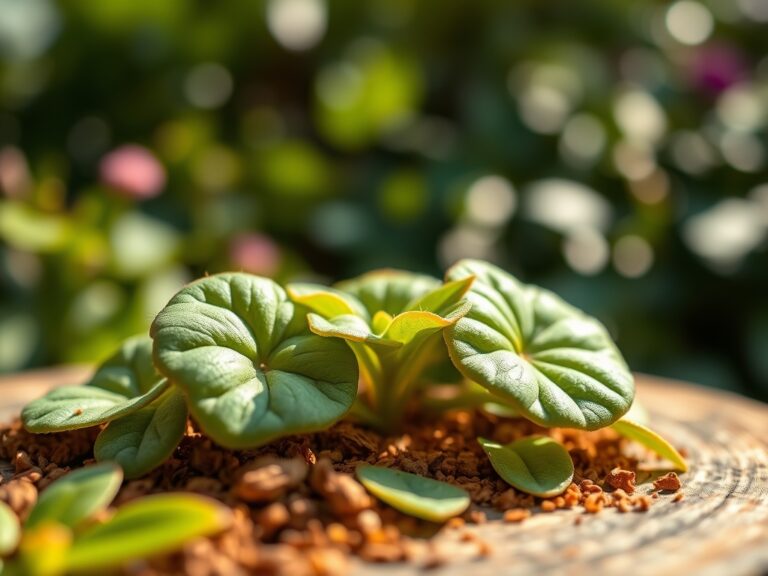
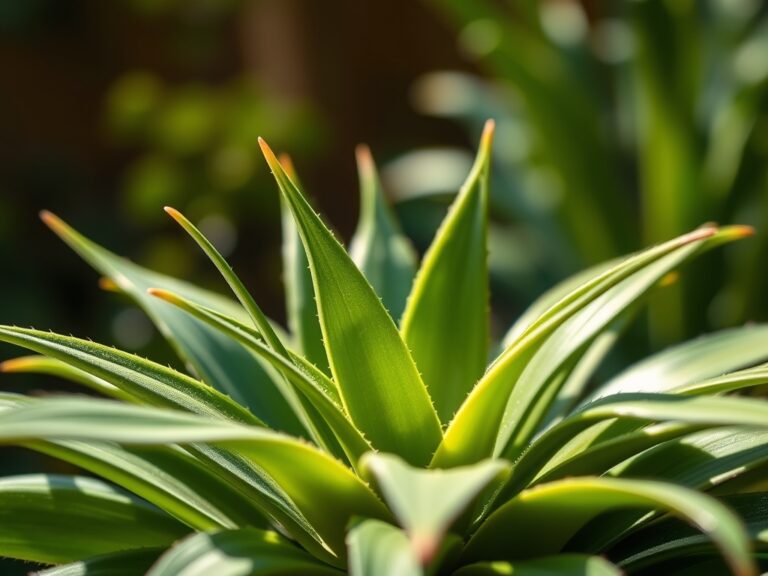
The undersides of the Pinstripe Calathea's leaves fold upward at dusk, revealing burgundy streaks that pulse with life. This prayer plant motion signals a healthy specimen. Learning how to grow pinstripe calatheas begins with understanding that Calathea ornata thrives in conditions that mirror the Brazilian rainforest floor: filtered light, consistent moisture, and soil rich in organic matter with active microbial communities.
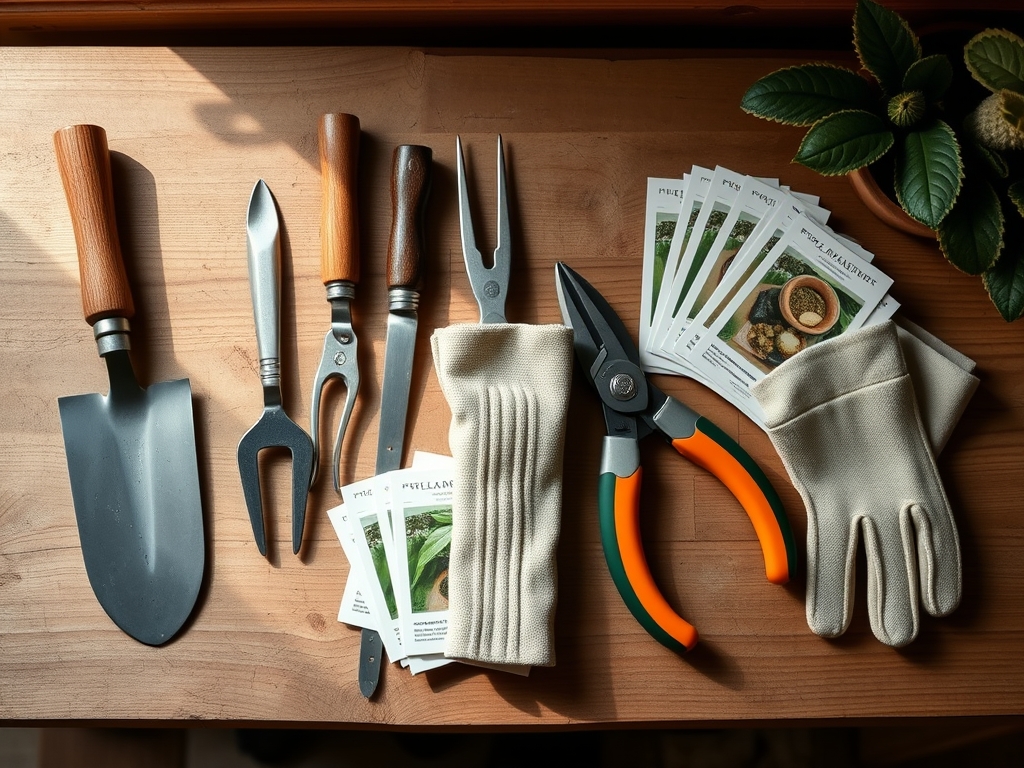
Materials
The substrate must maintain a pH between 6.0 and 6.5 to optimize nutrient availability. Combine two parts peat moss or coco coir with one part perlite and one part orchid bark. This mixture ensures adequate aeration while supporting cation exchange capacity above 15 meq/100g.
Fertilizer selection requires precision. Apply a balanced 4-4-4 organic meal every six weeks during active growth. Alternatively, use a liquid fish emulsion diluted to half strength (2-3-1 NPK) bi-weekly. Avoid synthetic high-nitrogen formulas above 10-5-5, which promote excessive foliar growth at the expense of root development and lead to salt accumulation in the rhizosphere.
Water quality determines long-term success. Pinstripe calatheas evolved in soft-water ecosystems. Municipal tap water containing more than 100 ppm dissolved solids causes leaf-edge necrosis within three months. Use distilled water, rainwater, or reverse-osmosis filtered water exclusively. A TDS meter (total dissolved solids) confirms readings below 50 ppm.
Containers must provide drainage holes measuring at least 0.5 inches in diameter. Terracotta pots with unglazed interiors allow gas exchange through sidewalls, preventing anaerobic conditions that trigger Pythium root rot.
Timing
Pinstripe calatheas function as tender perennials in USDA Hardiness Zones 11-12. In Zone 10b, winter temperatures occasionally drop to 35°F, inducing cellular damage and chlorophyll degradation. Indoor cultivation eliminates frost risk entirely.
Optimal transplanting windows occur from April through June when ambient temperatures stabilize between 65°F and 75°F. Avoid root disturbance between November and February, when the plant enters semi-dormancy and auxin distribution slows by approximately 40 percent.
Establish new divisions immediately after the spring equinox. Rhizome segments require 14 to 18 days to generate adventitious roots when soil temperature remains at 72°F.
Phases
Establishment Phase (Weeks 1-4):
Place the container in a location receiving 400 to 800 foot-candles of indirect light. South-facing windows require sheer curtains to diffuse intensity. Measure light levels with a lux meter: 4,000 to 8,000 lux corresponds to ideal photosynthetic rates without photo-oxidative stress.
Maintain relative humidity at 60 to 80 percent. Position a humidifier within three feet of the foliage, or place the pot on a tray filled with pebbles and 0.5 inches of water. The evaporative surface increases localized humidity by 15 to 20 percentage points.
Pro-Tip: Inoculate the root zone with endomycorrhizal fungi (Glomus species) at planting. Mix 2 tablespoons of mycorrhizal powder per gallon of substrate. These symbionts colonize cortical cells within 10 days, increasing phosphorus uptake efficiency by 60 percent and enhancing drought tolerance.
Growth Phase (Months 2-6):
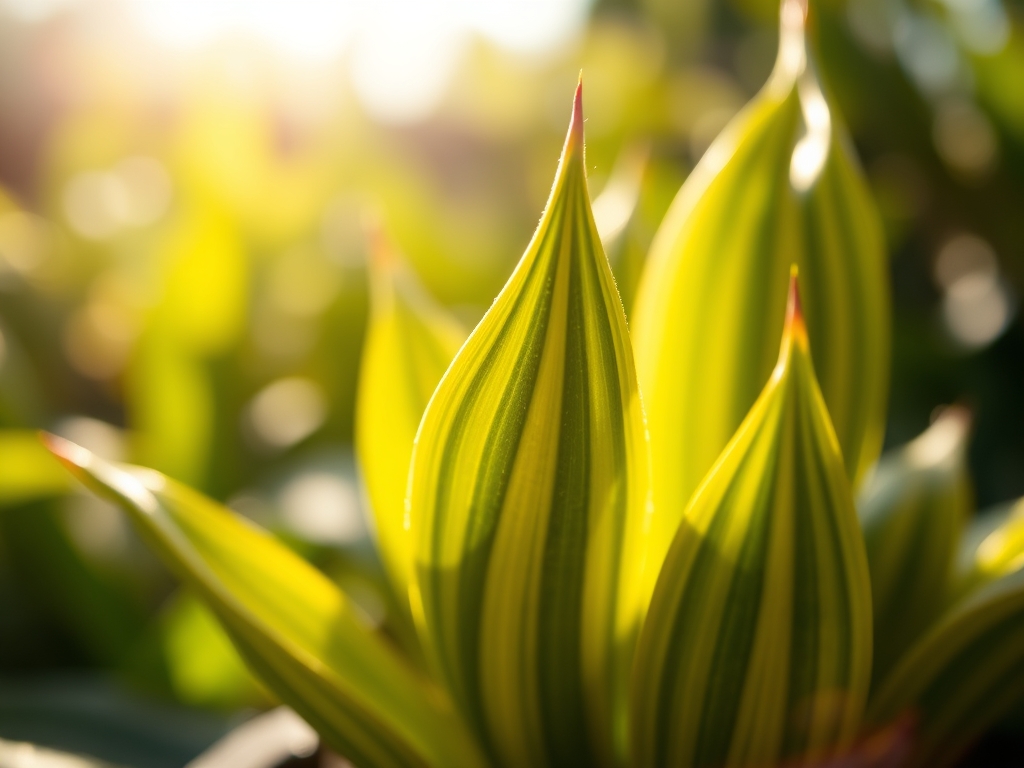
New leaves emerge on 21-day cycles when conditions remain stable. Each leaf unfurls tightly rolled, displaying pale pink pinstripes that darken to white as chloroplasts mature.
Rotate the container 90 degrees weekly to ensure uniform light exposure across all leaf surfaces. Uneven rotation causes asymmetric petiole elongation and unbalanced crown architecture.
Pro-Tip: Prune senescent leaves by cutting petioles at a 45-degree angle, 0.25 inches above the soil line. This angle prevents water accumulation on cut surfaces and reduces bacterial soft-rot incidence by 30 percent compared to flat cuts.
Maturity Phase (Month 7+):
Mature specimens produce 12 to 20 leaves simultaneously. Rhizomes expand horizontally, requiring repotting every 18 to 24 months. Division becomes necessary when roots circle the container perimeter twice.
Pro-Tip: Water exclusively in the morning between 6 AM and 9 AM. This timing allows excess moisture on foliage to evaporate before nightfall, when cooler temperatures and reduced air circulation favor fungal spore germination.
Troubleshooting
Symptom: Brown, crispy leaf margins progressing inward.
Solution: Fluoride toxicity from tap water or overfertilization. Flush the substrate with distilled water (volume equal to twice the pot size) and switch to fluoride-free water sources.
Symptom: Yellowing lower leaves with wilting despite moist soil.
Solution: Root rot caused by Phytophthora or Pythium species. Remove the plant, excise blackened roots with sterilized shears, and repot in fresh, pathogen-free substrate. Reduce watering frequency by 30 percent.
Symptom: Webbing on leaf undersides with stippled, pale spots.
Solution: Two-spotted spider mites (Tetranychus urticae). Spray foliage with neem oil (0.5% azadirachtin concentration) every 72 hours for three applications. Raise humidity above 65 percent to suppress reproduction.
Symptom: Leaves fail to fold at night.
Solution: Insufficient light or photoperiod disruption. Ensure 12 to 14 hours of consistent light daily. Remove artificial light sources after 10 PM to allow natural circadian rhythms.
Symptom: Stunted growth with pale new leaves.
Solution: Nitrogen deficiency or depleted substrate. Apply liquid fish emulsion at full strength (5-1-1 NPK) once, then resume standard fertilization schedule.
Maintenance
Water when the top 1 inch of substrate feels dry to touch, typically every 4 to 6 days. Saturate the soil until water drains from the bottom, then empty the saucer within 15 minutes to prevent root asphyxiation.
Wipe leaves monthly with a damp microfiber cloth to remove dust particles that block stomata and reduce gas exchange efficiency by up to 25 percent.
Monitor for pests weekly by inspecting leaf axils and undersides with a handheld magnifier at 10x magnification.
FAQ
How often should I fertilize pinstripe calatheas?
Apply balanced organic fertilizer (4-4-4 NPK) every six weeks from March through September. Cease fertilization from October through February.
Can pinstripe calatheas tolerate low light?
They survive in 200 foot-candles but exhibit etiolated growth and reduced pigmentation. Optimal health requires 400 to 800 foot-candles.
Why do leaves curl inward?
Underwatering or humidity below 40 percent triggers stomatal closure and defensive leaf curling. Increase watering frequency and raise ambient humidity.
Is misting effective for humidity?
Misting provides temporary relief (5-10 minutes) but does not meaningfully increase sustained humidity levels. Use humidifiers or pebble trays instead.
How do I propagate pinstripe calatheas?
Divide rhizomes during spring repotting. Each division requires three healthy leaves and intact roots measuring at least 2 inches long.