10 Best Plastic Sheeting for Solarization
The smell of damp earth under a high summer sun signals the optimal window for soil pasteurization. When the turgor pressure of invasive weeds is at its peak, the application of the best plastic sheeting for solarization creates a lethal hydrothermal environment. This process utilizes radiant energy to raise soil temperatures to levels that denature proteins in soil-borne pathogens and weed seeds. Success depends on the thickness and UV-stabilization of the polyethylene. A 1.5 to 2.0 mil clear plastic provides the highest thermal gain; it allows short-wave radiation to pass through while trapping long-wave infrared radiation. This thermal trap targets the top 6 to 12 inches of the rhizosphere, ensuring a sterile bed for subsequent planting. Without the correct material, the heat dissipates, and the biological load of the soil remains unchanged.
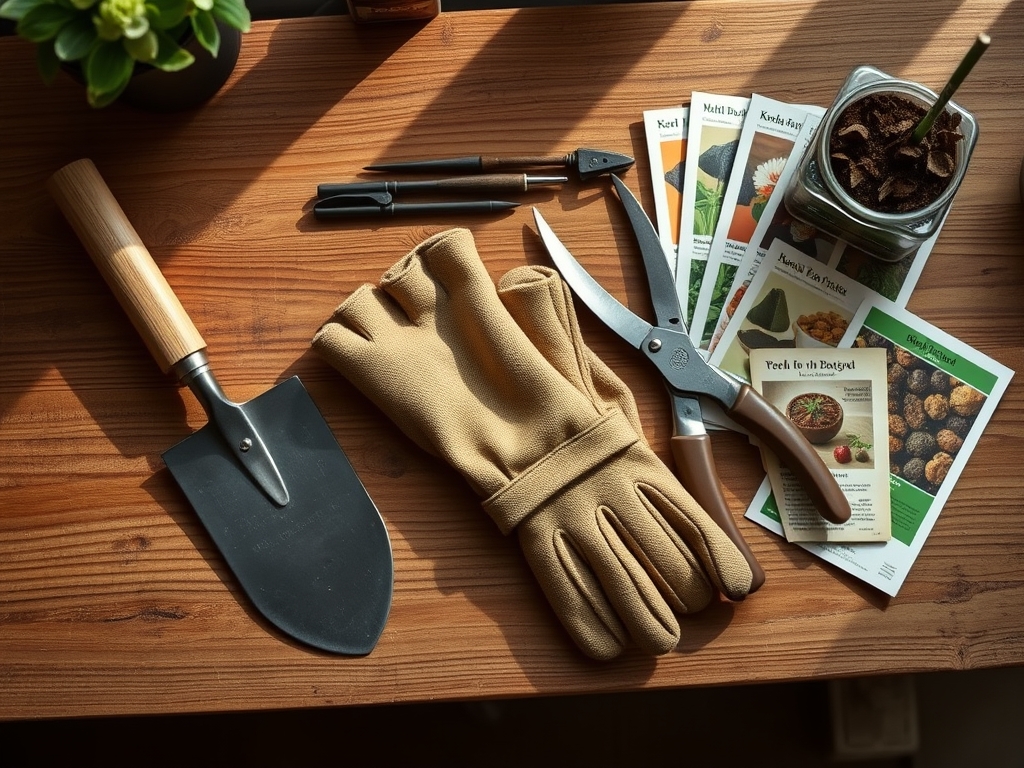
Materials:
Effective solarization requires a **friable loam** substrate with a soil pH between 6.0 and 7.0 to ensure nutrient availability post-treatment. High clay content can hold excessive moisture, which slows the heating process due to the high specific heat capacity of water. Before laying the plastic, the soil should be amended to reach a balanced NPK ratio of **10-10-10** or **5-10-10** depending on the upcoming crop requirements.
The Cation Exchange Capacity (CEC) of the soil should be measured; a higher CEC indicates a better ability to retain the ammonium nitrogen released during the heating process. Use a soil moisture meter to ensure the ground is at 70 percent of field capacity. This moisture conducts heat deeper into the profile and triggers the germination of weed seeds, making them more vulnerable to thermal death. Avoid using black plastic; it absorbs heat rather than transmitting it to the soil, resulting in lower temperatures at the root zone.
Timing:
Solarization is most effective in Hardiness Zones 7 through 11 during the peak of the summer solstice. The "Biological Clock" of the soil must be interrupted when the sun is at its highest solar angle to achieve temperatures of 110 to 125 degrees Fahrenheit at a depth of 6 inches. In northern latitudes, this window is narrow; usually from late June to mid-August.
The transition from vegetative to reproductive stages in most weeds occurs during this period. By applying the plastic now, you disrupt the photoperiod requirements for seed set. The duration of the treatment must be 4 to 6 weeks. If the soil does not maintain a temperature of at least 108 degrees Fahrenheit for several consecutive hours daily, the thermal death point for many fungal pathogens like Verticillium dahliae will not be reached.
Phases:
Sowing and Preparation
Clear the area of all plant debris and large clods. Use a hori-hori knife to remove deep-rooted perennials that might puncture the plastic. The surface must be as smooth as possible to eliminate air pockets between the soil and the sheeting. Air pockets act as insulation and prevent efficient heat transfer.
Pro-Tip: Minimizing the distance between the plastic and the soil surface maximizes the greenhouse effect. This ensures that the heat is conducted directly into the soil particles rather than warming a layer of air, which would otherwise dissipate the energy.
Transplanting into Treated Soil
Once the 6-week period is complete, remove the plastic carefully. Do not till the soil deeper than 2 inches. Tilling deeper will bring up dormant weed seeds from the untreated "cool zone" below the solarized layer. Use a soil moisture meter to check the hydration levels before transplanting seedlings.
Pro-Tip: Solarization often triggers a "Growth Response" where plants grow faster in treated soil. This is due to mycorrhizal symbiosis being temporarily disrupted, followed by a surge in available nitrogen and soluble calcium that the plant can readily absorb through active transport.
Establishing the Crop
Maintain high turgor pressure in new transplants by watering immediately. The solarized soil is temporarily low in beneficial microbes, so inoculating the area with compost tea can help re-establish a healthy soil food web. Monitor the plants for any signs of senescence or stress.
Pro-Tip: The lack of competition from weeds allows the primary crop to utilize all available light for phototropism. Without the shade of weeds, the plant's auxin suppression is minimized; this leads to stronger lateral branching and a more robust structural architecture.
The Clinic:
Physiological disorders can still occur in solarized plots if the transition is handled poorly.
-
Symptom: Interveinal chlorosis in new leaves.
Solution: This indicates a micronutrient lockout, often Iron or Manganese, due to a temporary spike in pH.
Fix-It: Apply a chelated micronutrient foliar spray to bypass the soil chemistry until the rhizosphere stabilizes. -
Symptom: Blossom end rot in solanaceous crops.
Solution: Calcium deficiency caused by inconsistent moisture levels.
Fix-It: Maintain a strict irrigation schedule of 1.5 inches of water per week to ensure steady calcium uptake via the transpiration stream. -
Symptom: Nitrogen chlorosis (yellowing of older leaves).
Solution: The heat may have volatilized some surface nitrogen.
Fix-It: Side-dress with a high-nitrogen organic fertilizer like blood meal (12-0-0) to restore the cation exchange balance.
Maintenance:
Precision is the hallmark of a professional garden. Use bypass pruners to remove any damaged foliage that could attract opportunistic pathogens. Irrigation must be targeted; apply 1.5 inches of water per week at the drip line to avoid wetting the foliage, which can lead to fungal issues.
Check the soil tension regularly. If the soil feels compacted after the plastic removal, use a broadfork to aerate the ground without flipping the soil layers. This preserves the "sterile" surface created by the solarization process. Keep a log of soil temperatures throughout the season to correlate thermal success with final harvest weights.
The Yield:
Harvesting from solarized soil often results in higher yields due to the lack of nutrient competition. For leafy greens, harvest in the early morning when turgor pressure is highest. Use a sharp hori-hori knife for clean cuts that minimize tissue damage.
For fruiting crops, wait for the fruit to reach full physiological maturity, indicated by a change in skin tension and color. Post-harvest, submerge produce in cool water to remove field heat immediately. This slows the rate of respiration and prevents premature senescence, ensuring "day-one" freshness and a longer shelf life.
FAQ:
What is the best thickness for solarization plastic?
Use clear polyethylene sheeting between 1.5 and 2.0 mils thick. Thinner plastic (1 mil) heats the soil more effectively but is prone to tearing; thicker plastic (4 mil or more) reflects too much solar radiation.
Can I use black plastic for soil solarization?
Black plastic is less effective than clear plastic. Black film absorbs solar energy and heats up itself, but it does not transmit that heat into the soil as efficiently as clear plastic through the greenhouse effect.
How long should I leave the plastic on the soil?
Leave the plastic in place for 4 to 6 weeks during the hottest part of the summer. This duration ensures that heat penetrates deep enough to kill pathogens and weed seeds in the upper 12 inches of soil.
Will solarization kill beneficial earthworms?
Most earthworms will move deeper into the soil profile to escape the heat. While some surface-dwelling beneficial microbes may perish, the population usually recovers quickly once the plastic is removed and the soil temperatures return to a normal range.