10 Vital Steps to Add Gypsum to Soil
The smell of damp, compacted clay often signals a lack of pore space and poor drainage. When soil feels like cold plastic and resists the blade of a spade, the cellular turgor of your plants will inevitably suffer. Calcium sulfate dihydrate, commonly known as gypsum, serves as a chemical crowbar to pry apart these tightly packed particles. Understanding the precise steps to add gypsum to soil is the difference between a productive rhizosphere and a stagnant, anaerobic mess. This mineral intervention works by displacing sodium ions with calcium; this process creates a flocculated structure that allows oxygen to penetrate the root zone. You are not just dumping powder on dirt. You are conducting a molecular exchange to optimize the physical architecture of your substrate. Proper application ensures that water moves vertically rather than pooling on the surface. This guide details the technical requirements for transforming sodic or heavy clay soils into high performance growing environments.
Materials:

Before application, you must analyze your current soil chemistry. Gypsum is pH neutral; it will not raise or lower the acidity of your soil like lime or sulfur. It is most effective in soils with a **pH between 6.0 and 8.0**. For the ideal substrate, aim for a friable loam with a Cation Exchange Capacity (CEC) above **15 meq/100g**.
Required inputs include:
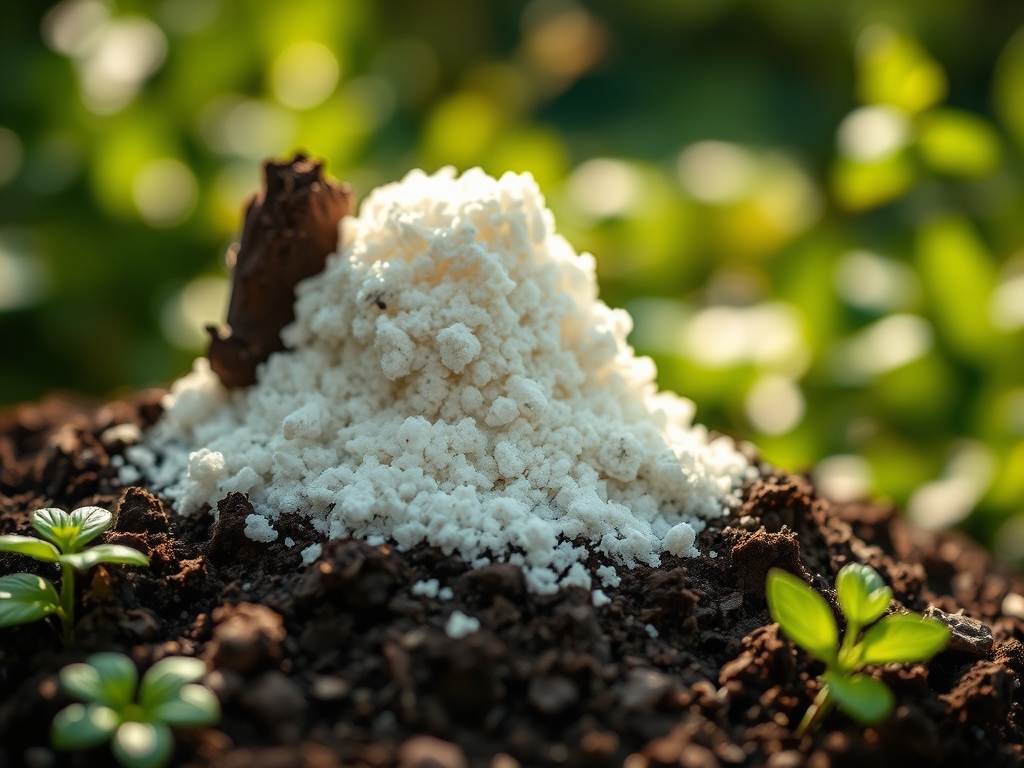
- Granulated Gypsum: Look for a purity rating of 90 percent or higher. Pelletized versions reduce dust and ensure even distribution.
- NPK Baseline: Gypsum provides 23 percent calcium and 18 percent sulfur. It contains zero nitrogen, phosphorus, or potassium. You must supplement with a balanced 10-10-10 or 5-10-10 fertilizer depending on your specific crop requirements.
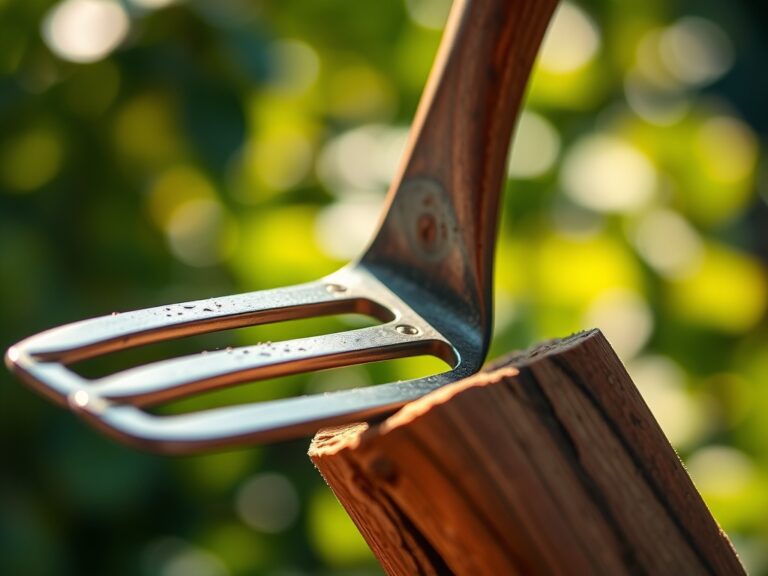
- Soil Probe: To extract core samples at a 6-inch depth for baseline testing.
Timing:
The biological clock for gypsum application is dictated by the transition from dormant to vegetative stages. In Hardiness Zones 4 through 7, the optimal window is late autumn or early spring, at least four weeks before the last frost date. This allows winter precipitation to dissolve the mineral and carry it into the subsoil.
In warmer Hardiness Zones 8 through 11, application should coincide with the onset of the rainy season. Applying gypsum during the vegetative stage supports the rapid cell wall development required for structural integrity. Avoid application during the reproductive stage (flowering or fruiting) as the sudden influx of calcium can interfere with the uptake of potassium, which is critical for fruit sizing and sugar translocation.
Phases:

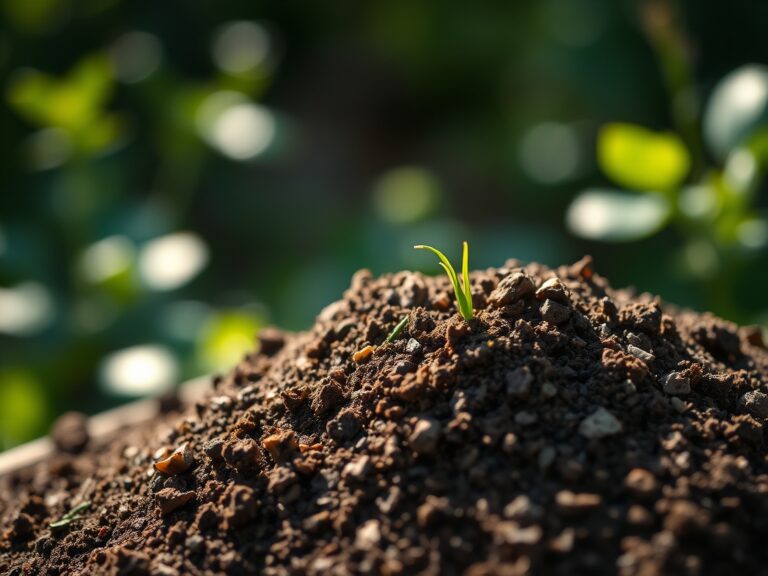
Sowing and Preparation
Begin by clearing the surface of all organic debris. For existing turf or garden beds, core aeration is mandatory. Apply gypsum at a rate of 40 pounds per 1,000 square feet for maintenance, or up to 100 pounds per 1,000 square feet for heavy clay reclamation. Use a drop spreader to ensure a uniform layer.
Pro-Tip: Gypsum facilitates the formation of soil aggregates. This is vital because it increases the "macropore" space. This allows for better mycorrhizal symbiosis, as fungal hyphae require oxygenated pathways to transport nutrients to the host plant.
Transplanting
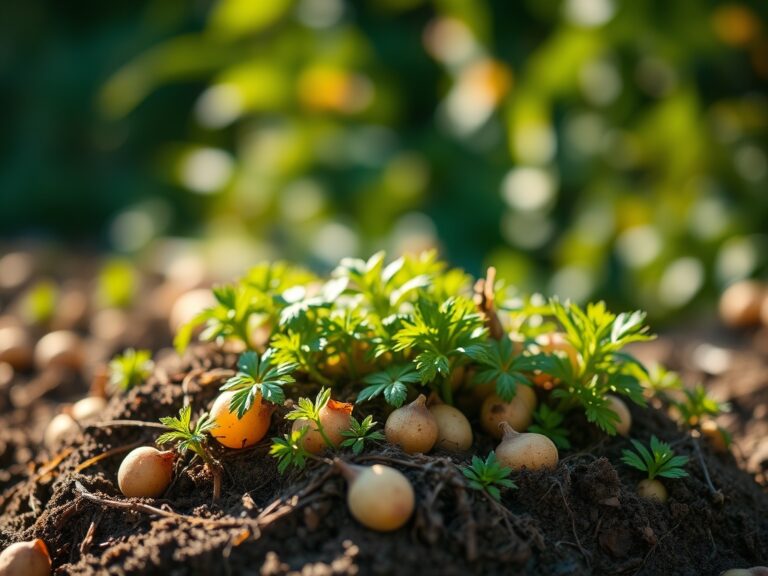
When moving a plant from a container to the field, incorporate one cup of gypsum into the backfill soil. This prevents "pot-binding" by encouraging roots to move beyond the transition zone and into the native soil. Ensure the root ball is set at a depth where the crown is level with the soil surface.
Pro-Tip: High calcium levels in the immediate root zone suppress auxin-driven apical dominance in roots. This encourages lateral root branching, which increases the total surface area available for nutrient absorption.
Establishing
Once the plant is in the ground, water the area with 2 inches of water immediately. This initial saturation initiates the chemical reaction where calcium ions begin replacing sodium on the soil colloids. Monitor the soil moisture for the next 14 days to ensure the mineral does not crust on the surface.
Pro-Tip: Maintaining consistent moisture during establishment prevents osmotic stress. If the soil dries too quickly after a heavy gypsum application, the salt concentration in the soil solution can rise, potentially dehydrating young root hairs.
The Clinic:
Physiological disorders often stem from poor soil structure or localized calcium deficiencies.
- Symptom: Blossom End Rot in tomatoes or peppers.
- Solution: This is a calcium transport issue. While gypsum provides the calcium, you must ensure consistent soil moisture at 1.2 to 1.5 inches per week to facilitate uptake through the xylem.
- Symptom: Surface Crusting and Ponding.
- Solution: This indicates high sodium levels. Apply 5 pounds of gypsum per 100 square feet and tilt the soil to a depth of 4 inches to break the surface tension.
- Symptom: Nitrogen Chlorosis (yellowing of older leaves).
- Fix-It: This is often a secondary effect of waterlogged, anaerobic soil. Adding gypsum improves drainage, which allows oxygen back into the rhizosphere so nitrifying bacteria can convert ammonium to nitrate.
Maintenance:
Precision is the hallmark of professional maintenance. Use a soil moisture meter to verify that the root zone remains between 60 percent and 80 percent field capacity. For woody perennials, provide 1.5 inches of water per week delivered at the drip line via drip irrigation to avoid foliar diseases.
Keep your bypass pruners sterilized with 70 percent isopropyl alcohol to prevent the spread of pathogens. When working in the soil, use a hori-hori knife to measure depth and ensure you are not disturbing the delicate "O" and "A" soil horizons where microbial activity is highest. Re-test your soil every two years to monitor the Cation Exchange Capacity and adjust gypsum rates accordingly.
The Yield:
Harvesting should occur when the plant reaches peak physiological maturity. For leafy greens, this is before the onset of senescence (yellowing) or bolting. For fruiting crops, harvest when the "ground spot" changes color or the fruit detaches with a slight tug.
Post-harvest, use a sharp blade to make clean cuts; this minimizes the surface area for water loss. Immediate cooling to 40 degrees Fahrenheit slows the respiration rate, preserving the sugars and acids developed during the growing season. For flowers, a clean cut at a 45-degree angle under water prevents air embolisms in the xylem, ensuring maximum vase life.
FAQ:
Does gypsum change soil pH?
No. Gypsum is a neutral salt consisting of calcium and sulfur. It will not significantly alter the pH of your soil. Use lime to raise pH or elemental sulfur to lower it.
How often should I apply gypsum?
For heavy clay reclamation, apply once in the spring and once in the autumn. For general maintenance, a single annual application of 20 to 40 pounds per 1,000 square feet is sufficient.
Can I use gypsum on sandy soil?
Gypsum is generally unnecessary for sandy soils. Since sand has low cation exchange capacity and large pore spaces, the calcium sulfate will leach out quickly without providing structural benefits to the soil.
Will gypsum hurt my lawn?
When applied at recommended rates, gypsum is safe for all turfgrasses. It actually improves grass health by reducing soil compaction and allowing fertilizer to reach the root system more efficiently.
How long does it take to see results?
Chemical changes begin immediately upon watering, but physical changes in soil structure typically take six months to a year. Multiple applications over several seasons are often required for severely compacted clay.