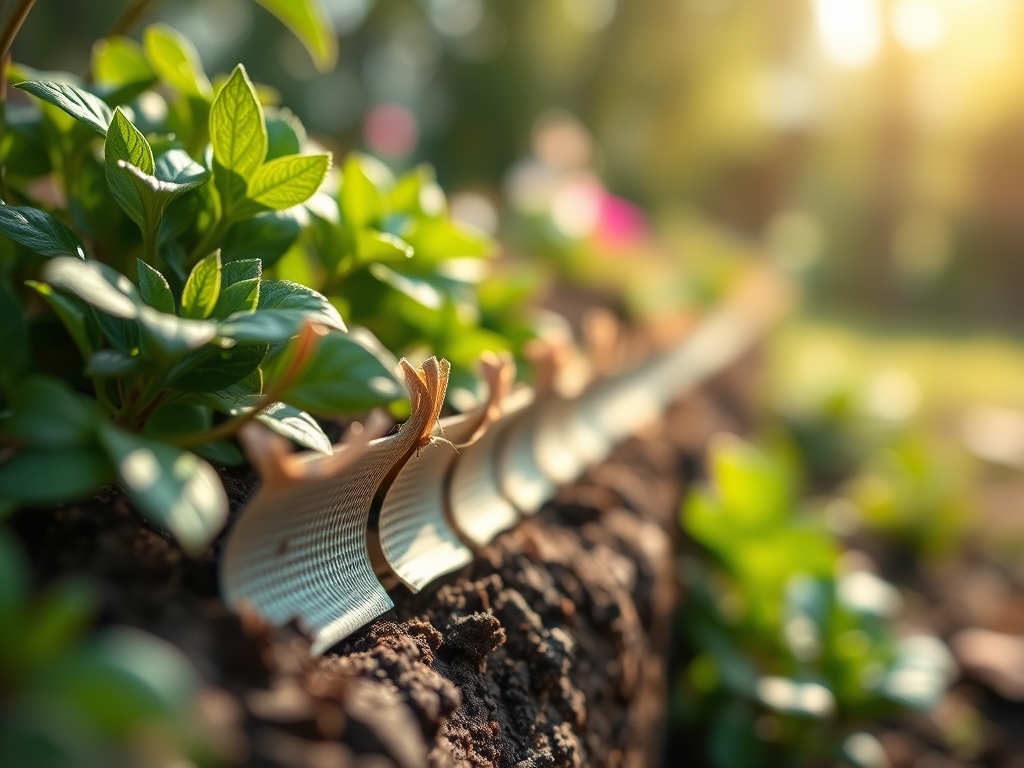
5 Quick Steps to Install Drip Tape
The precise steps to install drip tape determine whether your garden receives uniform moisture or suffers from dry patches and runoff waste. Commercial growers and home gardeners alike rely on drip irrigation to deliver water directly to root zones, reducing evaporation by 40% compared to overhead sprinklers. Installing drip tape correctly ensures each plant receives exactly the water it needs while minimizing weed germination between rows. The following steps to install drip tape transform any garden bed into an efficient, water-conserving system.
Materials
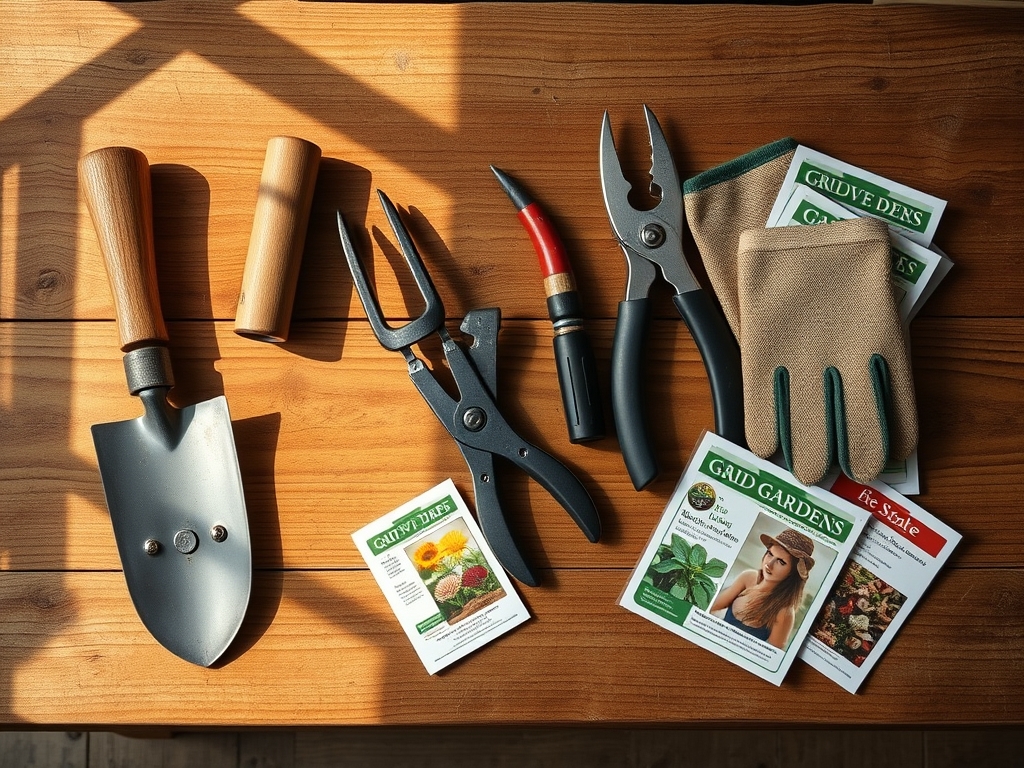
Gather these components before beginning installation. Drip tape comes in wall thicknesses from 8-mil (single-season) to 15-mil (multi-year). Emitter spacing ranges from 4 inches for clay soils to 12 inches for sandy soils with low cation exchange capacity. A pressure regulator rated at 8-12 PSI prevents emitter blowouts. Backflow preventers stop contaminated water from siphoning into municipal lines. Filter screens (150-200 mesh) block sediment that clogs emitters smaller than 0.5mm.
Main line tubing (5/8-inch or 3/4-inch polyethylene) connects the water source to drip tape runs. Compression fittings, tees, and end caps seal the system. A timer automates watering schedules. Landscape staples anchor tape every 3-5 feet on slopes. Teflon tape seals threaded connections.
For soil amendment before installation, apply compost with an NPK ratio near 1-1-1 to improve water retention. Sandy soils benefit from 2-3 inches of composted bark (approximate NPK 0.5-0.5-0.5) to increase moisture-holding capacity by 30%. Clay soils require gypsum (calcium sulfate) at 20 pounds per 100 square feet to improve infiltration rates without altering pH significantly.
Timing
Install drip tape in USDA Hardiness Zones 3-7 two weeks before the last spring frost date. This allows system testing before transplanting tender seedlings. In Zones 8-10, install during the dry season (typically October-November) to prepare for winter vegetable production.
Soil temperatures above 50°F facilitate easier tape handling. Polyethylene becomes brittle below 40°F and prone to cracking during unrolling. In high-elevation zones (above 7,000 feet), wait until daytime temperatures consistently reach 55°F.
For fall gardens, install drip tape in late July through August, 8-10 weeks before the first expected frost. This timing supports brassicas and root crops that mature in cooler temperatures.
Phases

Step 1: Layout and Bed Preparation
Clear the planting area of debris and level raised beds to within 2 inches of elevation change per 100 feet. Excessive slope causes uneven water distribution. Roll out drip tape along row centers with emitters facing upward. For double rows of lettuce or greens spaced 6-8 inches apart, position one tape line between them. Wider plantings (tomatoes, peppers) require tape directly beneath each plant row.
Pro-Tip: Mark tape position with landscape flags before securing. This prevents accidental punctures during transplanting.
Step 2: Connect to Water Source
Attach the backflow preventer to the spigot, followed by the pressure regulator and filter. Thread connections require three wraps of Teflon tape applied clockwise. Connect the timer (if using) between the filter and main line. Run the main line perpendicular to drip tape rows.
Punch holes in the main line using a hole punch tool sized for your tape connectors (typically 0.52-inch diameter). Insert barbed connectors and attach drip tape. Secure with stainless steel clamps if working pressure exceeds 10 PSI.
Pro-Tip: Install a flush valve at the main line's far end. Opening it annually purges accumulated sediment that reduces system efficiency by 15-25%.
Step 3: Secure and Test
Pin drip tape with landscape staples at the beginning, end, and every 5 feet along straight runs. On slopes exceeding 3%, staple every 3 feet to prevent tape migration. Fold the tape end twice and secure with a figure-eight end clamp or zip tie.
Turn on water slowly. Pressurizing too quickly (under 2 seconds) can rupture tape seams. Check each emitter for flow. Low-flow or non-functioning emitters indicate clogs or manufacturing defects. Flush lines by removing end caps and running water for 30 seconds.
Pro-Tip: Measure output from five random emitters using a graduated cylinder for 1 minute. Variation exceeding 10% between emitters signals pressure problems or filter saturation.
Step 4: Mulch Application
Cover drip tape with 2-3 inches of organic mulch (straw, shredded leaves, or wood chips with carbon-to-nitrogen ratios of 50:1 or higher). Mulch reduces surface evaporation by 30% and moderates soil temperature fluctuations. Keep mulch 2 inches away from plant stems to discourage fungal pathogens and reduce auxin distribution interference at the root collar.
Pro-Tip: Inoculate mulch with mycorrhizal fungi spores (Glomus intraradices) at 1 teaspoon per 10 square feet. Hyphal networks extend effective root zones by 100x.
Step 5: Program Watering Schedule
Run the system 30-45 minutes for initial deep watering, wetting soil to 6-8 inches depth. Subsequent irrigation depends on soil type and crop. Sandy soils with low moisture retention require daily 20-minute sessions. Loam soils need watering every 2-3 days for 30 minutes. Clay soils perform best with twice-weekly 45-minute cycles.
Pro-Tip: Insert a soil moisture probe 4 inches deep midway between emitters. Irrigate when readings drop to 40-50% of field capacity for vegetables, 30-40% for drought-tolerant herbs.
Troubleshooting
Symptom: Uneven wetted patterns with dry zones between emitters.
Solution: Emitter spacing exceeds soil's lateral water movement capacity. In sandy soils, water moves 6-8 inches laterally. Switch to tape with 4-6 inch emitter spacing or add a second tape line.
Symptom: Algae growth on tape surface.
Solution: Excessive surface moisture from pressure exceeding 12 PSI. Verify pressure regulator function. Bury tape 1-2 inches below soil surface for crops that tolerate subsurface irrigation.
Symptom: Tape bulging or emitter blowouts.
Solution: Pressure exceeds tape rating. Install or replace pressure regulator. Symptom also occurs when filters clog, creating back-pressure. Clean filters monthly during peak season.
Symptom: Reduced flow over season.
Solution: Mineral deposits or bacterial biofilm accumulation. Flush with hydrogen peroxide solution (1 cup per 10 gallons) through the system for 15 minutes, then rinse. Annual treatment prevents 60% of emitter failures.
Symptom: Plant wilting despite wet soil at tape.
Solution: Root systems have not reached wetted zone. Transition seedlings by hand-watering the root ball area for 7-10 days post-transplant while drip system establishes deeper moisture.
Maintenance
Apply 1 inch of water weekly for established vegetable crops during active growth. Measure output by placing straight-sided containers at three locations along tape runs. Run the system until containers collect 1 inch. This typically requires 60-90 minutes depending on emitter flow rates (0.25-0.5 gallons per hour is standard).
Flush end caps every 14 days during operation. Open flush valves for 15-30 seconds until water runs clear. Inspect connections monthly for leaks that waste 5-10 gallons daily per failure point.
Before winter in Zones 3-7, drain all lines completely. Disconnect tape from main lines and elevate one end to let gravity remove standing water. Freezing water expands 9% and splits tape walls. Store drained tape indoors or under UV-protected tarps.
Replace filters when flow rate drops 20% from baseline. Clean filter screens by soaking in white vinegar (5% acetic acid) for 2 hours, then rinse thoroughly.
FAQ
How long does drip tape last?
8-mil tape lasts one season. 15-mil tape functions 3-5 years with proper winterization and UV protection from mulch or soil burial.
Can I use drip tape on slopes?
Yes, but install pressure-compensating emitters on slopes exceeding 5%. Standard emitters deliver 20% more water at the bottom than the top on steep grades.
What emitter spacing should I choose?
Clay soils: 12-inch spacing. Loam soils: 8-inch spacing. Sandy soils: 4-6 inch spacing. Closer spacing compensates for reduced lateral water movement.
Do I need a filter?
Always. Well water contains iron and manganese that oxidize in emitters. Municipal water has particulates from pipe scale. Filters prevent 90% of clogs.
How deep should I bury drip tape?
Surface installation works for annual vegetables. Bury 1-2 inches deep for perennials to protect from cultivation damage and UV degradation. Maximum burial depth is 3 inches before soil weight restricts tape expansion.