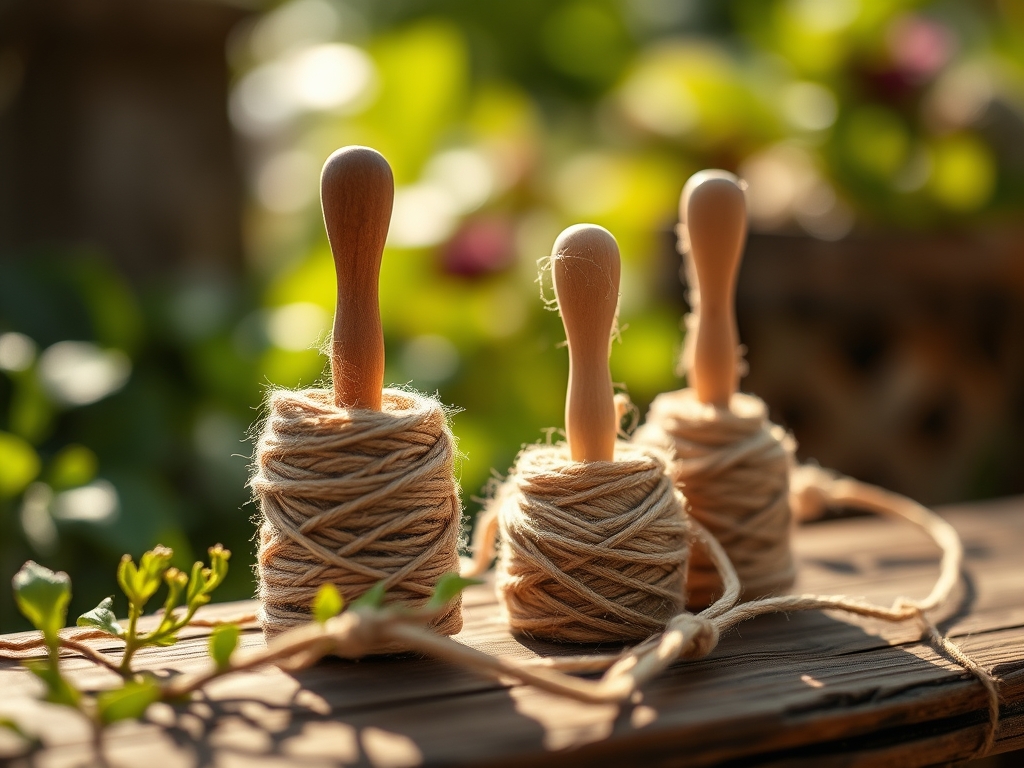
8 Neat Ways How to Maintain Garden Twine Dispensers
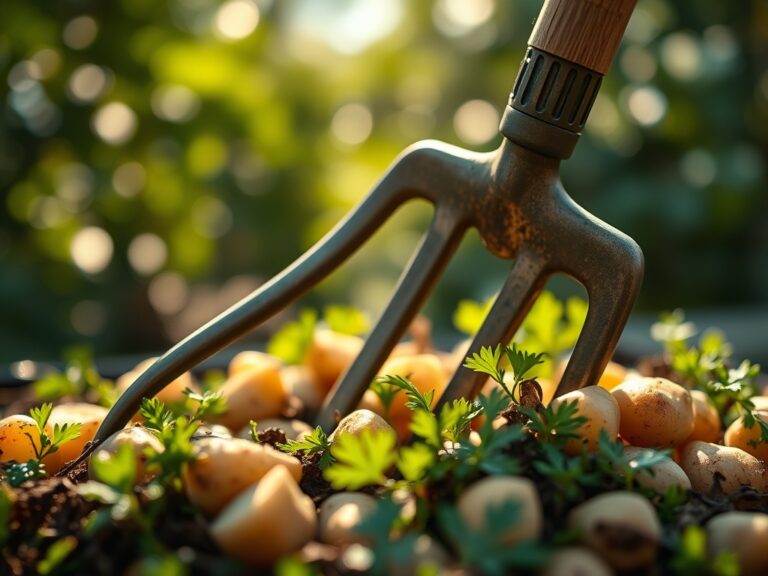
Damp soil clings to the serrated edge of a carbon steel blade while the scent of crushed chlorophyll fills the morning air. High turgor pressure keeps the stems of indeterminate tomatoes rigid against their supports; however, this structural integrity relies entirely on the quality of the binding material. Understanding how to maintain garden twine dispensers ensures that the jute or sisal fibers remain dry and high in tensile strength. A neglected dispenser leads to mold colonization and fiber degradation. This guide provides the technical protocols required to keep your cordage systems functional throughout the growing season.
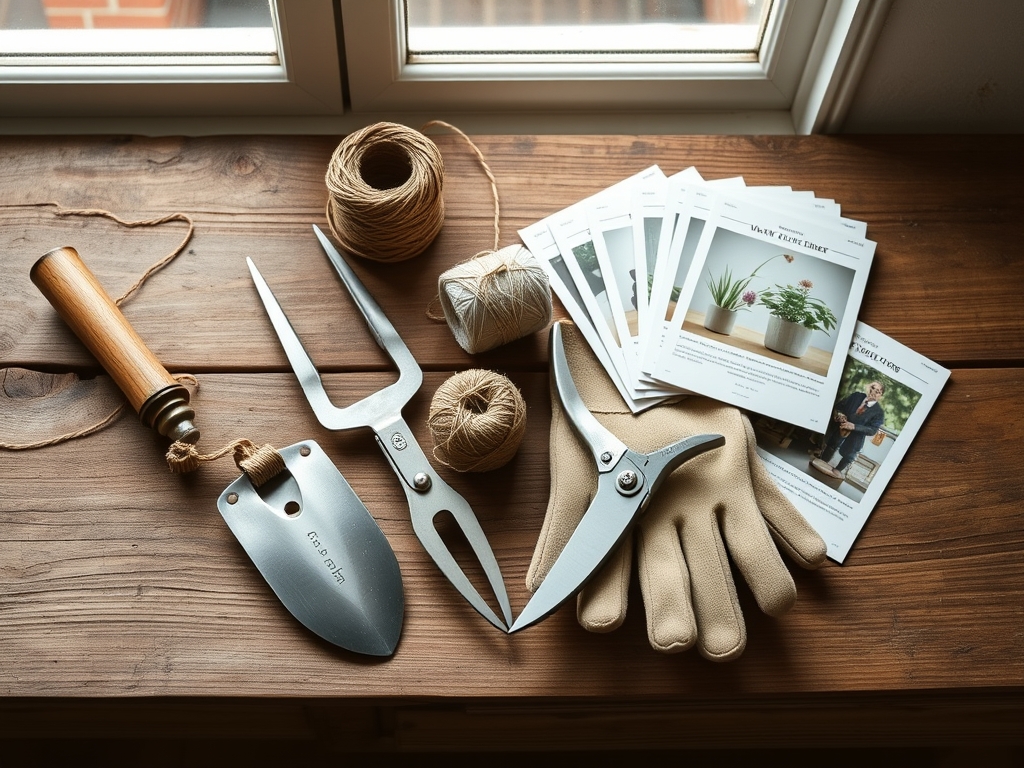
Materials:
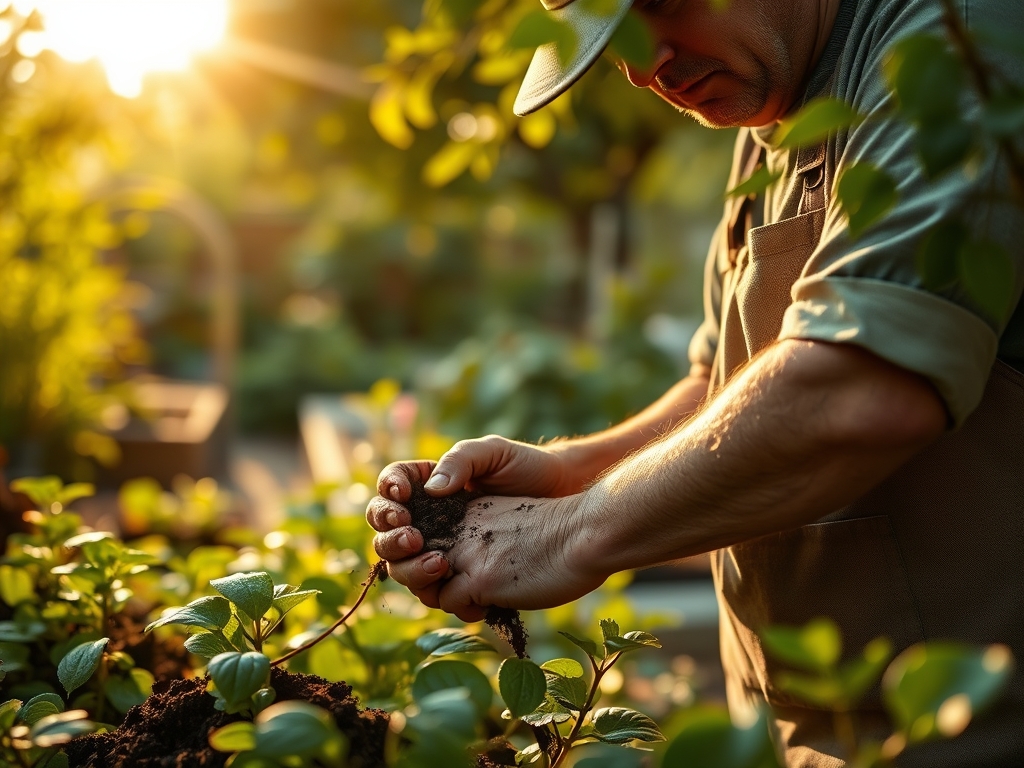
The maintenance of garden tools occurs within the context of the surrounding environment. While the dispenser itself is often wood, ceramic, or cast iron, it interacts with the dust and moisture of the rhizosphere. For optimal plant health, the soil surrounding your workstation should be a **friable loam** with a **Cation Exchange Capacity (CEC) between 15 and 25 cmol/kg**. Maintain a **soil pH of 6.2 to 6.8** to prevent the accumulation of corrosive salts on metal dispenser components. If you are storing your dispenser in a potting shed, ensure the area is treated with a balanced **NPK ratio of 10-10-10** in nearby beds to minimize the presence of opportunistic fungal spores that thrive in nutrient-deficient, high-humidity environments.
Timing:
Maintenance schedules must align with your specific USDA Hardiness Zone. In Zones 5 through 7, the primary maintenance window occurs during the dormant season, typically between the first hard frost in October and the spring thaw in March. This prevents the "Biological Clock" of the garden from being interrupted. As plants transition from the vegetative stage to the reproductive stage, the demand for twine increases. You must calibrate your dispensers before the photoperiod exceeds 14 hours, as this triggers rapid vertical growth in many climbing species. Ensuring the dispenser is lubricated and free of debris during this transition prevents mechanical failure when the plant is most vulnerable to gravitational stress.
Phases:
Sowing and Dispenser Prep
Before the first seeds hit the flats, disassemble the dispenser housing. Use a stiff brush to remove particulate matter. If the dispenser uses a cutting blade, sharpen it to a 20-degree angle.
Pro-Tip: Maintaining a sharp cutting edge prevents the fraying of natural fibers. This is vital because frayed ends increase the surface area for moisture retention, which encourages the growth of anaerobic bacteria that can migrate to the plant stem.
Transplanting and Tension Calibration
As seedlings move to the field, the dispenser must provide consistent tension. Check the internal spindle for smooth rotation. If using a cast iron dispenser, apply a thin layer of food-grade mineral oil to prevent oxidation.
Pro-Tip: Consistent tension prevents sudden snapping that can cause mechanical damage to the plant epidermis. Such wounds trigger auxin suppression, which can temporarily halt apical dominance and stunt the plant's vertical trajectory.
Establishing and Mid-Season Cleaning
By mid-summer, dust and pollen accumulate in the dispenser mechanism. Wipe the exterior with a 10 percent bleach solution to kill pathogens. Ensure the twine exit hole is clear of spider webs or botanical debris.
Pro-Tip: Clean dispensers prevent the accidental transfer of pathogens to the plant's vascular system. This protects the mycorrhizal symbiosis in the soil by ensuring the plant remains a healthy host capable of carbon exchange.
The Clinic:
Physiological issues in the garden often stem from poor tool hygiene. Observe the following symptoms and apply the necessary technical fixes.
Symptom: Stem Girdling.
Solution: This occurs when twine is pulled too tight from a jammed dispenser. Ensure the internal spool is not cross-threaded. Use a soil moisture meter to check if the plant is swelling; adjust twine tension to accommodate increased stem diameter.
Symptom: Premature Twine Senescence.
Solution: If twine breaks within three weeks, the dispenser is likely holding moisture. Drill a 1/8-inch drainage hole in the bottom of the dispenser to allow for airflow and moisture escape.
Symptom: Fungal Bloom on Cordage.
Solution: This is often a sign of high ambient humidity and poor dispenser ventilation. Relocate the dispenser to a site with better air circulation. Treat the dispenser housing with a copper-based fungicide if the problem persists.
Fix-It: Nitrogen Chlorosis.
While not directly caused by the dispenser, yellowing leaves indicate the plant cannot support its own weight. Apply a high-nitrogen fertilizer (21-0-0) to restore leaf color and vigor, reducing the immediate load-bearing requirement on the twine.
Maintenance:
Effective tool care requires precision. Use a hori-hori knife to scrape away hardened sap from the dispenser base. For moving parts, avoid petroleum-based lubricants that can leach into the soil and disrupt the delicate microbial balance. Instead, use beeswax or graphite.
Irrigation management is also a factor. Ensure that overhead irrigation does not saturate the twine dispenser. Direct water to the drip line at a rate of 1.5 inches per week. Use bypass pruners to trim any twine tails that touch the soil surface, as these act as wicks for soil-borne pathogens. If the dispenser is kept outdoors, it must be mounted at least 12 inches above the soil line to avoid backsplash during heavy rain events.
The Yield:
When the harvest window opens, the twine dispenser must be ready for rapid use. For indeterminate tomatoes, harvest when the fruit reaches 90 percent color saturation. Use the dispenser to secure the remaining vines as the weight distribution shifts. For cut flowers, use the dispenser to bundle stems immediately after the morning dew has evaporated.
To maintain "day-one" freshness, handle all harvested material by the twine wrap rather than the stems. This prevents the transfer of skin oils and reduces the risk of bruising the plant tissue. Post-harvest, strip the dispenser of any remaining twine that has been exposed to the elements for more than 120 days, as UV degradation will have compromised its integrity for the following season.
FAQ:
How often should I sharpen the dispenser blade?
Sharpen the blade every 500 cuts or at the start of each season. Use a fine-grit whetstone to maintain a clean edge. This prevents fiber crushing and ensures the twine does not unravel during application.
Can I use synthetic twine in a wooden dispenser?
Yes, but synthetic fibers like polypropylene create more friction. Apply a silicone-based dry lubricant to the dispenser exit point. This reduces heat buildup and prevents the synthetic line from melting or binding during high-speed dispensing.
How do I prevent my cast iron dispenser from rusting?
Apply a light coat of linseed oil or paste wax to the metal surface. Store the dispenser in a tool shed where the relative humidity remains below 50 percent. This prevents oxidation and ensures the spindle rotates freely.
Why is my garden twine snapping inside the dispenser?
This usually indicates UV degradation or excessive moisture. If the twine feels brittle, discard the outer layers. Ensure the dispenser lid is tightly sealed to protect the internal spool from environmental stressors and pest infiltration.