7 Easy Ways How to Use Full Spectrum
Growing under artificial light has shifted from industrial agriculture into home cultivation. Understanding how to use full spectrum lighting transforms basement corners and spare rooms into year-round production zones. Full spectrum bulbs mimic the sun's complete wavelength range, from ultraviolet through infrared. These lamps drive photosynthesis more effectively than monochromatic alternatives. Growers who master full spectrum systems harvest denser foliage, accelerated flowering, and superior terpene profiles across vegetables, ornamentals, and culinary herbs.
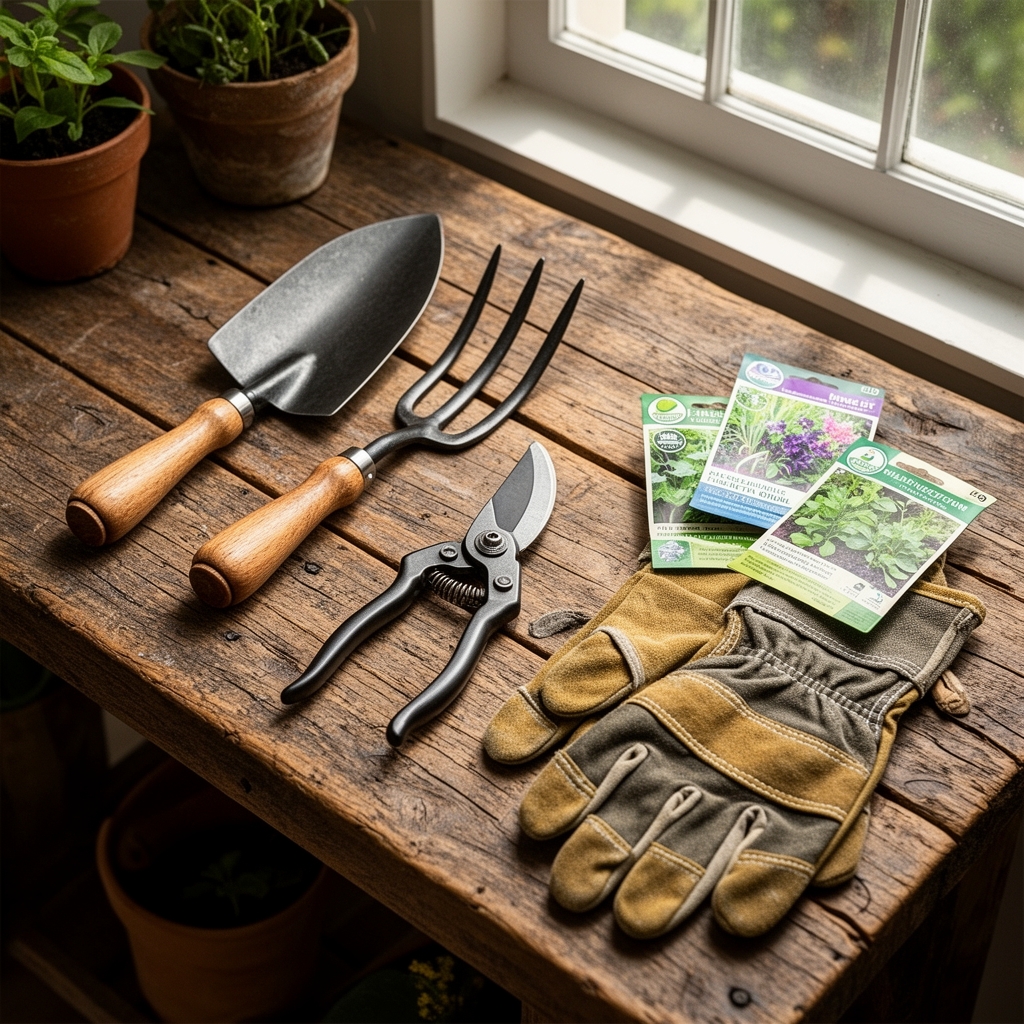
Materials
Full spectrum LED panels rated at 400–600 watts suit a 4×4-foot growing area. Select units with adjustable intensity and spectrum toggles for vegetative versus reproductive phases. A reliable digital timer with 15-minute intervals ensures precise photoperiod control.
Substrate selection depends on target crops. Soilless mixes combining 60% coco coir, 30% perlite, and 10% worm castings provide a neutral pH of 6.0–6.5 and excellent cation exchange capacity. For organic feeding, amend with alfalfa meal (2.5-0.5-2.5 NPK), kelp meal (1-0.5-2.5), and neem cake (6-1-2). Synthetic growers should stock a two-part nutrient system delivering 3-1-2 NPK during vegetative growth and 1-3-2 during flowering.
Reflective materials maximize photon distribution. Mylar sheeting reflects 95% of light, while flat white paint achieves 85%. Oscillating fans rated at 6-inch diameter create laminar airflow that strengthens stems through mechanotransduction. A hygrometer tracks vapor pressure deficit, the metric linking temperature and relative humidity.
pH test kits or digital meters maintain substrate pH within optimal ranges. Silica supplements at 0.5 ml per liter strengthen cell walls against heat stress under high-intensity discharge. CalMag additives prevent interveinal chlorosis in fast-growing species.
Timing
Full spectrum systems eliminate seasonal constraints, but hardiness zone principles still guide cultivar selection. Start warm-season crops like tomatoes and peppers 8 weeks before the last spring frost date if transplanting outdoors. Cool-season greens such as kale and lettuce tolerate year-round indoor cultivation at 60–70°F.
Photoperiod-sensitive plants require strict light schedules. Vegetative growth demands 18 hours of light and 6 hours of darkness. Flowering initiation occurs under 12/12 schedules. Autoflowering varieties ignore photoperiod and mature based on age, typically 70–90 days from germination.
Seedlings need 200–400 PPFD (photosynthetic photon flux density). Vegetative plants thrive at 400–600 PPFD. Flowering specimens require 600–1000 PPFD. Adjust lamp height to prevent light burn while maximizing coverage. A PAR meter measures photon intensity at canopy level.
Phases

Sowing: Direct-seed into 2-inch rockwool cubes or peat pellets pre-soaked in pH 5.8 water. Position full spectrum lamps 24 inches above the germination tray. Maintain substrate temperature at 75–80°F using a seedling heat mat. Cotyledons emerge within 3–10 days depending on species. Pro-Tip: Inoculate rockwool with trichoderma fungi at 1 gram per gallon of water to colonize roots and suppress damping-off pathogens.
Transplanting: Move seedlings to 1-gallon containers when the second set of true leaves develops. Bury stems up to the cotyledon node on tomatoes to encourage adventitious rooting. Water with a half-strength nutrient solution at EC 0.8 mS/cm. Raise light intensity to 400 PPFD over 48 hours to acclimate plants. Pro-Tip: Prune apical meristems at a 45-degree angle above the fifth node to redirect auxin distribution and produce four main colas instead of one central stalk.
Establishing: Transition to 5-gallon fabric pots after roots circle the 1-gallon container, approximately 14 days post-transplant. Full-strength nutrients should deliver EC 1.6–2.0 mS/cm. Increase PPFD to 600 during vegetative growth. Maintain leaf surface temperature between 72–78°F to optimize stomatal conductance. Pro-Tip: Apply mycorrhizal fungi directly to root zones at transplant to expand phosphorus uptake by 300% and improve drought tolerance.
Troubleshooting
Symptom: Interveinal chlorosis on new growth with green veins visible. Solution: Iron or manganese deficiency caused by pH above 6.5. Flush substrate with pH 6.0 water until runoff matches input. Apply chelated iron at 5 ppm in subsequent feedings.
Symptom: Purple or red petioles and stems, especially on leaf undersides. Solution: Phosphorus lockout or cold root-zone temperatures below 65°F. Raise substrate temperature and feed bloom formula with elevated phosphorus (1-4-2 NPK). Excess anthocyanin production ceases within 5 days.
Symptom: Leaf edges curl upward like tacos while tips brown and crisp. Solution: Heat stress or light intensity exceeding photosynthetic capacity. Raise lamps 6 inches, increase ventilation to 200 CFM, and reduce PPFD by 20%. Measure leaf surface temperature with an infrared thermometer, keeping it below 80°F.
Symptom: White powdery spots spreading across leaf surfaces, beginning on lower foliage. Solution: Powdery mildew thrives in stagnant air above 70% relative humidity. Remove infected leaves and increase airflow. Spray with potassium bicarbonate at 1 tablespoon per gallon weekly until symptoms resolve.
Symptom: Sudden wilting despite moist substrate, accompanied by brown root tips and foul odor. Solution: Pythium root rot from overwatering or poor drainage. Drench substrate with hydrogen peroxide at 10 ml per gallon to oxygenate roots. Reduce watering frequency and inoculate with beneficial bacteria (Bacillus subtilis).
Maintenance
Water when the top 2 inches of substrate feel dry, typically every 2–3 days in vegetative growth and daily during peak flowering. Deliver 1 inch of water per container volume, allowing 10–20% runoff to prevent salt accumulation.
Feed at each watering during vegetative and flowering phases. Flush with plain pH-adjusted water every 14 days to reset substrate EC below 2.5 mS/cm.
Clean reflective surfaces weekly with isopropyl alcohol to remove dust that blocks 15% of photon transmission. Replace full spectrum bulbs after 50,000 hours as spectral output degrades even when visible light persists.
Prune lower branches receiving less than 300 PPFD to redirect energy toward productive canopy zones. Remove yellowing leaves weekly to prevent pest colonization.
FAQ
How long do full spectrum bulbs last before replacement?
LEDs maintain 90% output for 50,000 hours, approximately 5.7 years under 24-hour operation. Fluorescent T5 systems degrade after 20,000 hours.
Can I use full spectrum lights for seedlings and mature plants simultaneously?
Yes, but adjust height independently. Seedlings need 200 PPFD at 24 inches while mature plants require 600–1000 PPFD at 12–18 inches.
What causes stretching under full spectrum lamps?
Insufficient blue wavelengths (400–500 nm) or excessive far-red (700–750 nm) promote elongation. Select lamps with 20–30% blue spectrum during vegetative growth.
How do I measure if my full spectrum light works effectively?
Use a PAR meter to confirm PPFD matches manufacturer specifications. Visual inspection shows tight internodal spacing and deep green foliage without chlorosis.
Should I run full spectrum lights 24 hours daily?
No. Most plants require a dark period for respiration and hormone regulation. Provide minimum 6 hours of darkness even for non-photoperiod species.