10 Productive Ways How to Prep a Potato Patch
Damp earth releases a sharp, geosmin-heavy scent when the shovel blade breaks the crust. A healthy potato plant displays high turgor pressure; its stems are rigid and its leaves are turgid with cellular water. Understanding how to prep a potato patch requires more than a casual interest in gardening. It demands a rigorous commitment to soil chemistry and physics. You are building a subterranean engine designed to convert solar energy into starch. If the soil is compacted or the nutrient balance is skewed, the plant will prioritize vegetative growth over tuber development. To maximize yield, the grower must manipulate the rhizosphere to ensure oxygen diffusion and nutrient availability. Success starts with a deep understanding of the physiological needs of the Solanum tuberosum species.
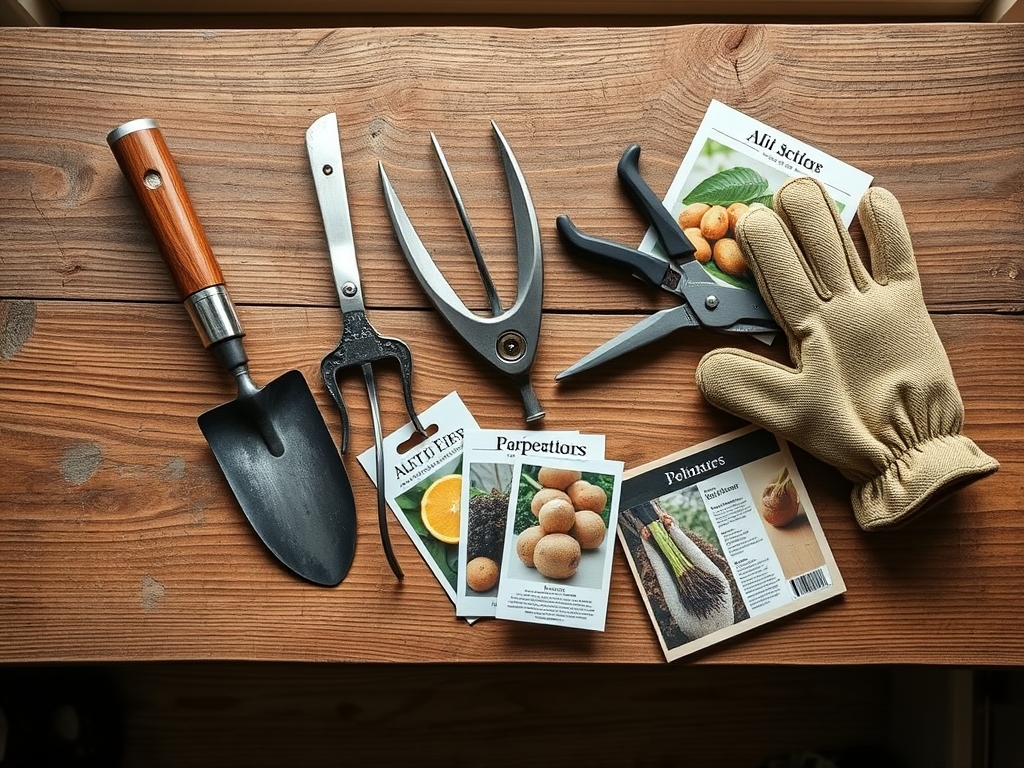
Materials:
The ideal substrate for potatoes is a **friable loam** with a high sand content to facilitate drainage. Potatoes require a specific soil pH between **5.2 and 6.0**. This acidic range is critical for suppressing Streptomyces scabies; a common soil pathogen that causes surface lesions. Soil with a high Cation Exchange Capacity (CEC) ensures that the plant can access essential minerals throughout the growing season.
For the initial amendment, focus on specific NPK ratios. A 5-10-10 or 10-20-20 fertilizer is preferred. High nitrogen levels early in the season can lead to excessive foliage at the expense of tuber formation. Phosphorus is essential for root development and energy transfer, while potassium regulates water movement and enzyme activation within the plant. Incorporate well-rotted organic matter to increase the water-holding capacity without sacrificing aeration. The goal is a soil texture that crumbles easily in the hand; never clumping into a solid ball.
Timing:
Hardiness Zones 3 through 9 are the primary regions for potato production. The biological clock of the potato is governed by soil temperature and photoperiod. Planting should occur when soil temperatures consistently reach 45 to 50 degrees Fahrenheit. In northern zones, this typically aligns with the window of two to four weeks before the last frost.
The transition from the vegetative stage to the reproductive stage (tuberization) is triggered by decreasing day lengths or specific temperature thresholds depending on the cultivar. Early-season varieties require approximately 70 to 90 days to reach maturity, while late-season varieties may need up to 120 days. Monitoring the frost-date window is vital; while the foliage can recover from a light frost, frozen soil will kill the seed pieces instantly.
Phases:

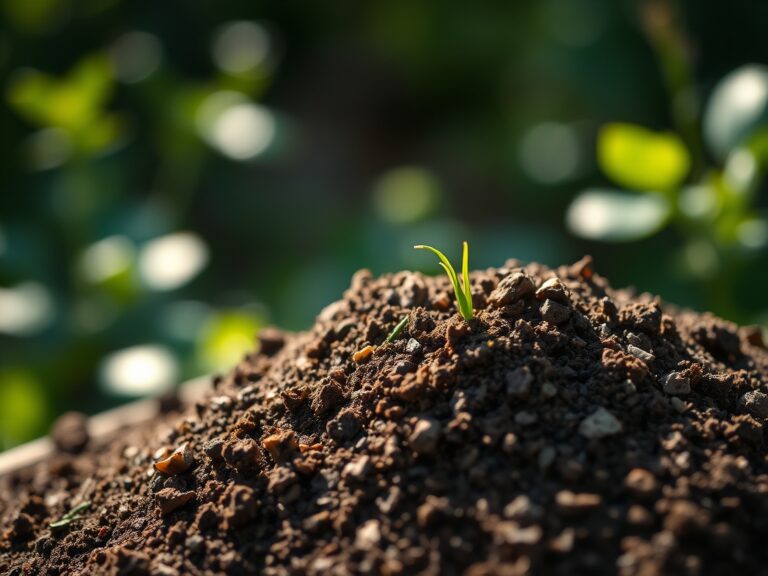
Sowing and Chitting
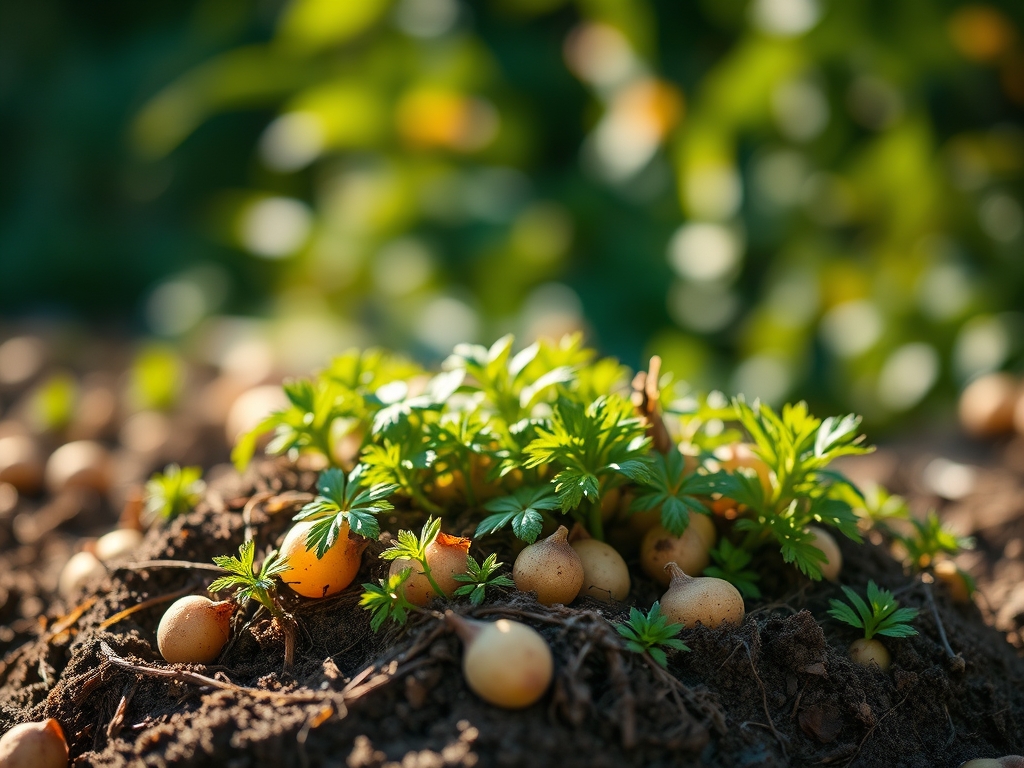
Before the seed pieces hit the dirt, they should undergo "chitting" or pre-sprouting. Place seed potatoes in a cool, bright area at 60 degrees Fahrenheit for two weeks. This encourages the development of short, green, sturdy sprouts rather than long, brittle white ones. When cutting large tubers into seed pieces, ensure each piece has at least two "eyes" and weighs approximately 2 ounces.
Pro-Tip: Allow the cut surfaces to callous for 48 hours before planting. This creates a protective barrier of suberin; a waxy substance that prevents pathogens from entering the starchy tissue and causing rot in the damp rhizosphere.
Transplanting and Spacing
Dig trenches 6 to 8 inches deep, spacing rows 30 to 36 inches apart. Place seed pieces 10 to 12 inches apart within the row. Cover with only 3 to 4 inches of soil initially. As the plant grows, you will backfill the trench. This method provides the loose soil environment necessary for tuber expansion.
Pro-Tip: Utilize a hori-hori knife to ensure precise depth. Proper spacing is a biological necessity to prevent competition for light and nutrients. High planting density reduces airflow; increasing the risk of Phytophthora infestans (late blight) due to prolonged leaf wetness.
Establishing and Hilling
When the stems reach 8 to 10 inches in height, begin the hilling process. Draw soil from the row middles up around the base of the plant, leaving only the top few inches of foliage exposed. Repeat this every two weeks until the hill is 12 inches high.
Pro-Tip: Hilling prevents "greening," which is the accumulation of chlorophyll and solanine in tubers exposed to sunlight. This is a form of photomorphogenesis where the plant redirects resources to protect its reproductive units from UV damage and herbivory.
The Clinic:
Physiological disorders often mimic infectious diseases but are rooted in environmental stress.
Symptom: Hollow Heart
- Description: An internal cavity forms in the center of the tuber.
- Solution: This is caused by rapid, uneven growth usually following a heavy rain after a dry spell. Maintain consistent soil moisture levels using a soil moisture meter.
Symptom: Internal Brown Spot
- Description: Small, dry brown necrotic spots within the tuber flesh.
- Solution: This indicates a calcium deficiency or heat stress. Ensure soil moisture is stable to facilitate the transport of calcium through the xylem.
Symptom: Nitrogen Chlorosis
- Description: Older leaves turn pale yellow while veins remain green.
- Fix-It: Apply a side-dressing of blood meal or a liquid 10-0-0 fertilizer. Nitrogen is mobile within the plant; the plant will pull nitrogen from old growth to support new apical meristems if soil levels are low.
Maintenance:
Precision is the hallmark of a professional patch. Potatoes require 1.5 inches of water per week delivered at the drip line. Overhead irrigation should be avoided to minimize leaf moisture. Use a soil moisture meter to ensure the root zone stays between 60% and 80% field capacity.
Weed management is critical during the first 45 days. Use a hori-hori knife to extract tap-rooted weeds without disturbing the shallow stolons where tubers are forming. Do not use bypass pruners on the foliage unless removing diseased tissue; every leaf is a factory producing the carbohydrates that will be sequestered in the tubers. If the soil crusts over, lightly break the surface to maintain gas exchange; preventing anaerobic conditions that lead to lenticel enlargement.
The Yield:
Harvesting is a two-stage process. "New potatoes" can be harvested shortly after the plant flowers by gently reaching into the hill. For storage potatoes, wait until the foliage undergoes senescence (natural yellowing and dying back). Once the vines are dead, wait 10 to 14 days before digging. This period allows the skin to "set" or thicken; which is essential for long-term storage.
Use a garden fork to lift the entire hill, starting 12 inches from the base of the plant to avoid mechanical damage. After extraction, do not wash the tubers. Place them in a dark, well-ventilated area at 50 to 60 degrees Fahrenheit for two weeks to cure. This process heals minor nicks and further thickens the periderm. For final storage, move them to a dark location at 40 degrees Fahrenheit with 90% humidity to maintain day-one freshness and prevent sprouting.
FAQ:
How deep should I plant seed potatoes?
Plant seed pieces 4 inches deep in a trench that is 6 to 8 inches deep. As the plant grows, continue to hill soil around the stem until a mound of 12 inches is formed to protect developing tubers.
What is the best fertilizer for potatoes?
Use a low-nitrogen, high-phosphorus, and high-potassium fertilizer such as 5-10-10. Excessive nitrogen promotes foliage growth but inhibits tuber development. Apply at a rate of 3 pounds per 100 square feet of soil.
Why are my potatoes turning green?
Potatoes turn green when exposed to sunlight, causing chlorophyll and solanine to develop. Solanine is a toxic alkaloid. Prevent this by consistent "hilling," which ensures all developing tubers remain buried under at least 4 inches of soil.
When is the best time to water potatoes?
Water in the early morning to allow foliage to dry quickly. Potatoes need 1 to 2 inches of water per week. Consistent moisture is vital during the "tuber bulking" stage to prevent internal defects like hollow heart.