5 Quick Steps to No Dig Gardening
The first shovel thrust into compacted clay feels like striking concrete. Blisters form, backs ache, and the garden bed sits half-finished at dusk. The steps to no dig gardening eliminate this yearly ordeal by building soil upward rather than turning it over. This method preserves soil structure, protects fungal networks, and converts lawn to productive beds in a single afternoon without mechanical tillage or double-digging.
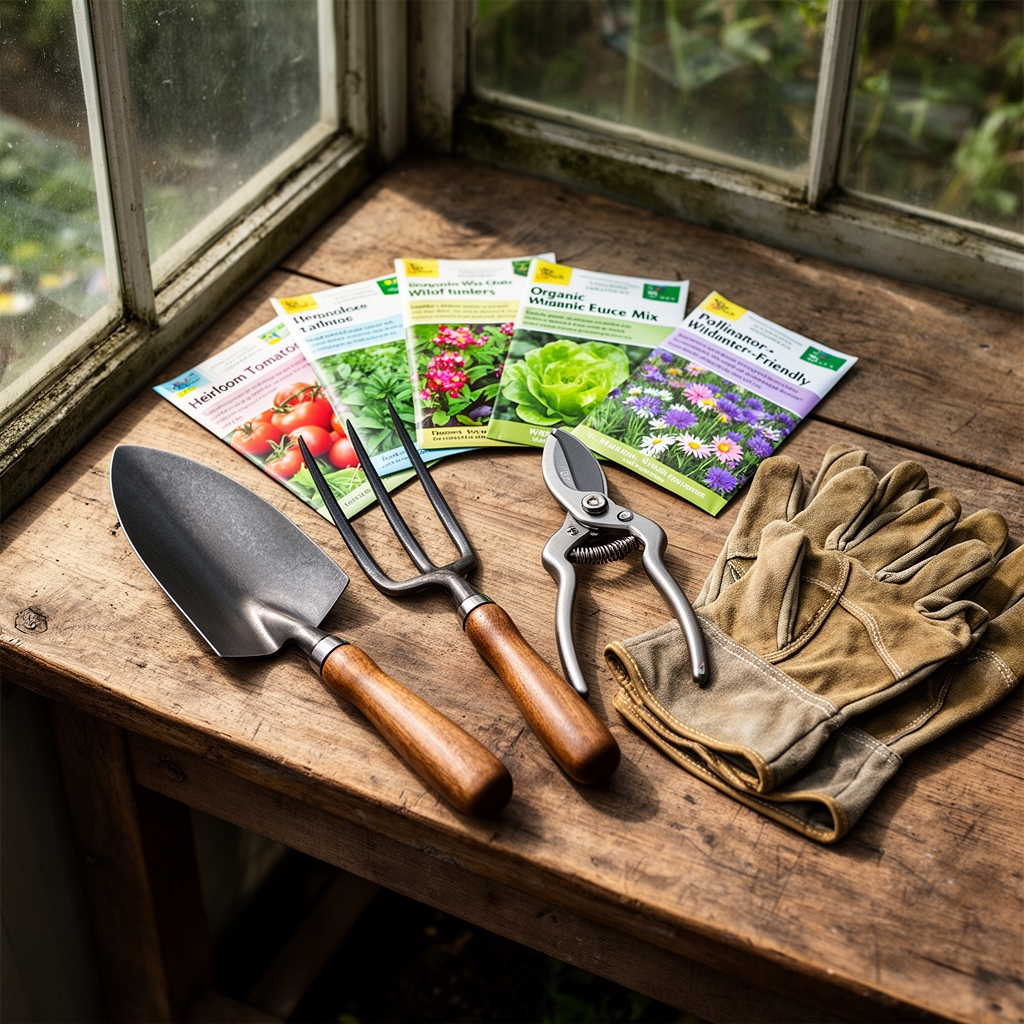
Materials
Assemble components in autumn or early spring before planting season. Corrugated cardboard forms the base suppression layer. Use boxes without glossy coatings or colored inks. Remove all tape and staples.
Compost serves as the primary growing medium. Finished compost should register pH 6.5 to 7.0 and contain an NPK ratio near 1-1-1. Aim for 4 to 6 inches of depth across the entire bed footprint. Municipal yard waste compost works if heavy metal testing confirms levels below EPA standards for cadmium, lead, and arsenic.
Aged manure adds nitrogen. Horse or cow manure aged 12 months minimum prevents ammonia burn. Fresh manure can spike electrical conductivity above 4.0 mS/cm, which damages root cell membranes. Blend manure at 20 percent of total volume for an effective NPK of approximately 2-1-2.
Wood chips or straw mulch creates a protective top layer. Ramial wood chips from deciduous trees smaller than 3 inches in diameter encourage lignin-degrading fungi. Apply 2 to 3 inches after the compost layer settles. Straw should be seed-free oat or wheat straw. Avoid hay, which introduces thousands of weed seeds per bale.
Rock dust or greensand supplies trace minerals. Basalt rock dust provides silica, iron, magnesium, and calcium. Mix 2 pounds per 100 square feet into the compost layer to boost cation exchange capacity by 15 to 30 percent over three growing seasons.
Timing
In USDA Hardiness Zones 5 through 7, construct beds between September 15 and October 31. This window allows cardboard to decompose over winter while weed roots exhaust carbohydrate reserves. Earthworms remain active until soil temperatures drop below 40°F, pulling organic matter downward and integrating layers.
Zones 8 through 10 benefit from winter bed construction between November and January. Warm-season perennial weeds like Bermuda grass require 8 to 12 weeks of light exclusion before spring planting.
Spring construction works in all zones but delays planting by 4 to 6 weeks. Lay beds by March 1 in Zone 7 or earlier to allow microbial colonization before transplanting warm-season crops after the last frost date.
Phases

Sowing Phase
Mow existing vegetation to 1 inch height. Leave clippings in place. This reduces photosynthetic capacity and adds nitrogen to the decomposition layer. Water the area with 0.5 inches if rainfall has not occurred in the previous 48 hours. Moisture activates microbial populations that will colonize the cardboard.
Overlap cardboard sheets by 6 inches on all edges. Cover the entire footprint with no gaps wider than 1 inch. Gaps allow rhizomatous weeds like quackgrass to penetrate within 10 days. Wet the cardboard thoroughly until it darkens and lays flat against the ground.
Pro-Tip: Score cardboard with a rake before wetting. The perforations accelerate decomposition by 30 percent and improve water penetration to underlying soil, maintaining earthworm activity during dry periods.
Transplanting Phase
Spread compost in a uniform 4-inch layer. Rake edges smooth to prevent erosion channels. Add aged manure if nitrogen-demanding crops like brassicas or sweet corn will occupy the bed. Blend the top 2 inches of compost and manure with a bow rake.
Plant transplants by pushing aside compost to create a pocket reaching the cardboard layer. Set root balls on cardboard, then backfill with compost. This positions roots at the soil-cardboard interface where moisture remains consistent and earthworm activity peaks.
Pro-Tip: Inoculate transplant holes with 1 tablespoon of mycorrhizal fungi granules per plant. Glomus species colonize roots within 72 hours, extending phosphorus uptake radius by 10 to 100 times root hair reach.
Establishing Phase
Direct seed once compost temperatures reach 50°F for cool-season crops or 60°F for warm-season crops. Create shallow furrows 0.25 to 0.5 inches deep depending on seed size. Firm soil over seeds with a rake back to ensure seed-to-soil contact necessary for imbibition.
Apply straw mulch between rows once seedlings reach 3 inches tall. Pull mulch back 2 inches from stems to prevent damping-off fungi like Pythium and Rhizoctonia from splashing onto cotyledons during irrigation.
Pro-Tip: Mix compost with native soil at 50:50 ratio for deep-rooted crops like tomatoes and peppers. This bridges the carbon-rich compost layer to mineral soil below, guiding taproots through the cardboard by week three.
Troubleshooting
Symptom: Yellow lower leaves with green veins on transplants within 10 days of planting.
Solution: Chlorosis indicates nitrogen immobilization. High-carbon cardboard ties up available nitrogen as cellulose-digesting bacteria multiply. Side-dress with blood meal at 3-5-0 NPK, applying 1 pound per 100 square feet. Water immediately to move nitrate into the root zone.
Symptom: Slugs congregating under mulch and chewing irregular holes in leafy greens.
Solution: The moist cardboard-compost interface creates ideal slug habitat. Reduce mulch to 1 inch in early spring. Spread diatomaceous earth in a 3-inch band around susceptible plants. Reapply after rain events.
Symptom: Stunted growth with purple-tinged leaf undersides despite adequate water.
Solution: Phosphorus deficiency appears when soil temperatures remain below 55°F. Cold slows root respiration and phosphate uptake. Apply fish emulsion at 5-1-1 NPK as a foliar spray, delivering 0.25 pounds actual phosphorus per 100 square feet weekly until soil warms.
Symptom: Cardboard edges curling upward and weeds emerging along bed perimeter after 3 weeks.
Solution: Insufficient edge overlap or erosion exposed soil. Cut fresh cardboard strips 12 inches wide. Overlap existing edges by 6 inches and cover with 4 inches of compost and 2 inches of mulch.
Maintenance
Water new beds with 1 inch per week if rainfall totals less than 0.75 inches. Measure with a rain gauge rather than estimating. Beds dry 40 percent faster than in-ground gardens during the first season as compost develops aggregates and improves water-holding capacity.
Top-dress beds each autumn with 1 to 2 inches of fresh compost. This replaces organic matter oxidized during the growing season and maintains soil carbon at 4 to 6 percent by weight. Rake compost smooth without incorporating it. Earthworms and collembola will distribute material downward at rates of 0.5 inches per month.
Pull mulch back in early spring to allow soil warming. Solar radiation raises bare soil temperatures 8 to 12°F faster than mulched areas. Replace mulch once soil reaches 60°F to suppress summer annual weeds and conserve moisture during flowering and fruiting.
Monitor pH annually with a soil test. Decomposing wood chips and organic acids from root exudates lower pH by 0.2 to 0.4 units per year. Apply dolomitic limestone at 5 pounds per 100 square feet if pH drops below 6.0 for vegetable production.
FAQ
How long does cardboard take to decompose?
Single-layer corrugated cardboard degrades in 4 to 6 months under consistent moisture. Worms and soil microbes break down lignin and cellulose. By the second growing season, only small fragments remain.
Can I use newspaper instead of cardboard?
Yes. Layer newspaper 8 to 10 sheets thick with overlapping edges. Modern soy-based inks pose no contamination risk. Newspaper decomposes in 6 to 8 weeks, faster than cardboard but requiring more frequent replenishment.
Do I need to remove existing grass?
No. The cardboard smothers grass by blocking photosynthesis. Grass roots decompose in place, adding organic matter and creating channels for water infiltration. This process takes 8 to 12 weeks depending on grass species.
What about perennial weeds with deep roots?
Bindweed, Canada thistle, and dock require 12 weeks of darkness to exhaust root reserves. Double-layer cardboard and inspect monthly. Hand-pull any shoots penetrating the mulch before they photosynthesize for 3 days.
How thick should the compost layer be?
Four inches minimum supports annual vegetables and flowers. Increase to 6 inches for heavy feeders like squash and tomatoes. Beds settle 30 percent in the first 8 weeks as compost integrates with underlying soil.