7 Easy Ways How to Use Intensive Methods
Understanding how to use intensive methods in horticulture transforms cramped urban plots into high-yield production zones. The scent of crushed basil leaves mingles with freshly turned compost as rows of vegetables occupy every available inch. Intensive planting compresses traditional garden spacing by 50 to 70 percent while maintaining or exceeding per-square-foot yields. This approach relies on precise soil amendment, strategic companion planting, and meticulous water management to prevent competition stress.
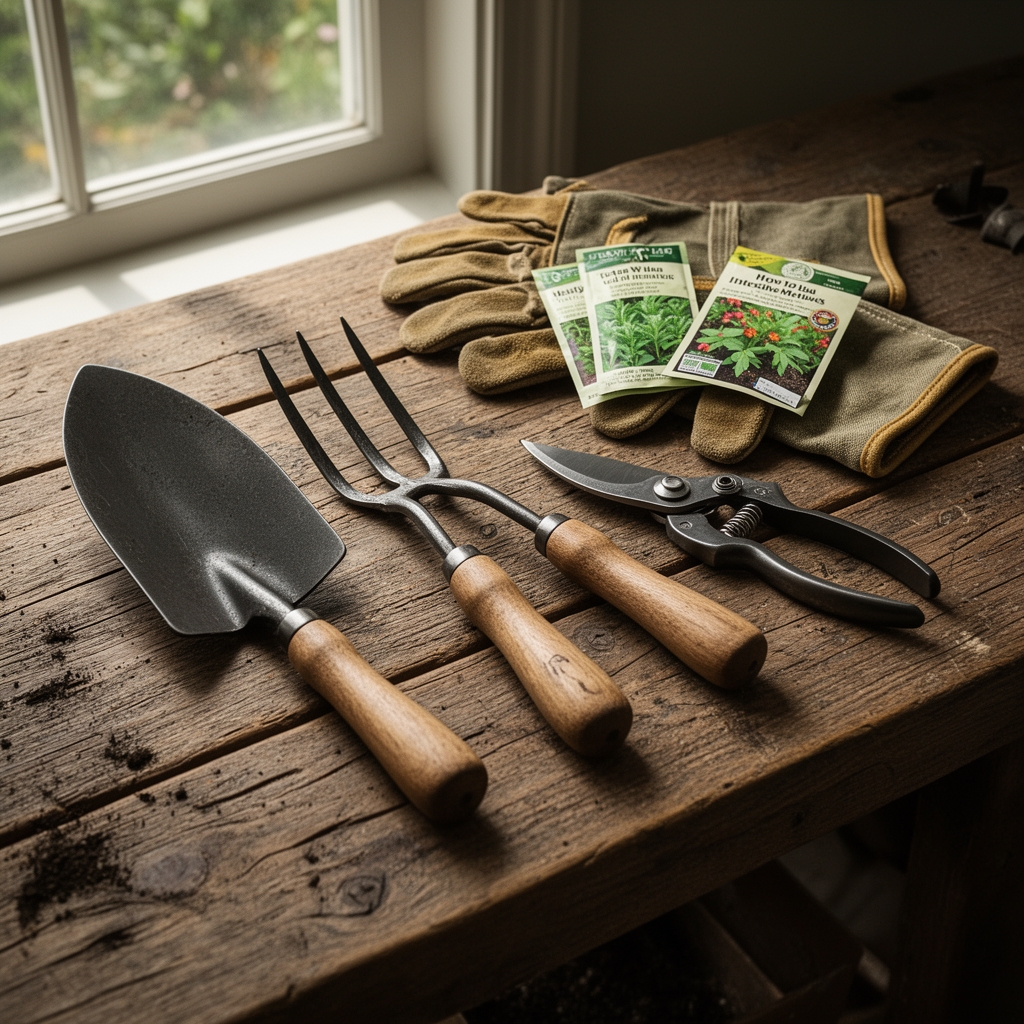
Materials
Begin with a soil test that measures pH, cation exchange capacity, and baseline NPK levels. Target a pH of 6.2 to 6.8 for most vegetable crops. Amend acidic soils with dolomitic limestone at 5 pounds per 100 square feet to raise pH by one full point. For alkaline conditions above 7.5, incorporate elemental sulfur at 1 pound per 100 square feet.
Select a balanced organic fertilizer such as 4-4-4 feather meal blend or 5-5-5 composted poultry manure. These slow-release formulations prevent nitrogen burn in densely planted beds. Add mycorrhizal fungi inoculant at the manufacturer's recommended rate to colonize root zones and extend nutrient uptake range. Kelp meal supplies trace minerals and natural growth hormones that support auxin distribution during vegetative growth.
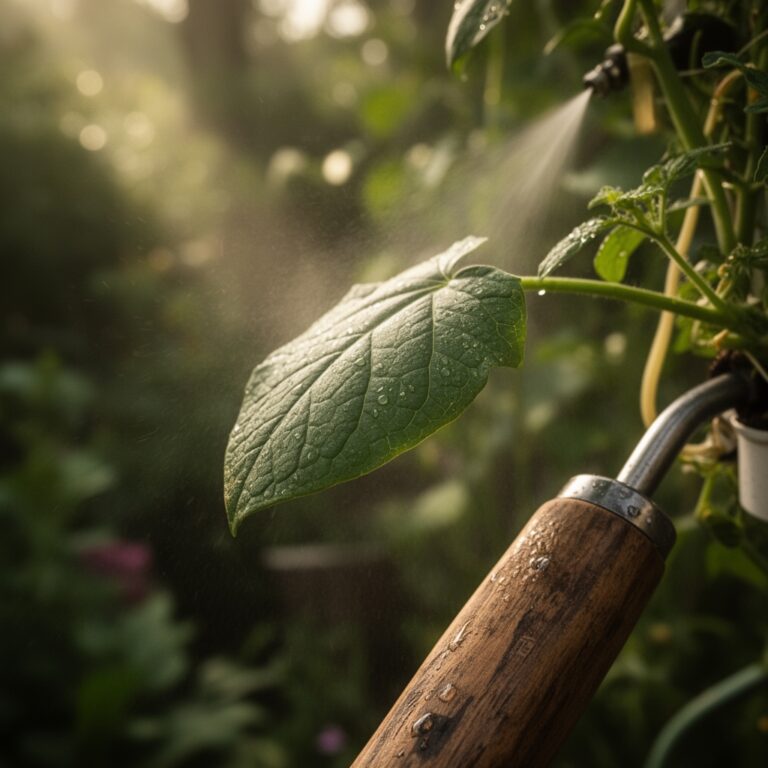
Prepare finished compost at a 2:1 carbon-to-nitrogen ratio. Spread a 3-inch layer across planting beds and incorporate to a depth of 8 inches. This organic matter increases water retention by 40 percent and buffers against pH swings. Acquire drip irrigation tubing with 6-inch emitter spacing for uniform moisture delivery. Mulch materials should include shredded straw or aged wood chips in a 2-inch layer to suppress weeds and moderate soil temperature.
Timing
Match intensive planting schedules to USDA Hardiness Zones and local frost windows. In Zones 5 through 7, sow cool-season crops such as lettuce, spinach, and peas 4 to 6 weeks before the last spring frost. Soil temperature should reach 45°F for germination. Warm-season transplants require soil temperatures above 60°F and air temperatures consistently above 50°F at night.
In Zone 8, extend the fall planting window by starting successive crops every 14 days from late August through mid-October. This staggered approach ensures continuous harvest without overwhelming limited space. Zone 9 and 10 gardeners should focus intensive efforts during the mild winter months of November through February when heat stress diminishes.
Monitor day length as well as temperature. Crops requiring vernalization, such as onions and certain brassicas, need 10 to 12 weeks of exposure to temperatures between 35°F and 50°F to trigger bulbing or flowering.
Phases

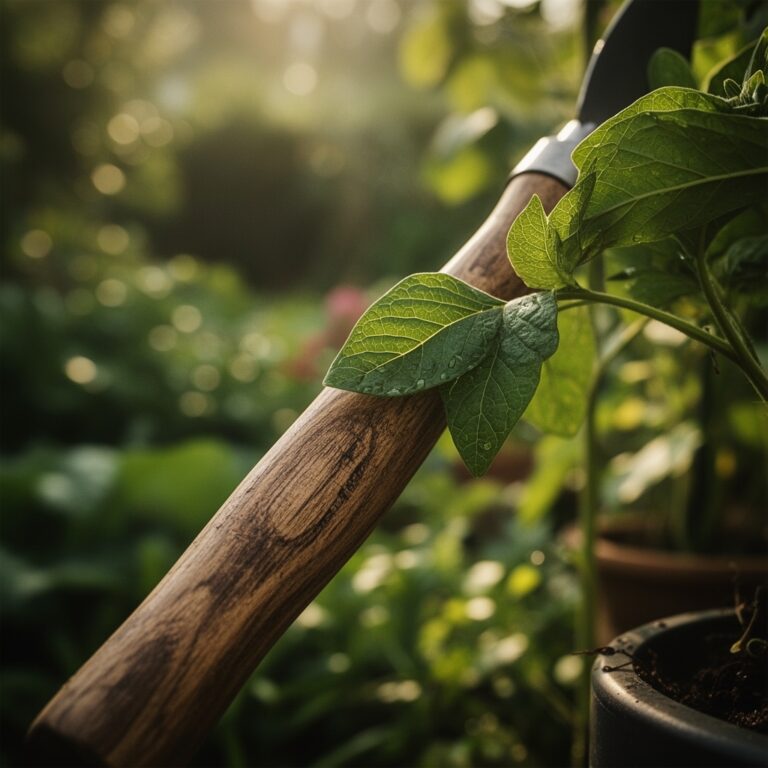
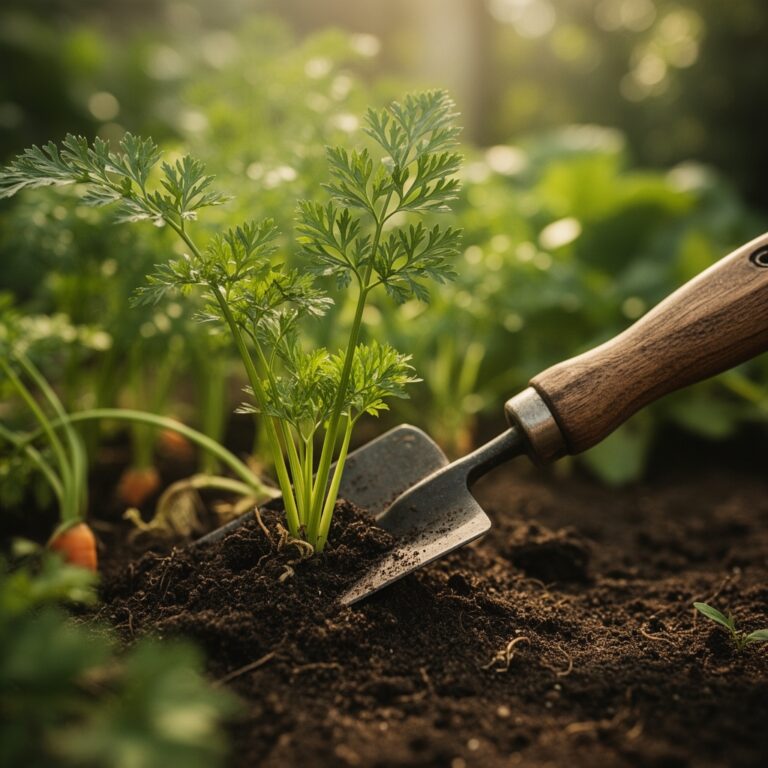
Sowing: Direct-seed at double-density rates compared to traditional row spacing. Carrot seeds go down at 16 seeds per linear foot in rows spaced 4 inches apart rather than the conventional 12-inch spacing. Radishes interplant with slower-maturing crops to maximize early-season space. Cover seeds with vermiculite rather than native soil to prevent crusting. Water with a fine mist twice daily until emergence.
Pro-Tip: Coat legume seeds with Rhizobium inoculant powder immediately before sowing. This bacterial symbiont fixes atmospheric nitrogen at rates up to 100 pounds per acre, reducing fertilizer dependency.
Transplanting: Set seedlings at the true-leaf stage when roots fill a 2-inch cell. Space determinate tomatoes 18 inches apart in offset rows rather than 36-inch centers. Bury stems up to the first set of true leaves to encourage adventitious root formation along the buried portion. This increases root biomass by 30 to 40 percent and improves drought resilience.
Pro-Tip: Trim transplant roots at a 45-degree angle with sterilized pruning shears. This mechanical damage stimulates lateral root branching and accelerates establishment.
Establishing: Apply starter fertilizer at one-quarter strength weekly for three weeks post-transplant. Use a water-soluble 10-52-10 formula to prioritize phosphorus for root development over vegetative growth. Monitor leaf color; pale green indicates nitrogen deficiency while dark green with purplish veins suggests phosphorus lock-up from cold soil.
Pro-Tip: Install reflective mulch strips between plant rows to increase photosynthetically active radiation by 15 percent. This accelerates fruit ripening and improves sugar content in tomatoes and peppers.
Troubleshooting
Symptom: Stunted growth with yellowing lower leaves despite adequate fertilization.
Solution: Test soil moisture at 6-inch depth. Overwatering reduces oxygen availability and limits nutrient uptake. Allow top 2 inches to dry between irrigations.
Symptom: Blossom end rot appears as dark, sunken lesions on fruit bottoms.
Solution: This calcium deficiency results from inconsistent watering rather than soil depletion. Maintain even moisture and apply foliar calcium chloride spray at 2 tablespoons per gallon weekly.
Symptom: Aphid colonies cluster on new growth tips.
Solution: Release lacewing larvae at a rate of 10 per plant. These predators consume 200 aphids during their larval stage. Avoid broad-spectrum insecticides that disrupt beneficial insect populations.
Symptom: Powdery mildew coats leaf surfaces with white fungal growth.
Solution: Mix 1 tablespoon baking soda and 1 teaspoon horticultural oil per gallon of water. Spray at 7-day intervals during humid conditions when relative humidity exceeds 60 percent.
Symptom: Interveinal chlorosis with green veins and yellow leaf tissue.
Solution: Iron deficiency in alkaline soils. Apply chelated iron at 1 ounce per 10 square feet or lower pH with sulfur amendments.
Maintenance
Irrigate established beds with 1 inch of water per week measured with rain gauges placed at plant height. Deep watering every 3 to 4 days encourages roots to penetrate 12 inches rather than remaining shallow. Drip systems should run for 45 minutes in sandy soils or 90 minutes in clay.
Side-dress nitrogen-hungry crops such as corn and brassicas with blood meal at 1 pound per 25 linear feet when plants reach half their mature height. Scratch granules into the top 2 inches of soil and water immediately. Prune indeterminate tomatoes to a single leader by removing suckers at 2 inches long. This concentrates auxin flow and increases fruit size.
Rotate crop families annually to prevent soil-borne pathogen buildup. Follow heavy feeders like tomatoes with nitrogen-fixing legumes, then light feeders such as root vegetables.
FAQ
How close can I plant without competition?
Maintain minimum 4-inch spacing for leafy greens and 12 inches for fruiting crops. Root systems should not overlap by more than 20 percent.
Do intensive methods deplete soil faster?
Yes, nutrient draw increases proportionally with plant density. Replenish with 1 inch of compost annually and conduct soil tests every 2 years.
Can I use intensive methods in containers?
Absolutely. Use 18-inch-deep containers with premium potting mix. Fertilize weekly at half-strength due to accelerated nutrient leaching.
What is the ideal bed width?
Limit beds to 4 feet wide for access from both sides without soil compaction. Paths should measure 18 inches minimum.
How do I prevent disease in dense plantings?
Ensure 6 hours of direct sun and adequate air circulation. Space plants to allow foliage to dry within 2 hours of watering.