8 Simple Ways How to Start Regenerative Farms
The smell of turned earth mixed with decomposing cover crops signals the beginning of a farming revolution. Learning how to start regenerative farms means abandoning extractive practices and building biological systems that sequester carbon, increase water infiltration by 30-50%, and restore soil organic matter to 5% or higher within five years. This approach transforms degraded land into self-sustaining ecosystems that produce nutrient-dense food while reversing decades of topsoil loss.
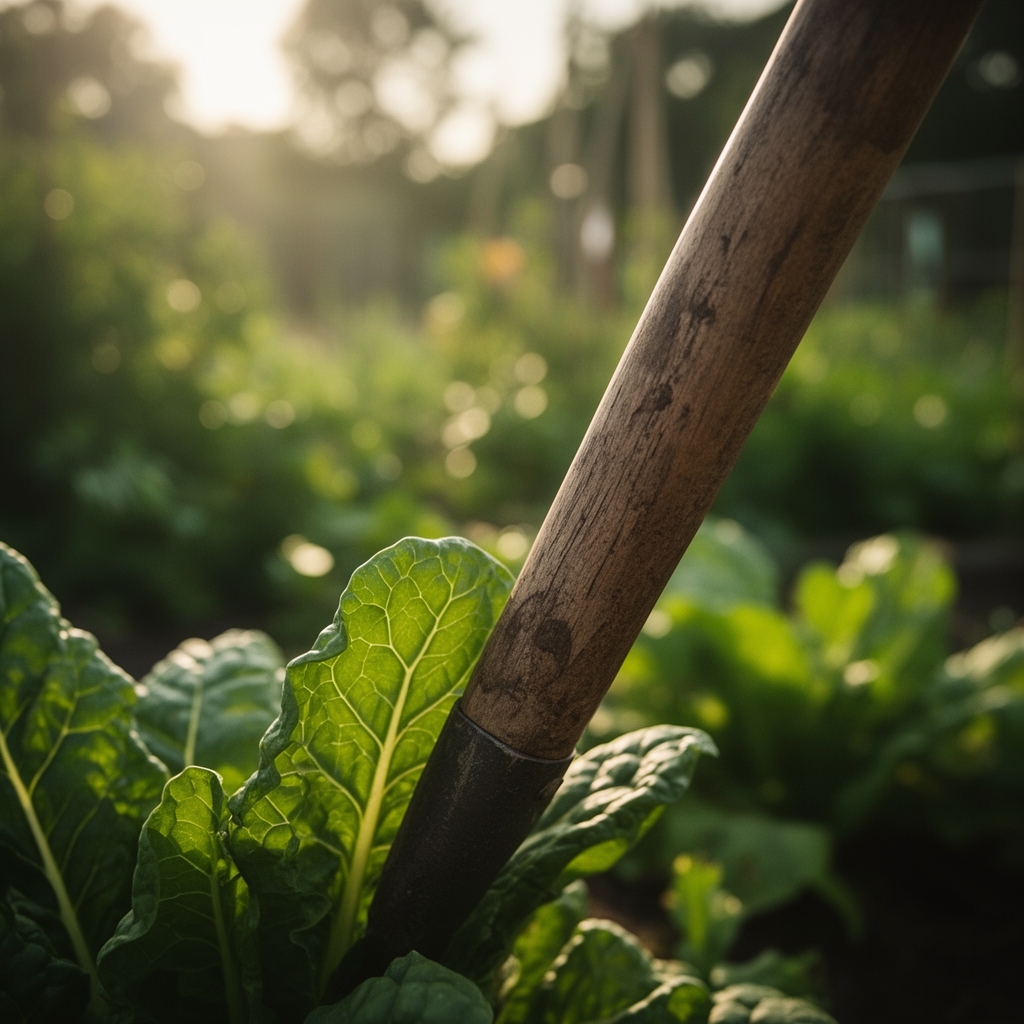
Materials
Building soil fertility requires understanding both chemistry and biology. Start with a complete soil test measuring pH, cation exchange capacity, and base saturation percentages for calcium, magnesium, potassium, and sodium. Target pH between 6.0 and 7.0 for most crops. The mycorrhizal fungi networks that define regenerative systems thrive in this range.
Organic amendments should follow the 4-4-4 or 5-5-5 NPK profile for balanced nutrition. Alfalfa meal provides nitrogen and triacontanol, a natural growth stimulant. Rock phosphate supplies slow-release phosphorus while raising pH gradually. Greensand delivers potassium and trace minerals including iron and magnesium. These materials feed soil microbes rather than plants directly.
Compost must reach 140-160°F during the thermophilic phase to eliminate pathogens while preserving beneficial bacteria. Aim for a carbon-to-nitrogen ratio of 25:1 to 30:1. Finished compost shows neutral pH, earthy smell, and crumbly texture. Apply 2-3 inches across planting areas annually.
Cover crop seed mixes drive the regeneration engine. Combine deep-rooted daikon radishes that drill 6 feet down with nitrogen-fixing hairy vetch and biomass-building cereal rye. Add crimson clover for additional nitrogen and buckwheat to scavenge phosphorus. This polyculture feeds diverse soil organisms and builds aggregate stability.

Timing
Understanding hardiness zones and frost dates determines planting windows. Zone 5 farmers face last frosts around May 15, while Zone 8 areas can plant by March 1. These dates govern cool-season versus warm-season crop scheduling.
Fall cover crop seeding occurs 6-8 weeks before first frost. This window falls between August 15 and September 30 for zones 5-7. Winter-killed species like oats and field peas die naturally, creating surface mulch without termination labor. Hardy species including cereal rye and hairy vetch overwinter and resume growth in spring.
Spring soil preparation begins when ground temperature reaches 50°F at 4-inch depth. Working wet soil destroys structure and compacts subsoil layers. The squeeze test confirms readiness: properly dried soil forms a ball that crumbles when poked.
Phases

Sowing
Direct seeding into cover crop residue requires specialized equipment or manual techniques. Crimp and roll mature cover crops to create mulch mats 4-6 inches deep. Cut narrow slots through residue for seed placement. This no-till approach preserves soil structure and fungal hyphae networks.
Seed inoculation with mycorrhizal fungi and rhizobium bacteria accelerates establishment. Mix inoculant powder with seeds immediately before planting. The organisms colonize roots within 48-72 hours, extending nutrient access by 100-fold through hyphal networks.
Pro-Tip: Plant legume and grass species together to maximize nitrogen cycling. The grasses provide carbon for bacteria that convert atmospheric nitrogen into plant-available forms.
Transplanting
Seedling production in 50-cell trays creates strong root systems before field exposure. Fill cells with compost-based potting mix containing perlite for drainage. Bottom heat at 75-80°F accelerates germination by 30-40%.
Hardening off requires 7-10 days of gradual outdoor exposure. Reduce water by 25% and expose plants to 2 hours of direct sun initially, increasing daily. This process thickens cuticles and increases chlorophyll density.
Transplant on overcast days or in evening to reduce transplant shock. Dig holes 2 inches deeper than root balls. Mix handful of compost with native soil as backfill. Water with diluted fish emulsion at 2 tablespoons per gallon to supply auxin precursors.
Pro-Tip: Pinch terminal buds on tomatoes and peppers at transplanting to redirect auxin distribution toward lateral branch development. This creates bushier, more productive plants.
Establishing
Root establishment takes 14-21 days depending on species and soil temperature. Monitor new leaf growth as the primary indicator. Plants actively photosynthesizing show glossy foliage and upright stems.
Maintain consistent soil moisture at 60-70% field capacity during this phase. Install tensiometers at 6-inch depth to track actual soil water potential. Water when readings exceed -50 centibars.
Apply liquid kelp foliar spray at 1 tablespoon per gallon weekly. The cytokinins and auxins in kelp promote root branching and stress resistance. Spray in early morning when stomata open fully.
Pro-Tip: Delay heavy mulching until soil warms to 65°F. Premature mulch application slows root growth by 40-60% in cool conditions.
Troubleshooting
Symptom: Interveinal chlorosis on new leaves indicates iron deficiency caused by high pH or poor drainage. Solution: Apply iron chelate at 1 ounce per 100 square feet and improve drainage with compost incorporation.
Symptom: Purple leaf undersides signal phosphorus unavailability in cold soils below 55°F. Solution: Apply liquid fish fertilizer with 4% phosphorus content. Soil warming naturally resolves the issue within 2-3 weeks.
Symptom: Wilting despite adequate moisture suggests root-knot nematodes. Solution: Plant French marigolds as trap crops. Their roots release alpha-terthienyl, which suppresses nematode populations by 70-80%.
Symptom: Powdery white coating on leaves indicates fungal infection from poor air circulation. Solution: Increase plant spacing by 30% and apply milk spray at 1:9 ratio with water weekly.
Symptom: Stunted growth with dark green leaves shows excess nitrogen and deficient phosphorus. Solution: Add bone meal at 5 pounds per 100 square feet to balance NPK ratios.
Maintenance
Water deeply once weekly rather than daily surface irrigation. Apply 1 inch measured in rain gauges to encourage roots to explore 12-18 inch depths. Drip irrigation delivers moisture at 0.5 gallons per hour per emitter, reducing evaporation by 50%.
Side-dress crops with compost tea every 3 weeks during active growth. Brew 5 pounds of finished compost in 5 gallons of dechlorinated water for 24-36 hours with continuous aeration. Dilute 1:4 before application.
Rotate grazing animals through planted areas during dormancy. Chickens consume insect larvae and weed seeds while depositing nitrogen-rich manure. Limit grazing to 3-day pulses to prevent overgrazing and compaction.
Monitor soil organic matter annually through laboratory testing. Increases of 0.5-1% per year indicate successful regeneration. Track aggregate stability, infiltration rates, and earthworm populations as biological indicators.
FAQ
How long before regenerative practices show results? Visible improvements in soil structure appear within 6-12 months. Measurable increases in organic matter require 2-3 years of consistent cover cropping and compost application.
Can small farms implement regenerative methods? Operations of 1-5 acres achieve complete transitions within 18 months. Small scale allows intensive management and rapid adjustment of practices based on observation.
What is minimum cover crop seeding rate? Use 60-80 pounds per acre for single species or 40-50 pounds for diverse mixes. Higher rates suppress weeds more effectively but increase seed costs.
Do regenerative farms require livestock? Animals accelerate nutrient cycling but remain optional. Plant-based systems using green manures and compost achieve similar results over longer timeframes.
How much does transition cost? Budget $300-$800 per acre for initial inputs including amendments, cover crop seed, and equipment modifications. Returns exceed costs within 3-5 years through reduced input needs and premium pricing.