5 Quick Steps to Hardening Off Plants
Seedlings raised indoors exhibit cellular wall structures up to 40% thinner than field-grown counterparts. The transition from controlled indoor light to full solar radiation causes photoinhibition, leaf necrosis, and transplant shock unless you follow proper steps to hardening off plants. This acclimation process recalibrates stomatal conductance, cuticle thickness, and anthocyanin production over seven to fourteen days, preparing tender tissue for wind, temperature flux, and ultraviolet exposure.
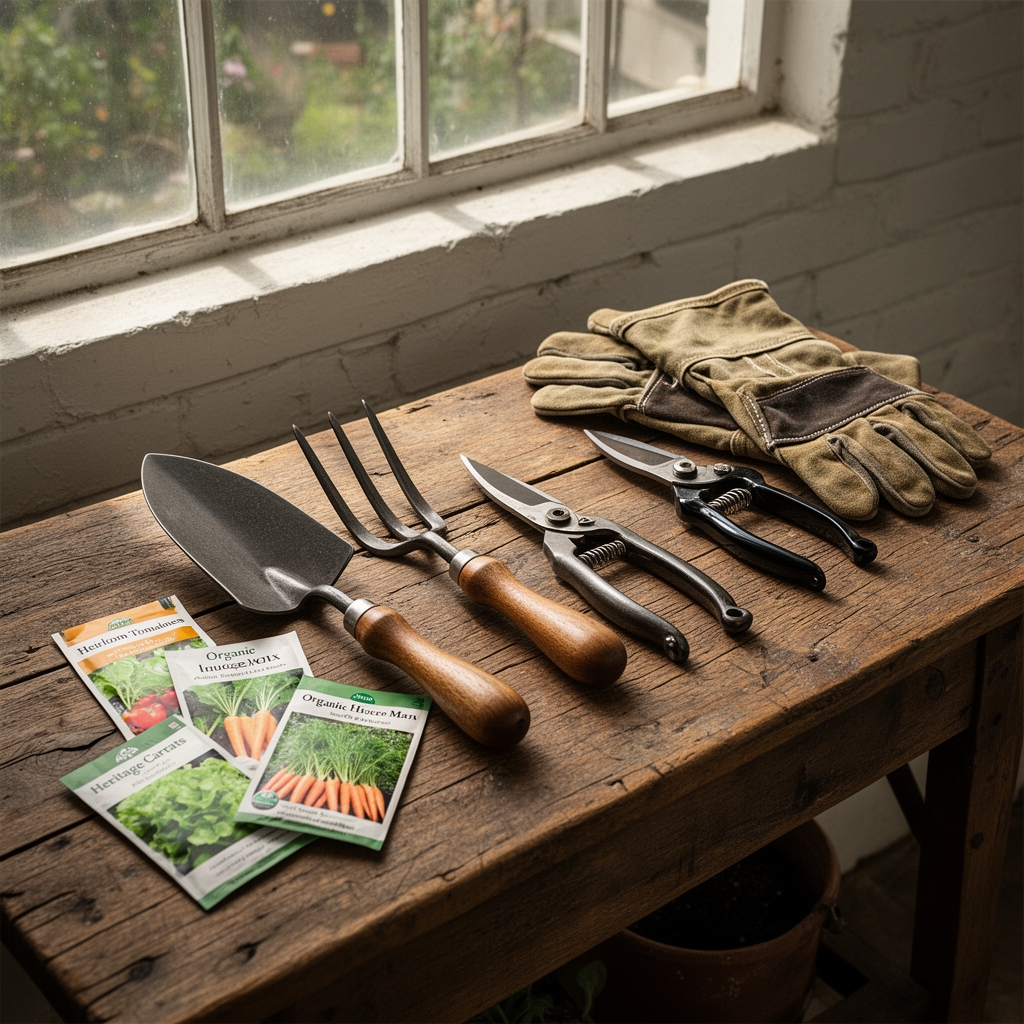
Materials
Successful hardening requires no specialized equipment, but attention to environmental parameters proves essential. A sheltered outdoor location with dappled shade allows gradual light exposure without thermal stress. Cold frames made from untreated lumber and polycarbonate panels provide wind protection while transmitting 88% of photosynthetically active radiation.
For transplanting, prepare beds amended with compost at a 2:1 carbon-to-nitrogen ratio. Soil testing should confirm pH between 6.0 and 7.0 for most vegetable crops. Apply a balanced organic fertilizer such as feather meal or alfalfa pellets with an NPK ratio of 4-4-4, broadcast at 2 pounds per 100 square feet two weeks before final transplant. Kelp meal at 1 pound per 100 square feet supplies trace elements including boron and molybdenum critical for enzyme activation.
Mycorrhizal inoculant containing Glomus intraradices and Rhizophagus irregularis at 300 propagules per gram enhances phosphorus uptake and drought tolerance. Mix inoculant directly into transplant holes at the manufacturer's specified rate, typically 1 teaspoon per plant.
Timing
Hardening schedules synchronize with your USDA Hardiness Zone and last expected frost date. For Zone 5 gardens, begin hardening off cool-season crops like brassicas and lettuce three weeks before the average last frost date, typically late April. Warm-season fruiting vegetables including tomatoes, peppers, and eggplants require soil temperatures above 60°F at 4-inch depth. Start their hardening process one week before your frost-free date.
Monitor overnight low temperatures closely. Seedlings tolerate brief exposures to 40°F during hardening, but temperatures below 35°F cause chilling injury in warm-season species. Cold-hardy crops such as kale and onions withstand temperatures down to 28°F once properly acclimated.
Phases
The hardening process divides into distinct exposure periods that systematically stress and strengthen plant tissues.
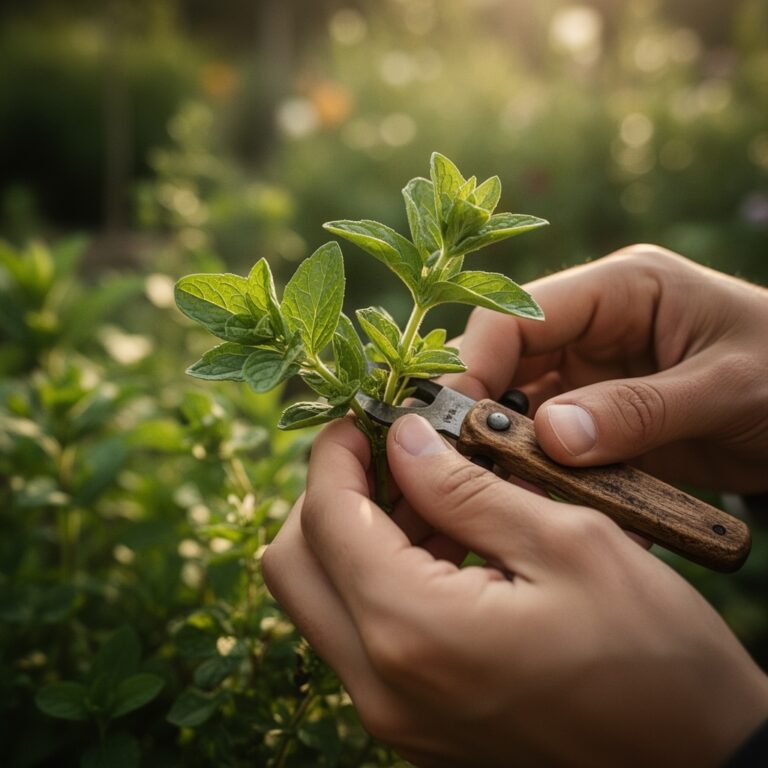
Day 1-2: Initial Exposure
Place seedlings in full shade outdoors for two hours during midday when temperatures reach 60-70°F. Avoid windy conditions. This brief exposure initiates auxin redistribution and triggers abscisic acid production, hormones that regulate stress response.
Pro-Tip: Water seedlings thoroughly one hour before moving outdoors. Hydrated cells withstand temperature fluctuations better than water-stressed tissue.
Day 3-5: Extended Shade Period
Increase outdoor time to four hours, maintaining shade protection. Introduce gentle air movement by positioning plants where building corners create mild breezes. Epicuticular wax production accelerates during this phase, reducing transpiration rates by up to 30%.
Day 6-8: Filtered Sunlight Introduction
Move plants to locations receiving morning sun and afternoon shade. Duration extends to six hours. Morning light provides photons at lower intensity than afternoon rays, preventing sudden photosystem II damage. Leaf temperature should not exceed air temperature by more than 5°F.
Pro-Tip: Check leaf undersides for purple pigmentation in tomatoes and peppers. Anthocyanin accumulation indicates successful acclimation to light stress rather than phosphorus deficiency.
Day 9-11: Full Sun Conditioning
Progress to eight hours in full sun if overnight lows remain above 45°F. Bring plants indoors if frost threatens. Cuticle development reaches maximum thickness during this period, creating a hydrophobic barrier against pathogen entry and desiccation.
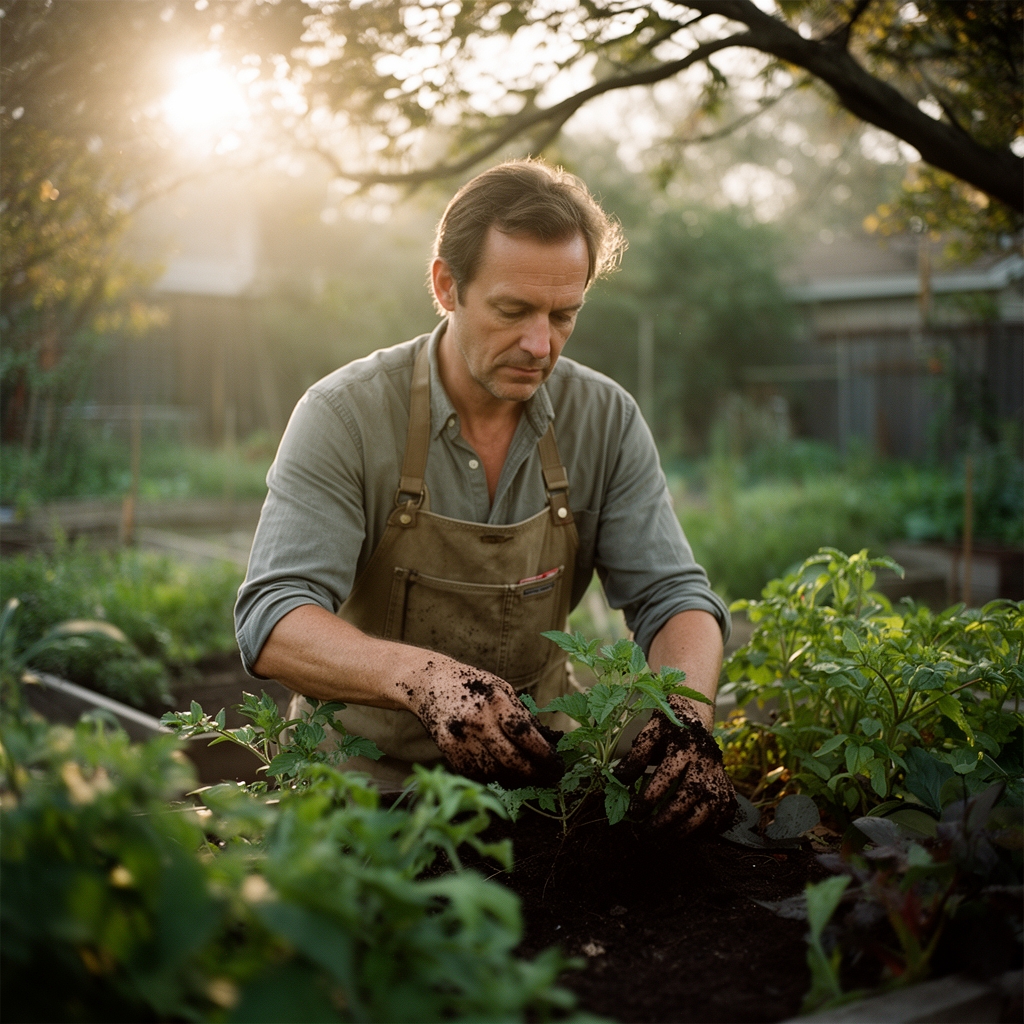
Day 12-14: Overnight Exposure and Transplanting
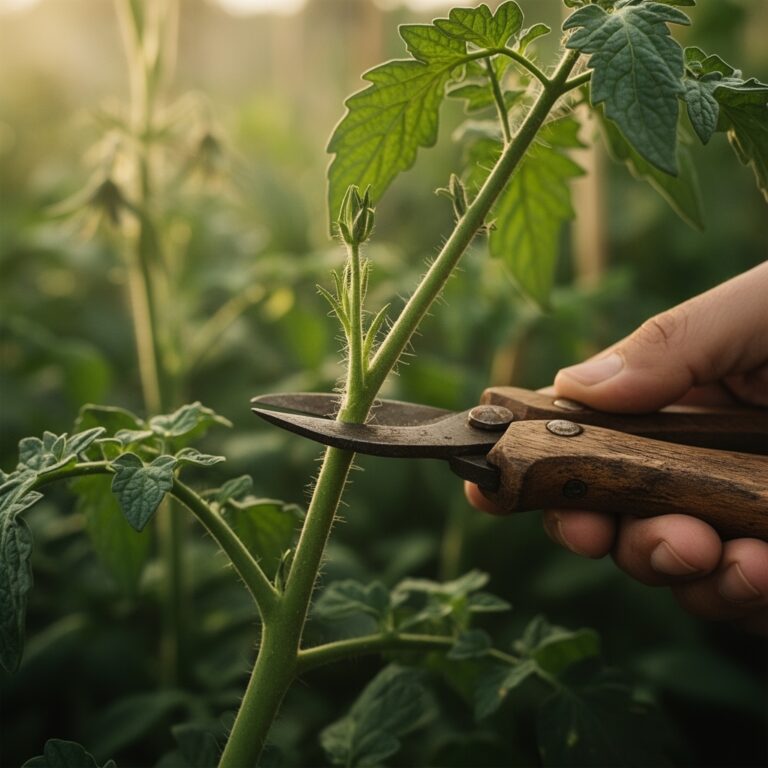
Leave hardened plants outdoors overnight when temperatures stay above 40°F. Transplant on overcast days or during evening hours to minimize transplant shock. Set transplants at the same depth they grew in containers, except for tomatoes, which tolerate burial up to their lowest true leaves.
Pro-Tip: Apply fish emulsion diluted to half strength (2-4-1 NPK) 24 hours before transplanting. Elevated nitrogen levels support root hair regeneration after transplant disturbance.
Troubleshooting
Symptom: White or bleached patches on leaves
Solution: Sunscald from excessive light exposure. Move plants back to shade for 48 hours, then resume hardening with reduced daily increments of one hour instead of two.
Symptom: Purple or reddish leaf discoloration
Solution: Phosphorus uptake inhibition due to cold soil below 55°F. Delay transplanting one week and maintain hardening routine. Apply liquid kelp foliar spray at 1 tablespoon per gallon to supply immediately available nutrients.
Symptom: Wilting despite moist soil
Solution: Root damage or inadequate cuticle development. Increase shade duration and reduce wind exposure. Check for root-bound conditions and up-pot if roots circle container perimeters.
Symptom: Leaf edge browning and curling
Solution: Low humidity stress. Hardening exposes plants to 30-50% relative humidity compared to 70% indoors. Mist foliage during hottest part of day or extend shade period by three days.
Symptom: Stunted growth after transplant
Solution: Transplant shock compounded by inadequate hardening. Water with diluted compost tea (1:4 ratio) containing beneficial bacteria that colonize rhizosphere and enhance nutrient availability through increased cation exchange capacity.
Maintenance
After transplanting, apply 1 inch of water per week through drip irrigation or soaker hoses. Water early morning to allow foliage to dry before evening, reducing fungal disease pressure. Mulch with 2 inches of straw or shredded leaves to moderate soil temperature and retain moisture.
Monitor for cutworms during the first two weeks post-transplant. Place cardboard collars extending 2 inches above and below soil line around each stem. Side-dress heavy feeders like tomatoes with additional compost at 1 pound per plant when first fruits reach golf-ball size.
FAQ
How long does hardening off take?
The complete process requires 10-14 days minimum. Rushing acclimation results in permanent growth setbacks and reduced yields.
Can I harden off plants in a greenhouse?
Greenhouses maintain temperatures 15-20°F above outdoor conditions and filter UV-B radiation. Open vents fully and remove shade cloth during the final three days only.
What temperature is too cold for hardening off?
Keep warm-season crops above 45°F. Cool-season vegetables tolerate 35°F once partially hardened after day five.
Do all seedlings need hardening?
Yes. Even cold-hardy species benefit from gradual acclimation to wind and light intensity changes.
Should I fertilize during hardening?
Avoid high-nitrogen feeds that promote soft growth. Apply balanced organic fertilizer at transplanting only.