10 Basic Steps to Install T5 Lights
The first time cool fluorescent light floods a seedling tray at dawn, chlorophyll production accelerates within ninety minutes. Understanding the correct steps to install t5 lights transforms a dim basement corner into a high-output propagation zone where photosynthetic photon flux density reaches 2,000 to 3,000 micromoles per square meter per second. These fixtures deliver the blue spectrum wavelengths (400-500 nm) that regulate auxin distribution and promote compact, stocky growth in transplants destined for outdoor hardening.
Materials
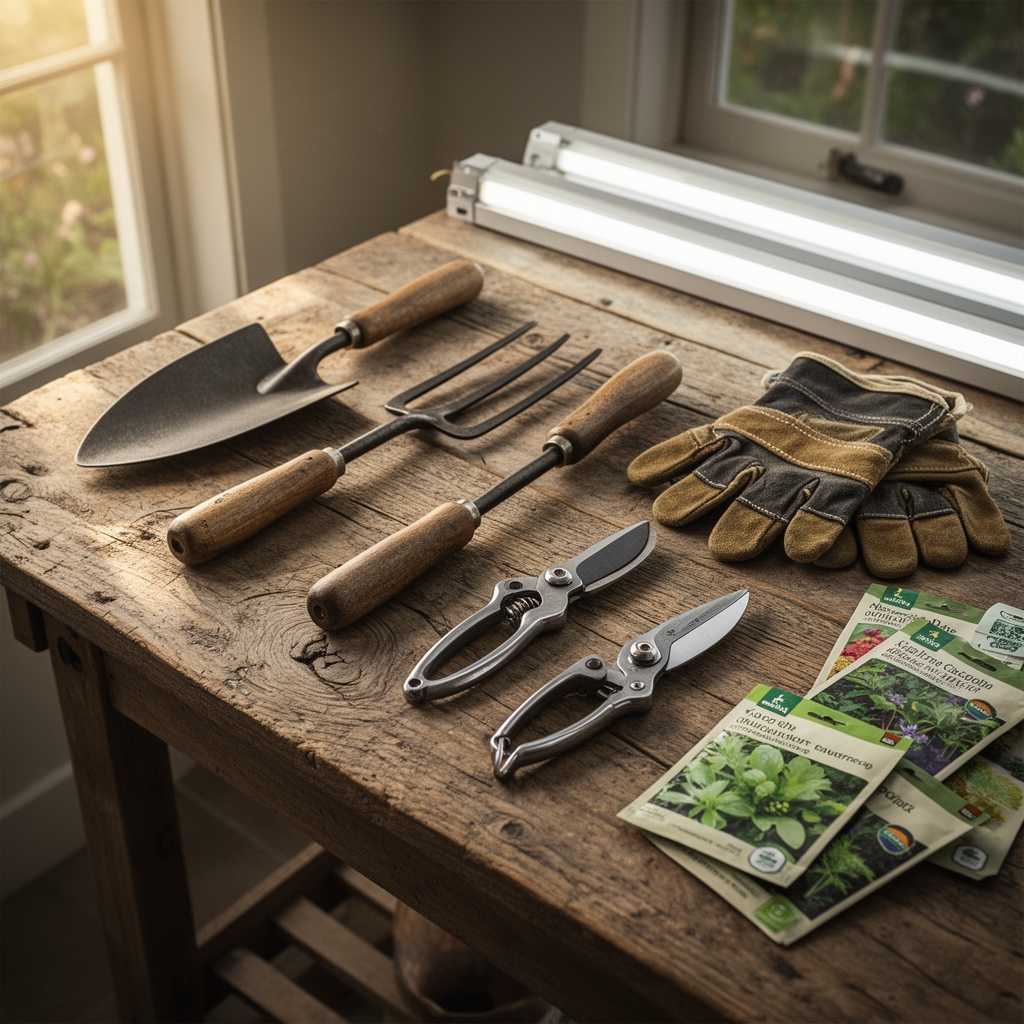
Gather the following components before beginning installation:
Electrical supplies: One T5 fluorescent fixture (2-foot or 4-foot), rated for 120V input. Two or four T5 bulbs (6500K color temperature for vegetative growth). Fifteen feet of 14-gauge grounded electrical cable. One grounded three-prong plug. Wire nuts rated for 600V. One adjustable timer with 15-amp capacity.
Mounting hardware: Two lengths of lightweight chain (rated for 10 pounds each). Four S-hooks (zinc-plated steel). Two eye bolts with 1/4-inch diameter threads. A stud finder. A power drill with 3/16-inch bit.
Safety equipment: Voltage tester. Wire stripper. Needle-nose pliers. Safety glasses.
Growing substrates (for plants under the lights): Seed-starting mix with pH 6.0-6.5. Peat-based medium amended with perlite (30% by volume) for cation exchange capacity of 10-15 meq/100g. Organic granular fertilizer (4-4-4 NPK ratio) for baseline nutrition. Mycorrhizal inoculum containing Rhizophagus irregularis at 120 propagules per gram.
Timing
Install T5 lights six to eight weeks before the last expected spring frost date in your hardiness zone. In Zone 5 (last frost May 15), begin installation by March 20. Zone 7 gardeners (last frost April 15) should complete setup by February 20. This lead time allows seedlings to develop true leaves and establish root systems with 3-inch depth before transplant.
Indoor light schedules should provide sixteen hours of illumination daily during the seedling phase. Reduce to fourteen hours once transplants develop four true leaves. The photoperiod manipulation prevents premature bolting in long-day plants like spinach and lettuce.
Phases

Step 1: Locate Ceiling Joists
Use the stud finder to identify two parallel joists spanning your growing area. Mark each joist location with a pencil. Joists typically run 16 inches on center in residential construction. Position the fixture so light coverage extends 2 feet on either side for a 4-foot unit.
Pro-Tip: Mount fixtures perpendicular to joists for maximum structural support and even weight distribution across ceiling framing.
Step 2: Install Eye Bolts
Drill pilot holes 3/16-inch diameter into the center of each joist. Thread eye bolts clockwise until the eye sits flush against the ceiling surface. Apply 20 foot-pounds of torque. Test each bolt by pulling with 15 pounds of force.
Step 3: Attach Chain and Hooks
Connect one length of chain to each eye bolt using an S-hook. Allow 24 inches of chain to hang free. This length permits 6 to 18-inch adjustment range between the bulb surface and plant canopy.
Step 4: Mount Fixture to Chain
Attach the second set of S-hooks to the fixture's hanging brackets. Loop these hooks through the chain links. Ensure the fixture hangs level by measuring the distance from each chain connection point to the floor. Adjust chain length until measurements match within 1/4 inch.
Pro-Tip: Keep bulbs 3 inches above seedling canopies during germination. Raise fixtures as plants grow to maintain constant distance and prevent heat stress.
Step 5: Wire the Electrical Connection
Turn off power at the circuit breaker. Remove the knockout plate from the fixture's junction box. Strip 1/2 inch of insulation from each wire in the electrical cable. Connect black (hot) to black, white (neutral) to white, and green (ground) to the fixture's grounding screw. Secure each connection with a wire nut. Tuck wires into the junction box and replace the cover plate.
Step 6: Install Timer
Plug the fixture into the timer unit. Plug the timer into a grounded wall outlet. Program the timer for 6:00 AM on, 10:00 PM off. This sixteen-hour photoperiod mimics late spring conditions that trigger vegetative growth hormones.
Step 7: Test Operation
Restore power at the breaker. Observe bulbs for even illumination across the entire length. Listen for ballast hum (normal) versus buzzing (indicates loose connection or failing ballast).
Step 8: Position Seed Trays
Arrange trays in a grid pattern directly beneath the fixture. Maintain 2-inch spacing between trays for air circulation. This spacing reduces damping-off fungal pressure by 40% compared to touching trays.
Pro-Tip: Rotate trays 180 degrees every three days to counteract any uneven light distribution and promote symmetrical stem development.
Step 9: Monitor Temperature
Place a thermometer at canopy height. Maintain 65-70°F for optimal germination of warm-season crops. Cool-season brassicas prefer 60-65°F. If temperature exceeds 75°F, increase the distance between bulbs and plants by 2 inches.
Step 10: Replace Bulbs Annually
T5 bulb output degrades 20% after 10,000 hours of operation. At sixteen hours daily, this equals 625 days. Mark installation date on each bulb with a permanent marker. Replace all bulbs simultaneously before the second growing season to maintain consistent spectral output.
Troubleshooting
Symptom: Seedlings develop elongated stems (etiolation) despite adequate light hours.
Solution: Lower fixture to 2 inches above canopy. Verify bulbs are 6500K spectrum, not 3000K warm white. Replace bulbs older than one year.
Symptom: Yellowing lower leaves (chlorosis) on young transplants.
Solution: Apply diluted liquid fertilizer at 1-2-1 NPK ratio (nitrogen-phosphorus-potassium). Provide 50 ppm nitrogen in solution weekly. Check substrate pH; adjust to 6.2 if below 5.8.
Symptom: Fixture hums loudly or flickers during operation.
Solution: Turn off power. Remove bulbs and reseat them firmly in sockets. If flickering persists, replace the ballast. Ballast failure rate increases after 30,000 hours.
Symptom: Algae growth on substrate surface (green film).
Solution: Reduce watering frequency by 20%. Increase air circulation with a 6-inch oscillating fan set to low speed. Apply 1/4-inch layer of coarse sand as a physical barrier.
Symptom: Seedlings wilt despite moist substrate.
Solution: Check for root rot caused by Pythium species. Reduce substrate moisture. Drench with biological fungicide containing Trichoderma harzianum at 1 x 10^6 CFU per gram.
Maintenance
Water seedlings when the top 1/2 inch of substrate feels dry to the touch. Apply water until 10% leach drains from tray bottoms. This leaching fraction prevents soluble salt accumulation above 2.0 mS/cm electrical conductivity.
Clean fixture reflectors every two weeks with a damp microfiber cloth. Dust accumulation reduces light output by 15% over a single growing season. Never use solvents near electrical components.
Inspect chain connections monthly for rust or stress fractures. Replace any chain link showing deformation. A fixture weighing 8 pounds can fall if corrosion reduces chain tensile strength below the safety threshold.
Feed seedlings with 100 ppm nitrogen solution once true leaves emerge. Increase to 150 ppm nitrogen after four true leaves develop. Source nitrogen from calcium nitrate (15.5-0-0) to simultaneously address calcium deficiency common in rapidly growing tissue.
FAQ
How far should T5 lights be from seedlings?
Maintain 3 inches during germination and early growth. Adjust to 6 inches once transplants reach 4 inches tall to prevent leaf burn from excessive photosynthetic photon flux.
Can T5 lights support fruiting plants?
T5 fixtures provide adequate light for vegetative growth but lack intensity for fruit set. Supplement with high-pressure sodium or LED fixtures providing 400 micromoles per square meter per second for reproductive phases.
What color temperature bulb is best?
Use 6500K (cool white) bulbs for seedlings and vegetative growth. The blue-heavy spectrum at this temperature regulates cryptochrome photoreceptors that control stem elongation.
How long do T5 bulbs last?
Manufacturers rate T5 bulbs for 20,000 hours. Practical replacement occurs at 10,000 hours when lumen output drops below 80% of initial rating. Mark installation dates on each bulb.
Should I use a timer?
Yes. Manual switching creates inconsistent photoperiods that disrupt circadian rhythm genes in plants. Use a mechanical or digital timer accurate to within five minutes per day.