10 Basic Steps to Build Eden Gardens
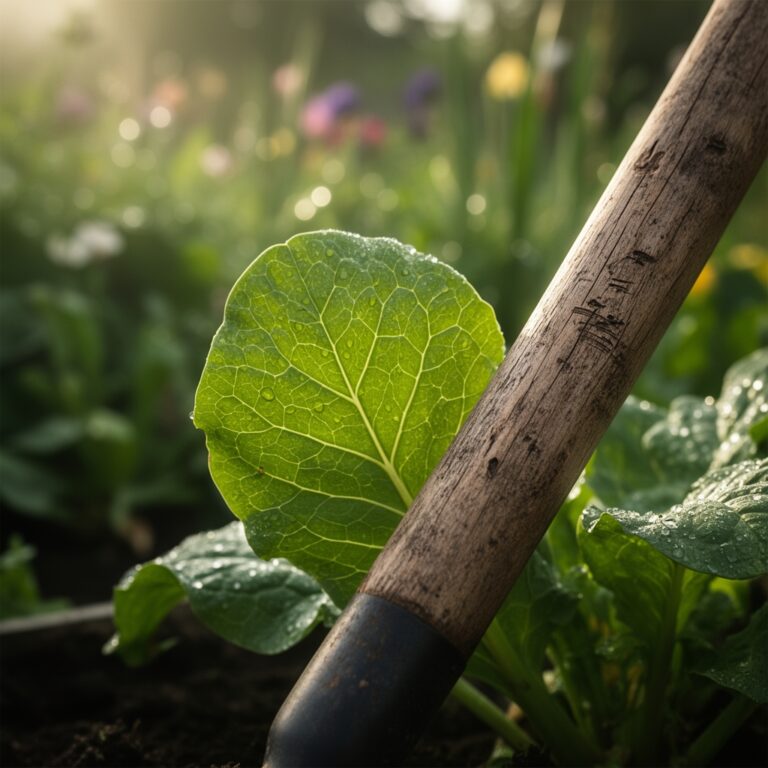
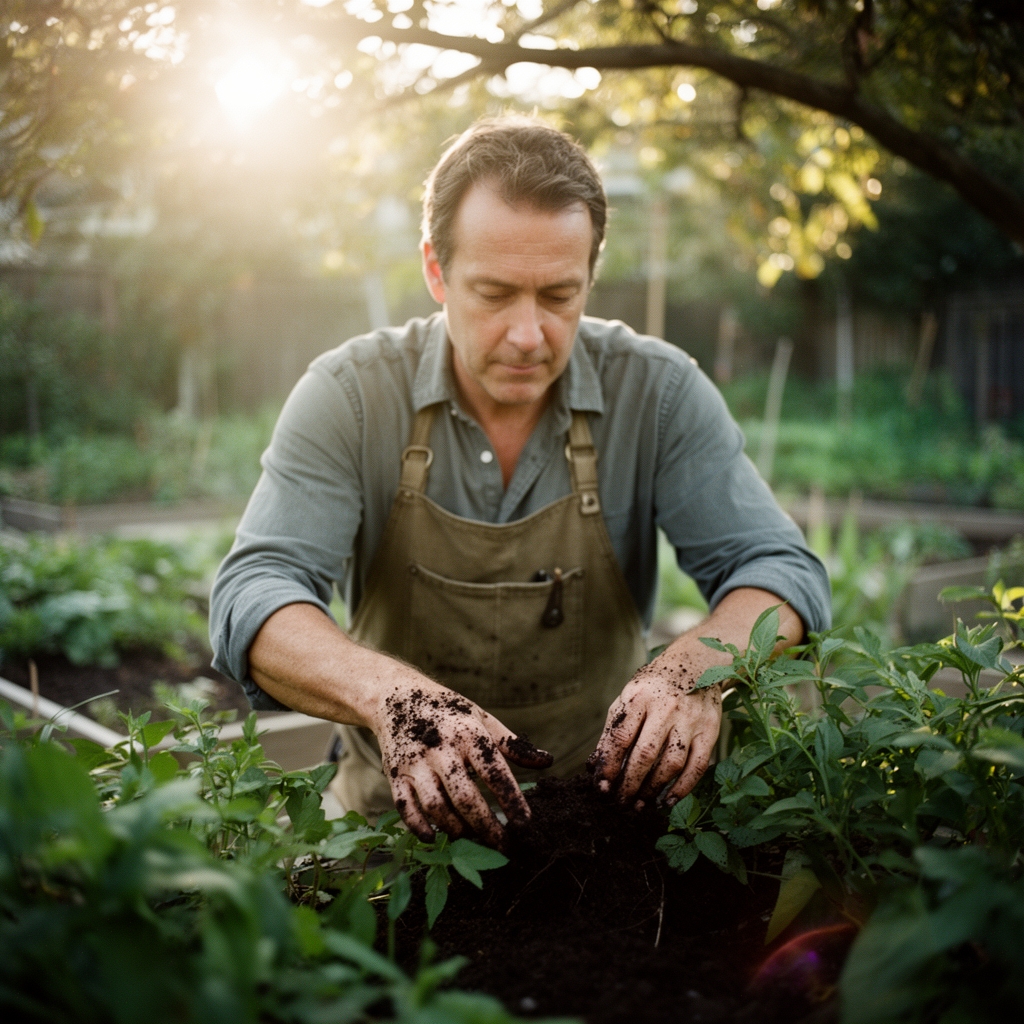
The first handful of loam crumbles between your fingers, cool and friable, smelling of iron and decomposed wood. You press it into the palm of your hand and watch it hold shape for three seconds before collapsing. This texture, this exact moisture level, marks the starting point for all successful steps to build eden gardens. Proper soil architecture determines whether roots penetrate eighteen inches or stall at six.
Building a paradise garden requires precision in soil chemistry, water delivery, and plant selection. The ten steps to build eden gardens outlined here synthesize decades of horticultural research with field-tested protocols for temperate and subtropical zones. Each step addresses a specific substrate layer or biological partnership.
Materials
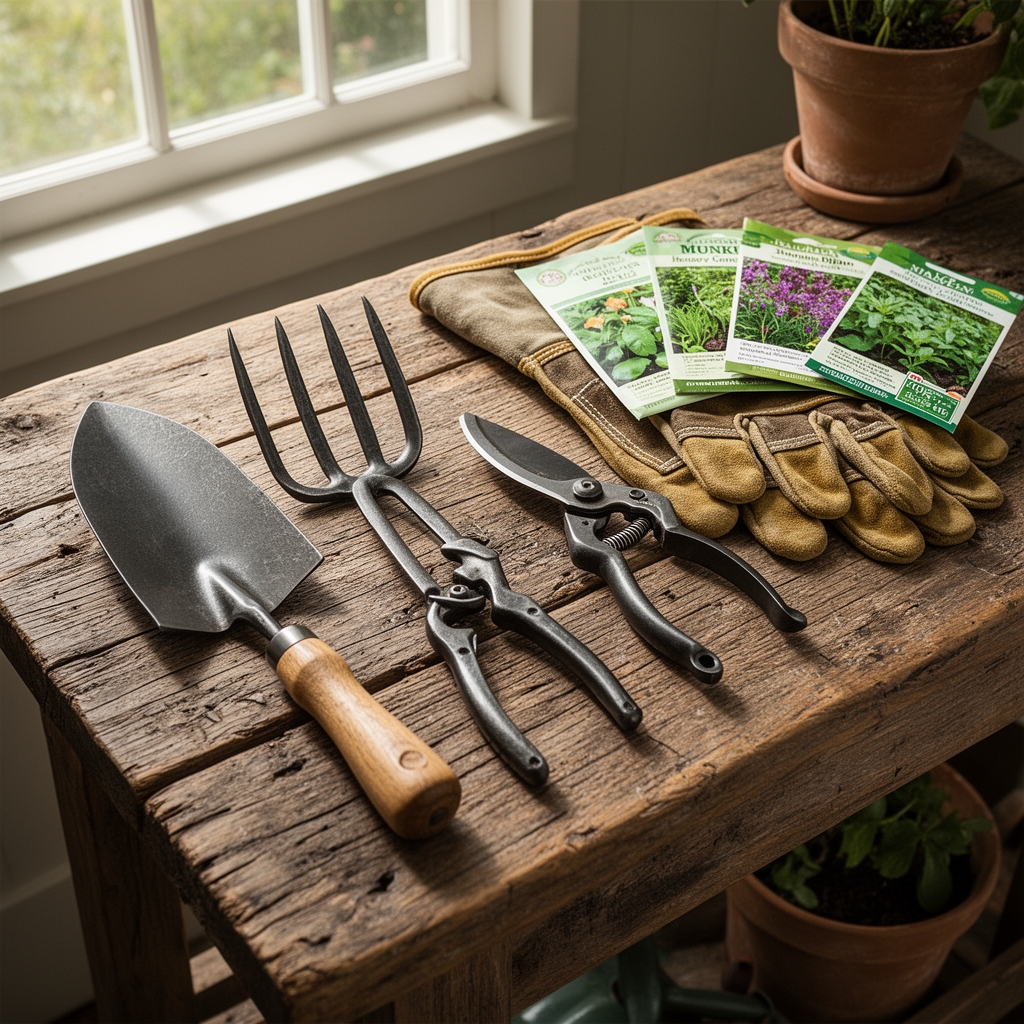
Soil amendments form the foundation. Source a 4-4-4 organic meal blend consisting of bone meal, kelp meal, and alfalfa pellets. This ratio supports steady vegetative growth without excessive nitrogen that produces weak, leggy stems. Add granular sulfur if your native pH exceeds 7.2. Most ornamental perennials and fruiting shrubs thrive between 6.0 and 6.8, where cation exchange capacity reaches optimal efficiency.
Incorporate two cubic yards of aged compost per 100 square feet of bed space. Compost older than eighteen months delivers stable humus without phytotoxic ammonia spikes. Verify C:N ratio sits between 20:1 and 25:1 by submitting a sample to your county extension lab.
Purchase mycorrhizal inoculant containing Glomus intraradices and Rhizophagus irregularis. These arbuscular fungi colonize root cortex cells and extend phosphorus uptake radius by 400 percent. Apply at transplant, dusting roots directly before soil contact.
Hardwood mulch in 3-inch layers suppresses annual weeds and moderates soil temperature swings. Avoid fresh cedar or walnut, both of which leach allelopathic compounds that inhibit germination.
Timing
Hardiness Zones 5 through 8 offer the widest planting windows. Begin soil preparation four weeks before the last average frost date. In Zone 7, this falls between April 10 and April 25. Soil temperature must reach 50°F at a 4-inch depth before transplanting warm-season perennials.
For Zones 9 and 10, prepare beds in late September when daytime highs drop below 85°F. Excessive heat stresses transplants and causes auxin distribution imbalances that result in asymmetric canopy development.
Monitor the NOAA frost prediction maps weekly during shoulder seasons. A late cold snap below 28°F kills tender new growth on marginally hardy specimens.
Phases
Sowing
Direct-seed native wildflower mixes in fall. Cold stratification over winter breaks seed dormancy mechanisms that prevent premature germination. Rake seeds into the top quarter-inch of soil. Deeper placement reduces emergence rates by 60 percent.
Pro-Tip: Mix seed with damp sand at a 1:4 ratio before broadcasting. This dilution prevents clumping and ensures even distribution across irregular terrain.
Transplanting
Dig holes twice the width of the root ball but no deeper than the original container depth. Planting too deep suffocates root crowns and invites basal rot. Position the root flare at grade level or one inch above in clay soils with poor drainage.
Backfill with native soil only. Amending the planting hole creates a "container effect" where roots circle the improved zone rather than penetrating surrounding substrate.
Water with 2 gallons per plant immediately after transplanting. This settles soil particles and eliminates air pockets that desiccate fine root hairs.
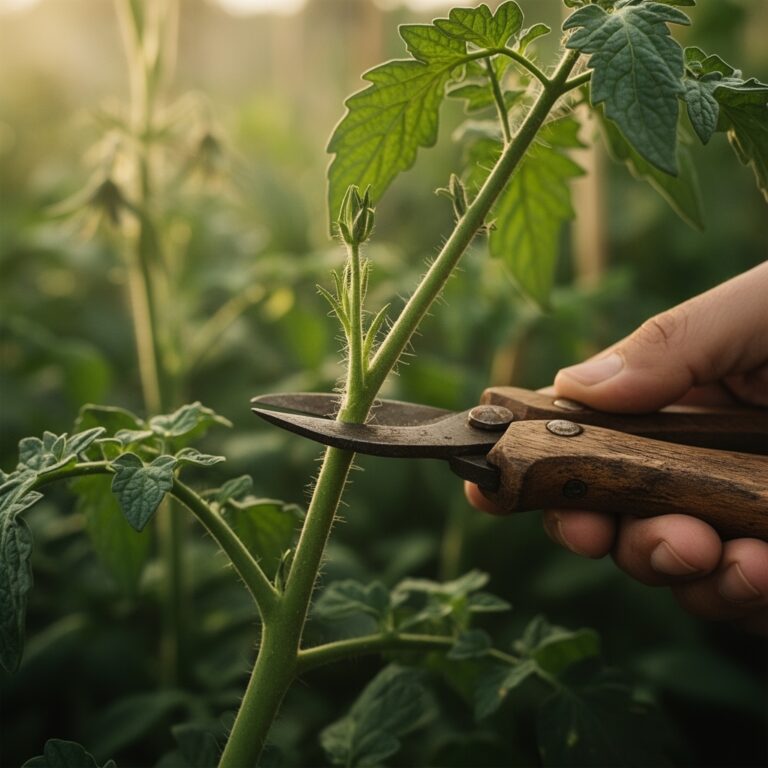
Pro-Tip: Prune scaffold branches at 45-degree angles, cutting one-quarter inch above outward-facing buds. This encourages lateral branching and prevents water accumulation on cut surfaces.
Establishing
Apply a starter fertilizer with a 1-2-2 ratio seven days post-transplant. The elevated phosphorus supports root mitosis and mycorrhizal colonization. Avoid high-nitrogen feeds during establishment; excess nitrogen diverts carbohydrates to foliage at the expense of root development.
Mulch in a donut shape, keeping material 4 inches away from stems. Contact between wet mulch and bark creates entry points for fungal pathogens.
Pro-Tip: Inoculate legume roots with Rhizobium bacteria to enable atmospheric nitrogen fixation. This reduces fertilizer dependence by 30 percent in mixed polyculture beds.
Troubleshooting
Symptom: Interveinal chlorosis on new growth. Solution: Iron deficiency induced by high pH. Apply chelated iron at 1 tablespoon per gallon as a foliar spray. Retest soil pH and amend with elemental sulfur at 1 pound per 100 square feet to lower by 0.5 units.
Symptom: Wilting despite adequate soil moisture. Solution: Root rot caused by Phytophthora species. Improve drainage by installing French drains or raising beds 8 inches. Remove affected plants and avoid replanting susceptible species in the same location.
Symptom: Stunted growth with purple leaf undersides. Solution: Phosphorus lockout in cold soil below 50°F. Delay planting warm-season crops. Apply foliar kelp spray containing 2 percent available phosphate to bypass root uptake.
Symptom: Shot-hole appearance on leaves. Solution: Bacterial leaf spot or fungal anthracnose. Prune infected tissue 6 inches below visible damage. Sterilize tools with 10 percent bleach solution between cuts. Apply copper fungicide at 2 tablespoons per gallon every 7 days for three weeks.
Maintenance
Provide 1 inch of water per week during active growth. Measure with rain gauges placed at canopy level. Water early morning to allow foliage to dry before nightfall, reducing fungal spore germination by 75 percent.
Side-dress established perennials with compost each spring at 1 cubic foot per 25 square feet. This replenishes organic matter depleted by microbial respiration.
Prune dead wood in late winter when plants remain dormant. Remove crossing branches that create wounds through abrasion.
FAQ
How deep should garden beds be? Eighteen inches minimum for perennials. Root vegetables require 24 inches for proper taproot development.
When do I divide overcrowded perennials? Early spring as shoots emerge or early fall six weeks before first frost. Divisions need time to establish roots before temperature extremes.
Can I use fresh manure? No. Fresh manure contains ammonia concentrations that burn roots. Age for 6 months or compost for 90 days at 140°F internal temperature.
What spacing prevents disease? Provide airflow equivalent to mature width plus 12 inches. Crowded plantings trap humidity and spread foliar pathogens.
How do I test soil drainage? Dig a 12-inch cube, fill with water, and time drainage. Soil draining in 4 hours or less supports most ornamentals. Slower drainage requires amendment with coarse sand or perlite at 30 percent by volume.